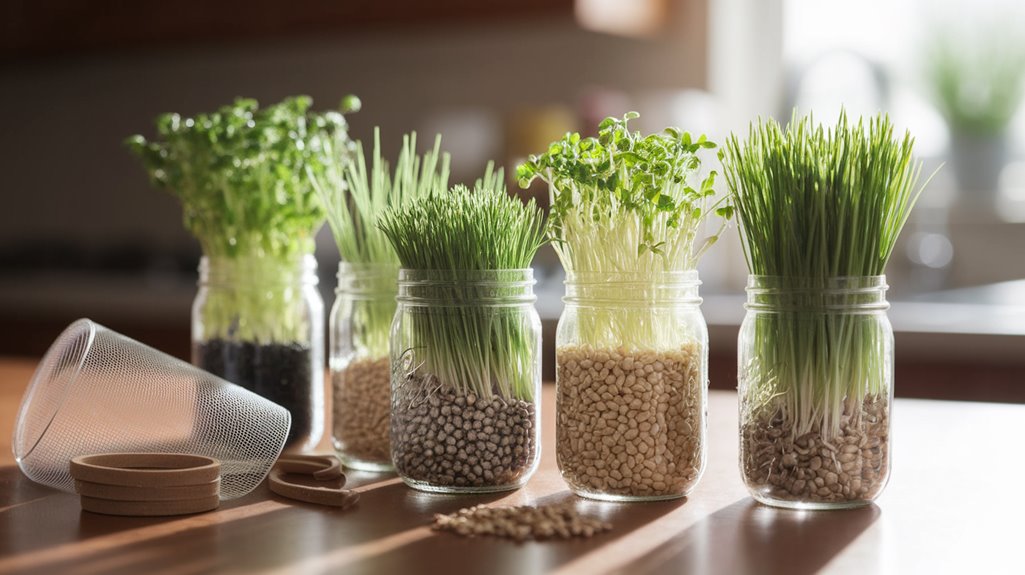
DIY Sprouting Methods
DIY sprouting methods are incredibly simple and rewarding! I soak seeds like alfalfa or broccoli for 4-12 hours, then rinse them to prevent mold and ensure even moisture. I use a jar, tray, or sprouting bag, each providing a unique growing environment. I check the temperature, light levels, and rinse schedule to keep my sprouts healthy. Once they’re ready, I love adding them to salads or sandwiches for a vibrant boost. Stick around, and I’ll share even more tips!
Key Takeaways
- Use the jar method by soaking seeds, rinsing regularly, and placing the jar at an angle in a warm, dark area for sprouting.
- Try tray sprouting by soaking seeds overnight, spreading them in a tray, and misting daily for moisture until harvest.
- A sprouting bag can be used by soaking seeds, rinsing them, and then hanging the bag for drainage and airflow during growth.
- Choose nutrient-rich seeds like alfalfa, broccoli, or lentils for maximum health benefits in your sprouts.
- Maintain proper conditions by rinsing sprouts twice daily and ensuring adequate light and temperature for optimal growth.
Understanding the Basics of Sprouting
When I first delved into sprouting, I quickly realized that understanding the basics is crucial for success. Sprouting is essentially the germination of seeds, where they transform into nutrient-rich shoots. This process involves soaking seeds in water, allowing them to absorb moisture, and then keeping them in a warm, dark environment.
I learned that rinsing the seeds regularly prevents mold and ensures even moisture distribution. Temperature plays a significant role, too—ideally, I keep them between 65°F and 75°F for optimal growth.
Light isn’t necessary during the early stages but becomes essential once the sprouts begin to green. Knowing these fundamentals helped me cultivate vibrant, healthy sprouts, enhancing both my meals and my overall nutrition.
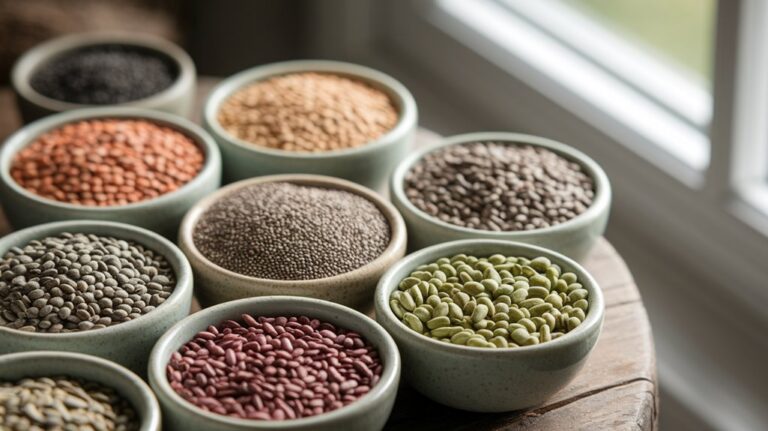
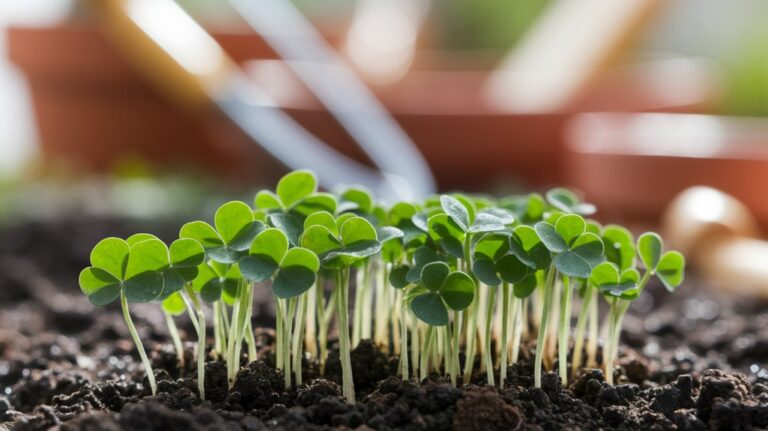
Choosing the Right Seeds for Sprouting
When I choose seeds for sprouting, I always consider their nutritional value first.
Different varieties offer unique health benefits, so it’s crucial to select the right ones to maximize your gains.
Let’s explore how to pick the best seeds to suit your dietary needs and preferences.
Nutritional Value Considerations
Choosing the right seeds for sprouting can significantly impact the nutritional value of your harvest. When I select seeds, I focus on those rich in vitamins, minerals, and protein.
For instance, alfalfa and broccoli sprouts are known for their high nutrient density, providing essential vitamins A, C, and K. I also consider the protein content; lentil and chickpea sprouts are excellent choices for a protein boost.
It’s essential to choose organic seeds to avoid pesticides, which can affect your health. Additionally, I pay attention to the germination rate; fresher seeds tend to sprout more vigorously, enhancing their overall nutritional profile.
Seed Variety Selection
While the nutritional benefits of sprouts are impressive, selecting the right seeds for sprouting can elevate your experience even further.
When I choose seeds, I often consider varieties that aren’t only nutritious but also flavorful and easy to sprout. Alfalfa and broccoli seeds are excellent for their rich vitamin content, while radish seeds add a spicy kick.
I prefer organic seeds to avoid chemicals, ensuring purity in my sprouts. It’s essential to check the germination rates; high-quality seeds sprout more reliably.
Additionally, I love experimenting with mixed seed blends for diverse textures and tastes. By choosing the right seeds, I enhance both the nutritional value and culinary enjoyment of my homegrown sprouts.
Happy sprouting!
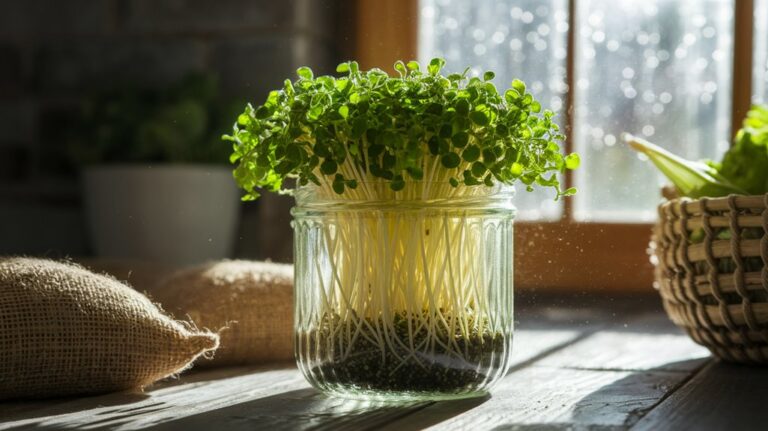
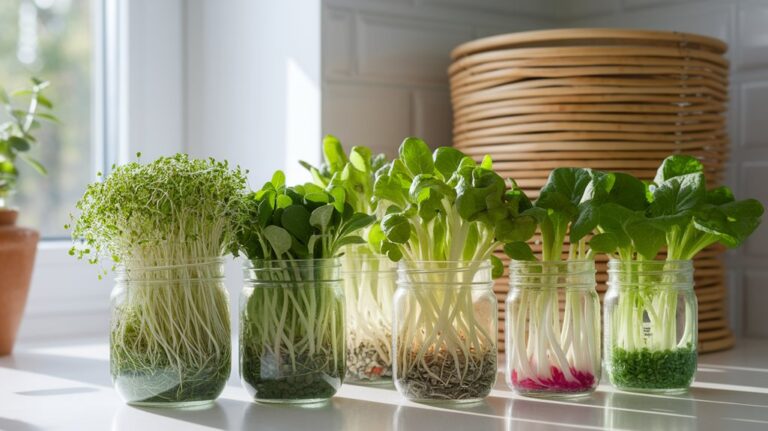
The Jar Method: A Simple Approach
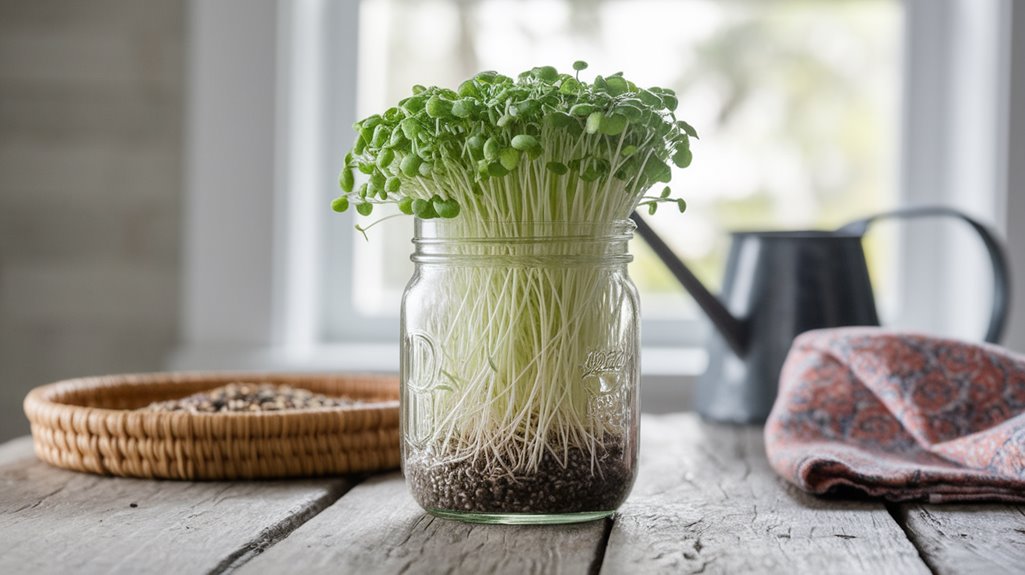
When I first tried the jar method for sprouting, I was amazed at how simple it is.
You only need a few essential supplies and a straightforward set of instructions to get started.
Let’s explore what you’ll need and how to sprout your seeds effectively in just a jar.
Essential Supplies Needed
To successfully sprout seeds using the jar method, you’ll need just a few essential supplies. First, you’ll need a clean glass jar with a wide mouth—this allows for better air circulation and easy access. Second, a mesh lid or cheesecloth is crucial for drainage while keeping pests out. Third, choose your seeds; options like alfalfa or lentils work great. Lastly, a bowl is handy for soaking your seeds before placing them in the jar. Here’s a quick reference table:
| Supply | Purpose | Notes |
|---|---|---|
| Glass Jar | Holds seeds and water | Wide mouth recommended |
| Mesh Lid/Cheesecloth | Allows drainage and airflow | Prevents pests |
| Seeds | The main ingredient for sprouting | Choose according to preference |
| Bowl | Soaks seeds before sprouting | Ensures even hydration |
With these supplies, you’re all set to start sprouting!
Step-by-Step Instructions
Now that you have your supplies ready, it’s time to start sprouting your seeds using the jar method. This simple approach requires minimal equipment and gives excellent results. Here’s how I do it:
- Soak the Seeds: Place your seeds in the jar and cover them with water. Let them soak for 2-6 hours, depending on the seed type.
- Drain and Rinse: After soaking, drain the water using a mesh lid or cheesecloth. Rinse the seeds with fresh water, then drain again.
- Sprout: Place the jar at an angle in a dark, warm area. Rinse and drain the seeds twice daily until they sprout, typically 3-7 days.
Enjoy watching your seeds transform into nutritious sprouts ready for salads or sandwiches!
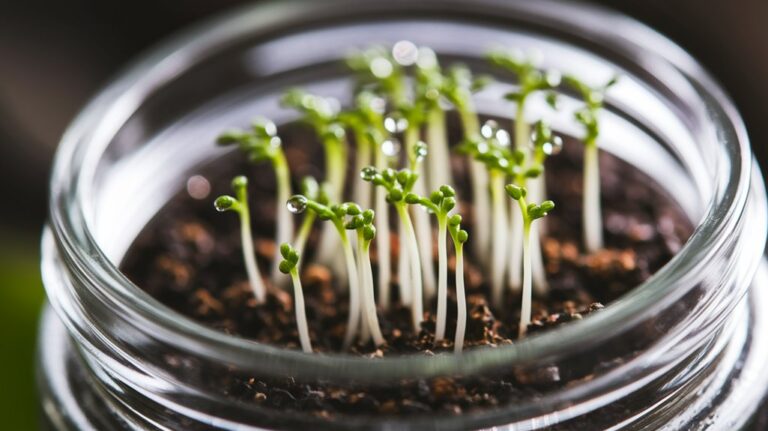
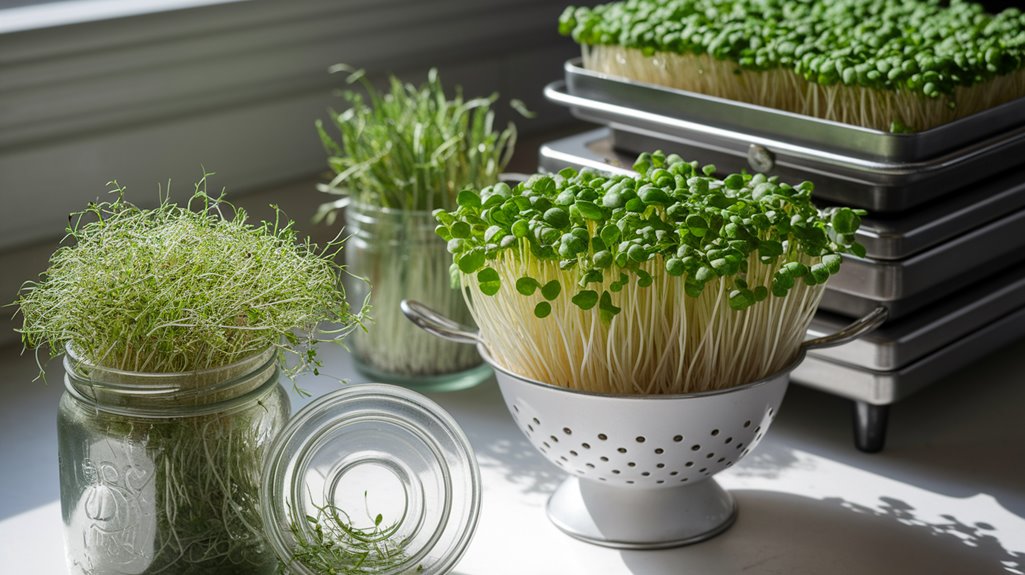
Sprouting With a Tray System
Have you ever wondered how to maximize your sprouting potential using a tray system? I’ve found that this method is incredibly efficient and straightforward.
First, choose your seeds—broccoli, alfalfa, or radish work well. I like to soak them overnight before spreading them evenly in a sprouting tray, ensuring good air circulation. Cover the seeds with a light layer of soil or a damp paper towel to maintain moisture.
Next, I place the tray in a well-lit area but avoid direct sunlight to prevent overheating. I mist the seeds daily, keeping the soil moist but not soggy.
In about 5 to 7 days, you’ll see vibrant sprouts ready to harvest, packed with nutrients and flavor for your meals!
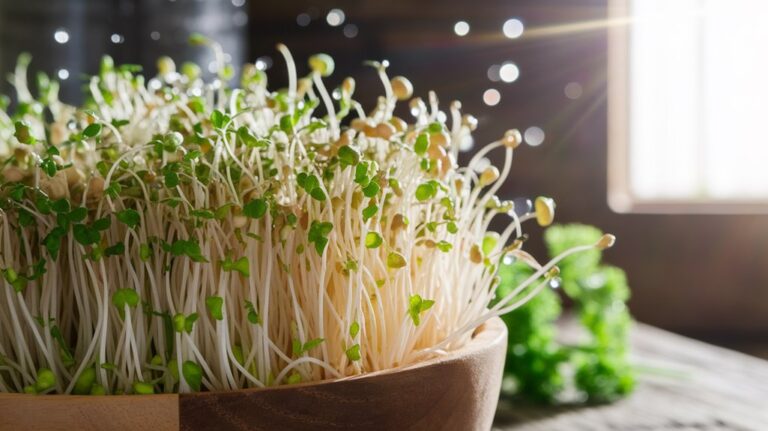
Using a Sprouting Bag for Easy Growth

While sprouting bags may seem simple, they offer an incredibly efficient way to grow your favorite sprouts without the need for complicated equipment.
I love using them for their ease and versatility. Here’s how I typically get started:
- Choose Your Seeds: Select seeds appropriate for sprouting, like alfalfa, broccoli, or lentils.
- Soak the Seeds: Place the seeds in water for 2-6 hours, allowing them to absorb moisture and begin the germination process.
- Rinse and Drain: After soaking, transfer the seeds to the sprouting bag, rinsing them thoroughly.
Hang the bag where it can drain and get airflow.
In just a few days, you’ll have fresh, nutritious sprouts ready to enjoy!
Tips for Maintaining Your Sprouts
To keep your sprouts thriving, I find consistency in care is essential. First, I always rinse my sprouts twice a day to ensure they stay moist but not waterlogged. This prevents mold and promotes healthy growth.
I also make sure they get adequate light; placing them near a window helps them develop vibrant green leaves. Temperature control is another key factor; I keep them in a warm spot, ideally around 70°F (21°C).
If I notice any yellowing leaves, I adjust the light exposure. Lastly, I watch for any signs of pests or disease. Prompt action can save my harvest.
Incorporating Sprouts Into Your Meals
Incorporating sprouts into my meals not only enhances their nutritional value but also adds a delightful crunch and fresh flavor.
I love experimenting with different types of sprouts, and I’ve found a few easy ways to include them in my daily diet:
- Salads: Toss a handful of alfalfa or mung bean sprouts into greens for added texture.
- Sandwiches: Layer radish or broccoli sprouts in wraps and sandwiches for an extra zing.
- Stir-fries: Add sprouts at the end of cooking to maintain their crispness and nutrients.
These methods make it simple to boost my meals with healthy ingredients.
Plus, the vibrant colors and unique tastes of sprouts keep my dishes exciting and satisfying!
Frequently Asked Questions
Conclusion
Incorporating sprouting into your routine is both simple and rewarding. With the right seeds and methods, you can enjoy fresh, nutritious sprouts right at home. Whether you choose the jar method, a tray system, or a sprouting bag, each offers unique benefits. Remember to maintain proper care for your sprouts, and don’t hesitate to experiment with them in your meals. I’m excited for you to experience the joy and health benefits of homegrown sprouts!