Step-by-Step: Growing Microgreens Indoors All Year Round
To grow microgreens indoors year-round, I start by selecting fast-growing seed varieties like arugula or basil, ensuring they’re organic and non-GMO. I gather shallow containers with drainage holes and fill them with a lightweight seed-starting mix. After planting the seeds, I provide 12-16 hours of light using fluorescent or LED grow lights. I monitor temperature and humidity levels, and check for growth stages. With this foundation, you’ll discover additional techniques to maximize your harvest.
Key Takeaways
- Select fast-growing, organic microgreen seeds and use a high-quality seed-starting mix for optimal growth conditions indoors.
- Choose shallow containers with drainage holes to support healthy root development and air circulation.
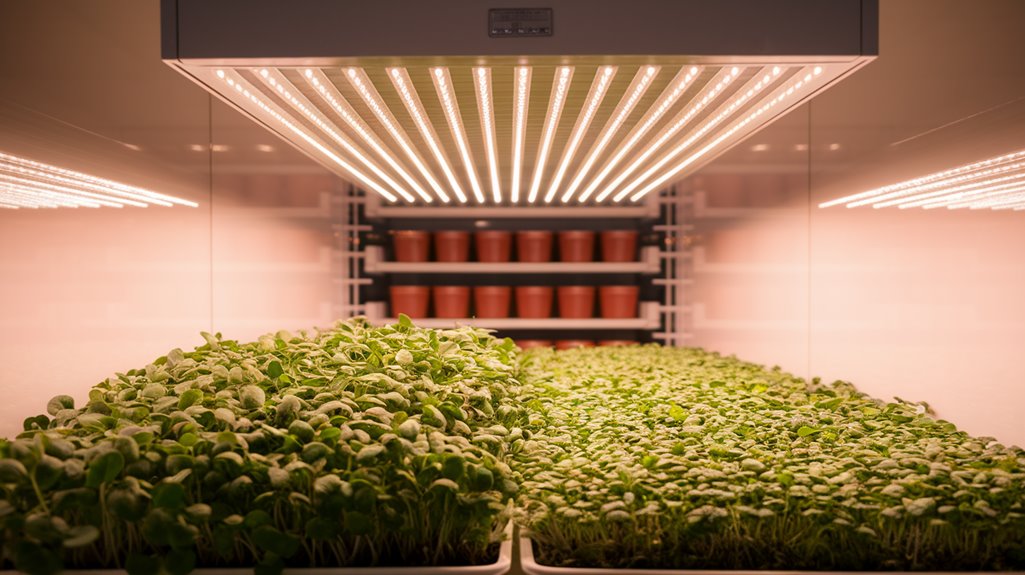
- Provide 12-16 hours of light daily using fluorescent or LED grow lights positioned close to the plants.
- Maintain an ideal temperature range of 65°F to 75°F and monitor humidity levels for healthy germination and growth.
- Water carefully with a spray bottle, ensuring soil is moist but not soggy, to avoid root rot.
Choosing the Right Microgreens Seeds
When I choose microgreens seeds, I focus on a few essential factors to ensure a successful indoor garden.
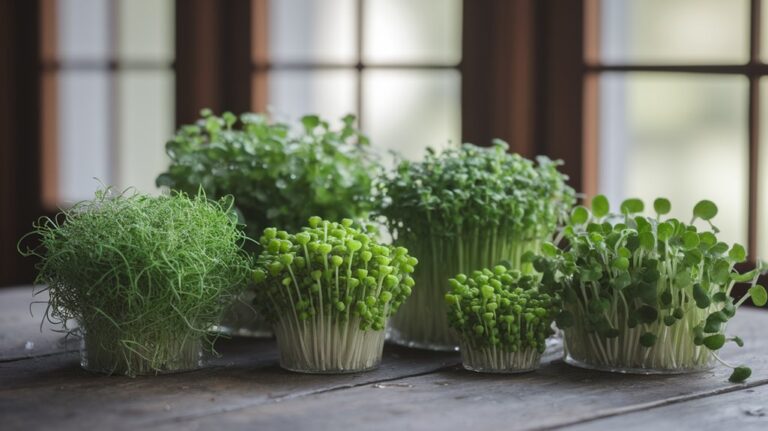
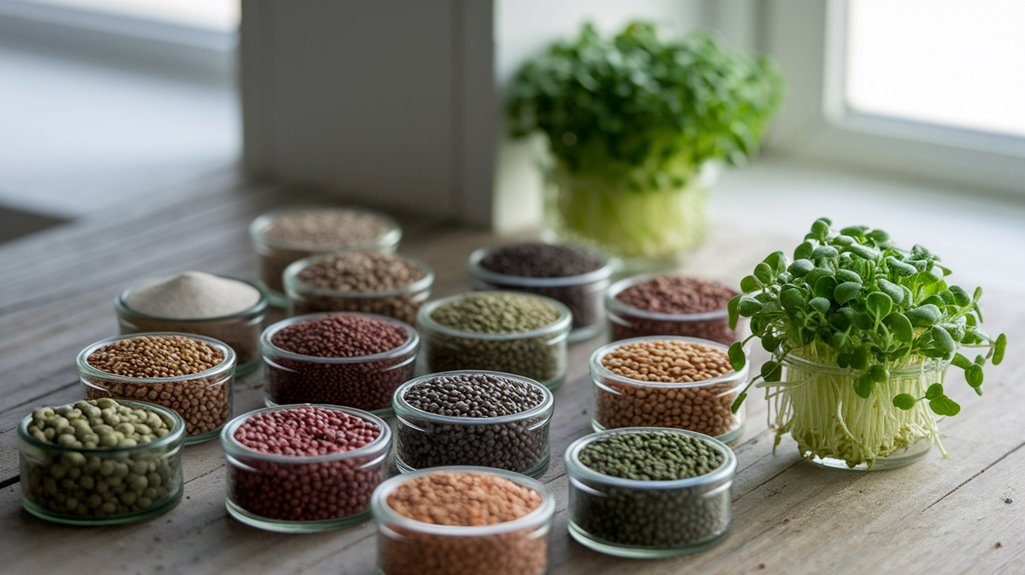
First, I consider the seed variety; I often opt for fast-growing types like arugula, radish, or basil, as they typically mature in 7 to 21 days.
Next, I check for seed quality—look for organic, non-GMO options with high germination rates.
I also pay attention to the seed size; smaller seeds can be easier to handle and sow evenly.
Additionally, I think about the flavor profiles and nutritional benefits—some microgreens like kale or broccoli are packed with nutrients.
Finally, I ensure the seeds are suitable for indoor growth, as certain varieties thrive better in limited light conditions than others.
Gathering Essential Supplies
To successfully grow microgreens indoors, I need to gather a few essential supplies.
This includes selecting the right containers and trays, choosing a suitable soil or growing medium, and ensuring I’ve proper lighting options for optimal growth.
Each of these elements plays a crucial role in the health and productivity of my microgreens.
Required Containers and Trays
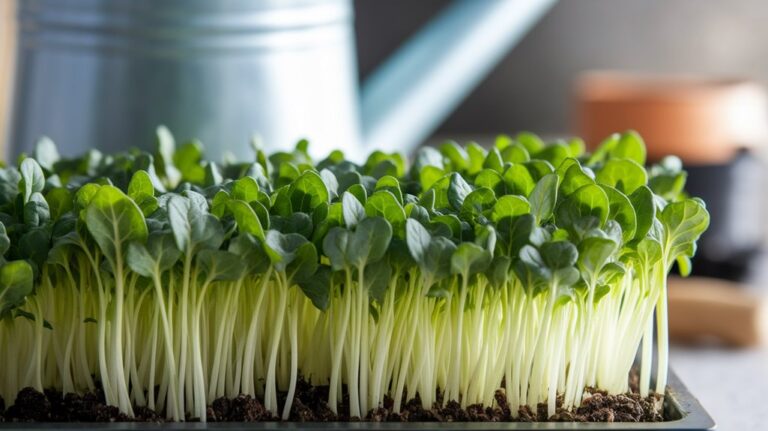
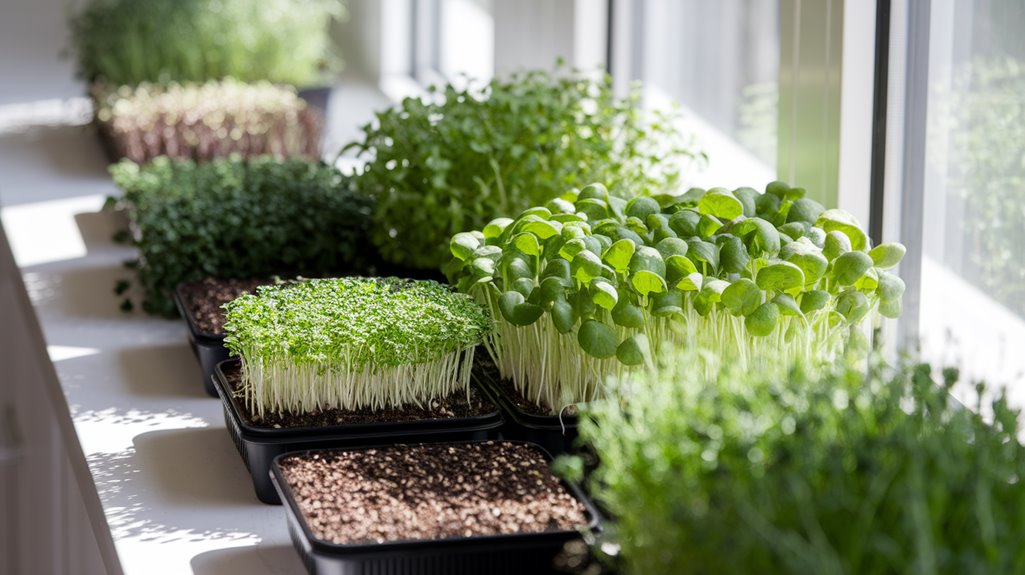
Choosing the right containers and trays is crucial for successful indoor microgreen cultivation. I recommend using shallow trays that are at least 1-2 inches deep to allow for proper root development. Here’s a quick reference table for container options:
| Container Type | Benefits |
|---|---|
| Plastic Trays | Lightweight, reusable |
| Biodegradable Pots | Eco-friendly, compostable |
| Seedling Flats | Ideal for multiple varieties |
| Hydroponic Systems | Efficient water use |
| Glass Containers | Aesthetic, easy monitoring |
Make sure your containers have drainage holes to prevent waterlogging. I prefer using trays with a slightly larger surface area, as it allows for better air circulation and growth. This setup will ensure your microgreens thrive indoors.
Soil and Growing Medium
The foundation of successful microgreen cultivation lies in selecting the right soil or growing medium. I prefer using a high-quality seed-starting mix, as it provides excellent drainage and aeration.
Look for a blend that’s lightweight and free from synthetic fertilizers or pesticides. Coconut coir is another fantastic option—it’s sustainable and retains moisture well.
When I prepare my trays, I fill them with about one to two inches of the chosen medium, ensuring it’s evenly spread and lightly pressed down.
Avoid compacting the soil too tightly; microgreens need room to grow. Lastly, I always check for any pests or mold in the medium before planting, as a healthy environment is essential for robust microgreens.
Lighting Options for Growth
After setting up the right soil and growing medium, lighting becomes a key factor in nurturing your microgreens.
I’ve found that fluorescent and LED grow lights are the best options for indoor gardening. Fluorescent lights offer a full spectrum and are energy-efficient, making them great for seedlings. On the other hand, LED lights are more versatile, emitting less heat and lasting longer, which saves on electricity costs.
I typically position the lights 2-4 inches above the microgreens, ensuring they receive around 12-16 hours of light daily.
It’s crucial to monitor the plants for any signs of stretching or fading color, indicating they might need more light. Investing in a timer can help maintain consistent lighting schedules effortlessly.
Preparing the Growing Medium
When preparing the growing medium for my microgreens, I focus on selecting the right soil that offers good drainage and aeration.
I also make sure to sterilize the medium to eliminate any pathogens that could hinder growth, and I add nutrients to support healthy development.
This careful preparation sets the foundation for a successful indoor garden.
Choosing the Right Soil
Choosing the right soil is crucial for successful microgreens cultivation, as it directly impacts growth and flavor.
I prefer using a lightweight, well-draining medium that promotes healthy root development. A mix of organic potting soil and coconut coir works wonders, providing nutrients while maintaining moisture retention.
Look for a soil that’s free of additives and pesticides to ensure the purity of your microgreens. You might also consider using a seed-starting mix, which is specifically designed for germination and offers a fine texture for delicate seeds.
Sterilizing the Medium
To ensure your microgreens thrive, sterilizing the growing medium is a vital step that shouldn’t be overlooked.
I recommend preheating your oven to 180°F (82°C) and spreading the soil evenly on a baking tray. Bake the medium for about 30 minutes; this will kill off harmful pathogens and pests. Be sure to monitor the temperature to avoid overheating, which can deplete nutrients.
After baking, let the medium cool completely before using it. Alternatively, you can use steam sterilization by placing the soil in a heat-resistant container over boiling water for about 30 minutes. This method’s effective and retains more nutrients.
Whichever method you choose, sterilization sets a clean foundation for your microgreens to flourish.
Adding Nutrients Effectively
While the growing medium has been sterilized, it’s crucial to enrich it with nutrients that microgreens need for optimal growth.
I usually start by mixing organic compost or worm castings into the medium, as these provide essential macronutrients like nitrogen, phosphorus, and potassium.
To ensure a balanced nutrient profile, I also add a slow-release organic fertilizer, following the recommended application rates. Incorporating mycorrhizal fungi can further enhance nutrient absorption, promoting healthier root systems.
Remember to maintain proper moisture levels; over-saturation can leach nutrients away.
Lastly, I monitor the pH level, aiming for a range between 6.0 and 7.0, to optimize nutrient availability.
This careful preparation sets the stage for thriving microgreens.
Planting the Seeds
Once I’ve prepared my growing medium and containers, I can begin planting the seeds for my microgreens.
First, I evenly distribute the growing medium in the containers, ensuring it’s about an inch deep and level. Next, I lightly moisten the medium with water to create a suitable environment for germination.
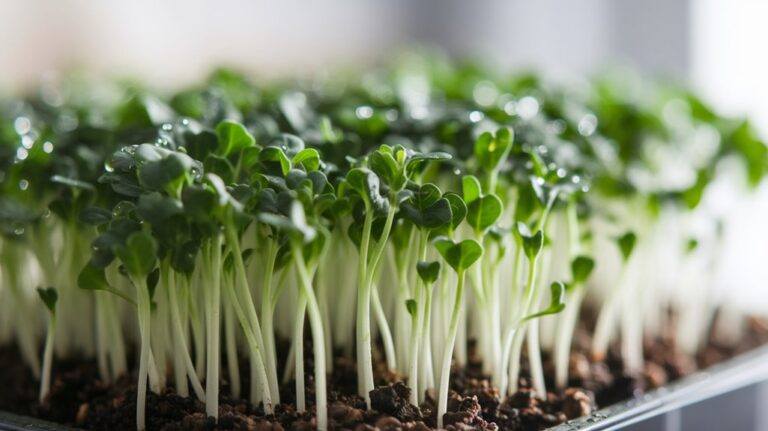
I then take the seeds, spacing them evenly across the surface, avoiding overcrowding to prevent mold issues. A general rule is to use about two to three times the seed’s thickness in depth.
After sprinkling a light layer of growing medium over the seeds, I gently press down to ensure good contact. Finally, I mist the top layer to maintain moisture without saturating the seeds, setting the stage for successful germination.
Providing Optimal Light Conditions
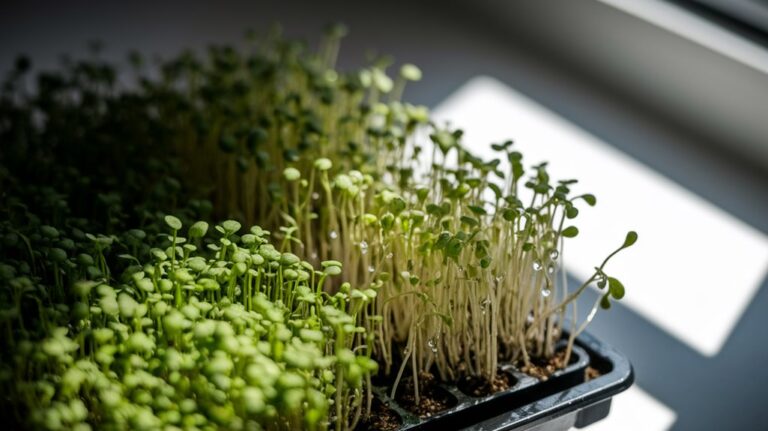
After planting the seeds, the next important step involves providing optimal light conditions for my microgreens.
I typically use grow lights, as they offer the best spectrum for photosynthesis. LED lights are energy-efficient and produce minimal heat, which is crucial to prevent overheating my seedlings.
I position the lights about 2 to 4 inches above the microgreens and keep them on for 12 to 16 hours daily. This duration mimics natural sunlight, promoting healthy growth.
If I notice my greens stretching or becoming leggy, it’s a sign they need more light. I also rotate my trays occasionally to ensure even light distribution.
Watering and Maintenance
To ensure my microgreens thrive, I focus on consistent watering and maintenance. I water my microgreens using a spray bottle, misting the soil evenly until it’s moist but not soggy. This prevents overwatering, which can lead to root rot. I check the moisture daily, especially in warmer months, and adjust my watering schedule as needed.
Additionally, I lightly aerate the soil surface with a fork to promote drainage and prevent compaction.
I also keep an eye out for any mold or pests, removing them promptly with a gentle solution of water and vinegar if necessary. Regularly inspecting my microgreens helps maintain a healthy environment, ensuring optimal growth and nutrient absorption throughout their lifecycle.
Managing Temperature and Humidity
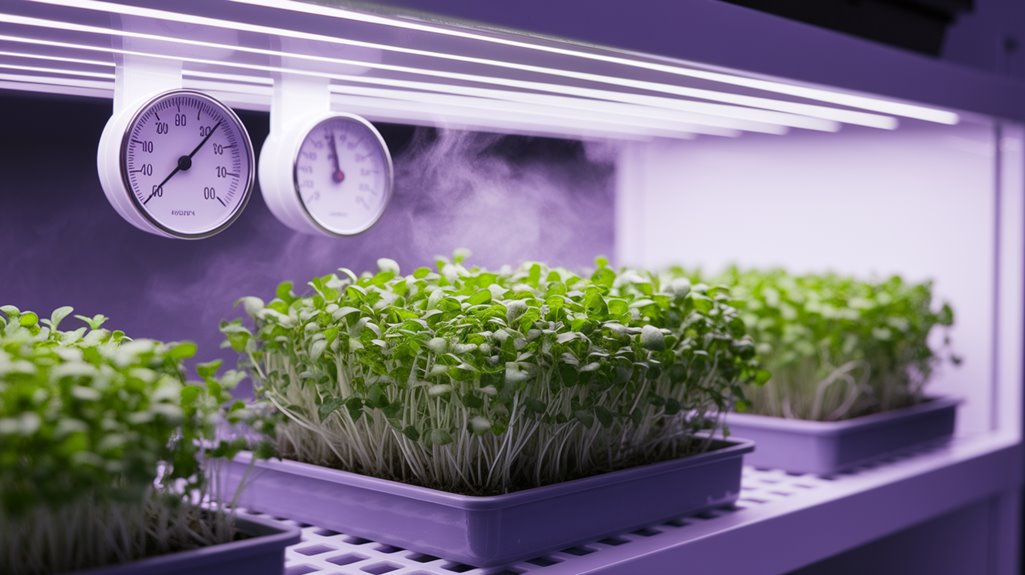
To ensure my microgreens thrive, I focus on maintaining an ideal temperature range of 65 to 75 degrees Fahrenheit.
Utilizing humidity control techniques, like misting and using trays, keeps the moisture levels just right for optimal growth.
I also rely on monitoring tools, such as hygrometers and thermometers, to track these conditions accurately.
Ideal Temperature Range
While growing microgreens indoors, maintaining the ideal temperature range is crucial for optimal germination and growth. I’ve found that temperatures between 65°F to 75°F (18°C to 24°C) work best for most varieties. If you keep the environment too cold or too hot, you risk stunted growth or poor germination rates. Here’s a quick reference table to help you:
| Microgreen Type | Ideal Temperature (°F) | Germination Time (Days) |
|---|---|---|
| Arugula | 65-75 | 5-7 |
| Basil | 70-75 | 7-14 |
| Radish | 65-70 | 5-10 |
| Sunflower | 70-75 | 7-10 |
Humidity Control Techniques
Humidity plays a pivotal role in the growth of microgreens, and I’ve learned that managing it effectively can significantly enhance germination rates and the overall health of your plants.
Here are some techniques I’ve found useful for controlling humidity:
- Use a Humidifier: This helps maintain consistent humidity levels, especially in dry indoor environments.
- Cover with Plastic Domes: Initially covering your trays with a plastic dome retains moisture and creates a mini-greenhouse effect.
- Misting: Regularly misting the microgreens with water can help maintain humidity, but be cautious not to overdo it.
- Open Air Vents: Allow for airflow as your microgreens grow, preventing excess moisture buildup and reducing the risk of mold.
Monitoring Tools and Devices
As I delve deeper into growing microgreens, I’ve discovered that using the right monitoring tools and devices can make a significant difference in managing temperature and humidity.
I rely on digital thermometers and hygrometers, which provide real-time readings, ensuring my growing environment stays within optimal ranges. A smart thermostat allows me to automate temperature adjustments, while a portable humidifier helps maintain moisture levels.
I’ve also found that data loggers are invaluable; they track changes over time, helping me identify trends and make informed adjustments. Additionally, using an app that connects to these devices lets me monitor conditions remotely, ensuring my microgreens thrive no matter where I am.
Investing in these tools has truly enhanced my indoor gardening experience.
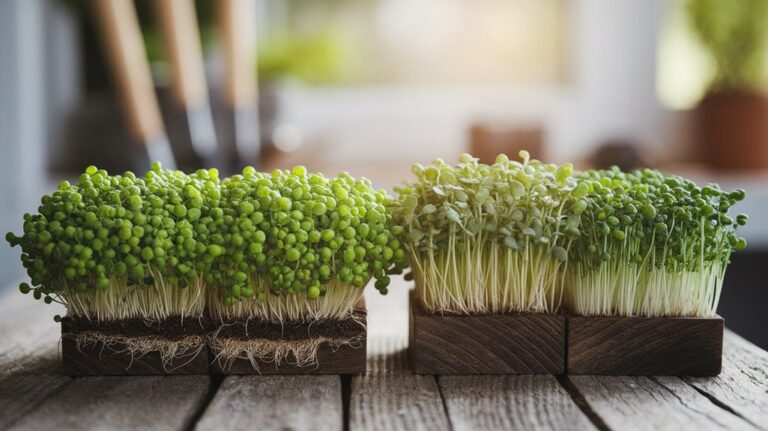
Recognizing Growth Stages
Understanding the growth stages of microgreens is essential for optimizing their cultivation indoors. Each stage provides vital insights into how to care for your plants effectively.
Here are the key stages I focus on:
- Germination: This stage lasts 2-7 days, where seeds absorb moisture and begin sprouting.
- Seedling: Typically occurring after germination, you’ll see tiny leaves emerge. This lasts about 7-14 days.
- Vegetative growth: During this phase, plants develop true leaves and grow rapidly, usually lasting 7-14 days.
- Mature microgreens: At this point, the plants are ready for harvesting. Depending on the variety, this can take anywhere from 14 to 21 days.
Recognizing these stages helps me provide the right care at each step, ensuring a successful indoor garden.
Harvesting Your Microgreens
Once your microgreens reach the mature stage, it’s time to focus on harvesting them for the best flavor and texture.
I recommend using clean, sharp scissors to ensure a precise cut. Gently grasp a small bunch of microgreens and snip them just above the soil line, avoiding any roots.
It’s crucial to harvest in the morning when the plants are most hydrated, as this enhances their crispness. Aim to cut only what you’ll use to keep the remaining greens healthy.
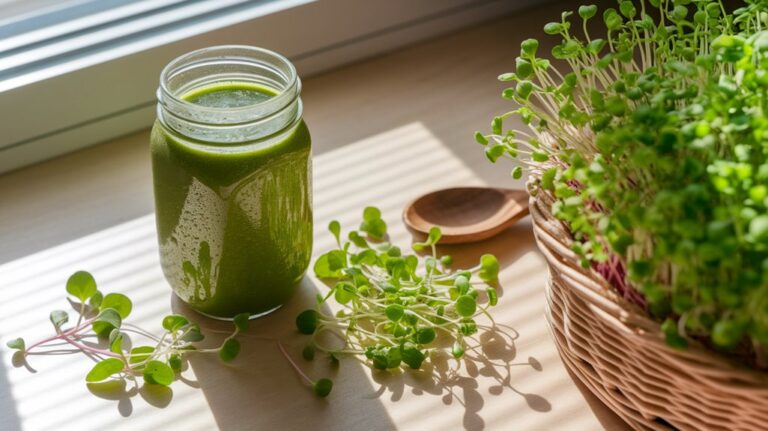
After harvesting, rinse the microgreens under cool water to remove any soil or debris. Pat them dry with a paper towel to prevent excess moisture, which can lead to spoilage.
Enjoy your fresh microgreens right away for optimal taste!
Tips for Storing and Using Microgreens
After harvesting your microgreens, proper storage is key to maintaining their freshness and flavor.
I’ve found that following these tips keeps my microgreens vibrant and tasty:
- Refrigerate Immediately: Store them in a breathable container like a paper bag or a clamshell to absorb moisture and prevent wilting.
- Use Damp Paper Towels: Placing damp paper towels in your container helps maintain humidity without excess moisture that can cause rot.
- Avoid Washing Until Use: Wash only the amount you’ll eat at a time to prevent spoilage and preserve texture.
- Consume Within a Week: For the best flavor and nutrients, try to use your microgreens within seven days of harvest.
These simple steps make a significant difference in enjoying your homegrown delights!
Frequently Asked Questions
Conclusion
By following these steps, you can successfully grow microgreens indoors year-round, ensuring a fresh supply of nutritious greens. I’ve found that with the right seeds, proper light, and attention to temperature and humidity, the process becomes both rewarding and enjoyable. Remember to harvest at the right time for maximum flavor and nutrients, and experiment with different varieties to keep things interesting. With a little patience and care, you’ll have a thriving microgreen garden at your fingertips.