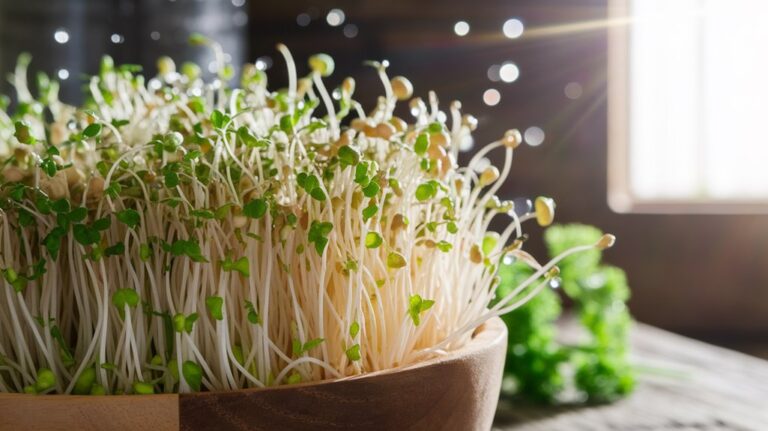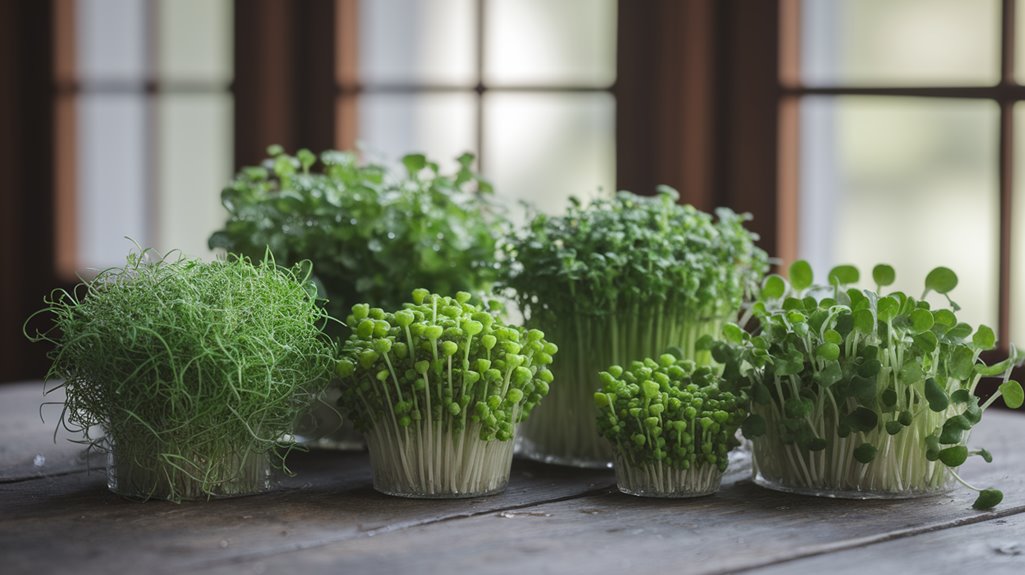
Top 10 Most Popular Microgreens You Should Grow and Eat
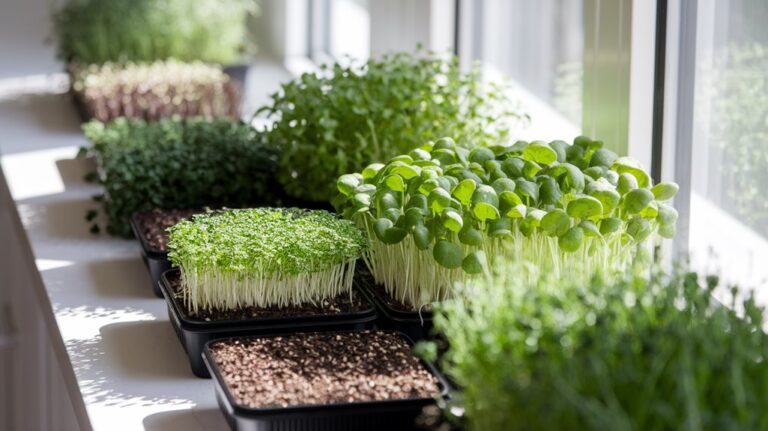
If you’re interested in growing microgreens, I recommend the top 10 varieties: Arugula, Radish, Broccoli, Pea Shoots, Sunflower, Beet, Mustard, Cilantro, and Chard. Each offers unique nutritional benefits and flavors, making them versatile additions to your meals. These microgreens are rich in vitamins, antioxidants, and can enhance your dishes, whether in salads, sandwiches, or smoothies. Stick around, and you’ll discover more about their cultivation and health advantages.
Key Takeaways
- Arugula Microgreens: Known for their peppery taste and high nutrient density, they enhance salads and sandwiches with vitamins A, C, and K.
- Radish Microgreens: Offer a zesty flavor, provide antioxidants, and are ideal for adding crunch to various dishes like salads and soups.
- Broccoli Microgreens: Mild in flavor and rich in vitamins C and K, they boost nutritional content in meals while supporting digestive health.
- Pea Shoots: Sweet and slightly grassy, these microgreens are rich in antioxidants and enhance salads and dishes with their nutritional benefits.
- Sunflower Microgreens: With a nutty flavor and packed with vitamins A, C, E, and K, they are versatile and add nutrition to smoothies and salads.
Arugula Microgreens
Arugula microgreens are a nutritious and flavorful addition to any diet, and I often recommend them for their peppery taste and high nutrient density.
These tiny greens are packed with vitamins A, C, and K, along with essential minerals like calcium and iron. The quick growth cycle, typically within 7 to 14 days, makes them an ideal choice for home growers.
They thrive in well-draining soil and require minimal light, making them accessible even in small spaces.
I find their bold flavor enhances salads, sandwiches, and garnishes, elevating simple dishes. To maximize their benefits, I suggest consuming them raw, as cooking can diminish their nutritional value.
Radish Microgreens
Radish microgreens offer a delightful crunch and a zesty flavor that can elevate various dishes. I love incorporating them into salads, sandwiches, and even as a garnish for soups.
These tiny greens are packed with nutrients, including vitamins A, C, E, and K, along with antioxidants that promote overall health. They grow rapidly, typically within 7 to 14 days, making them perfect for quick harvesting.
When cultivating radish microgreens, ensure you provide adequate light and moisture to foster optimal growth. The peppery flavor profile of these microgreens not only enhances taste but also adds visual appeal to your plate.
With their easy growth cycle and health benefits, radish microgreens are a must-try for any home gardener.
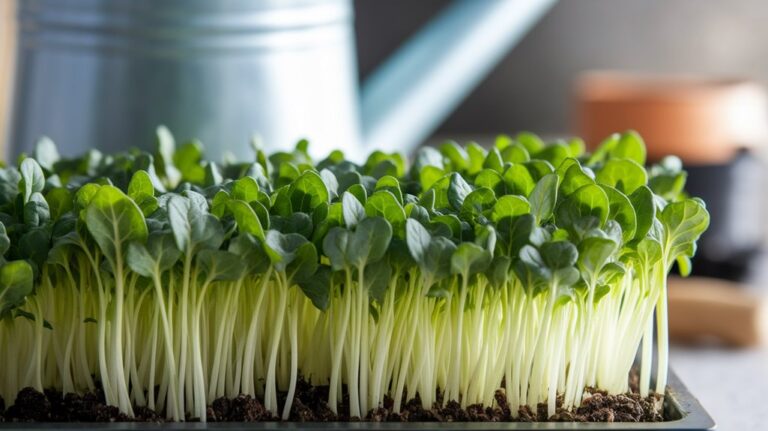
Broccoli Microgreens
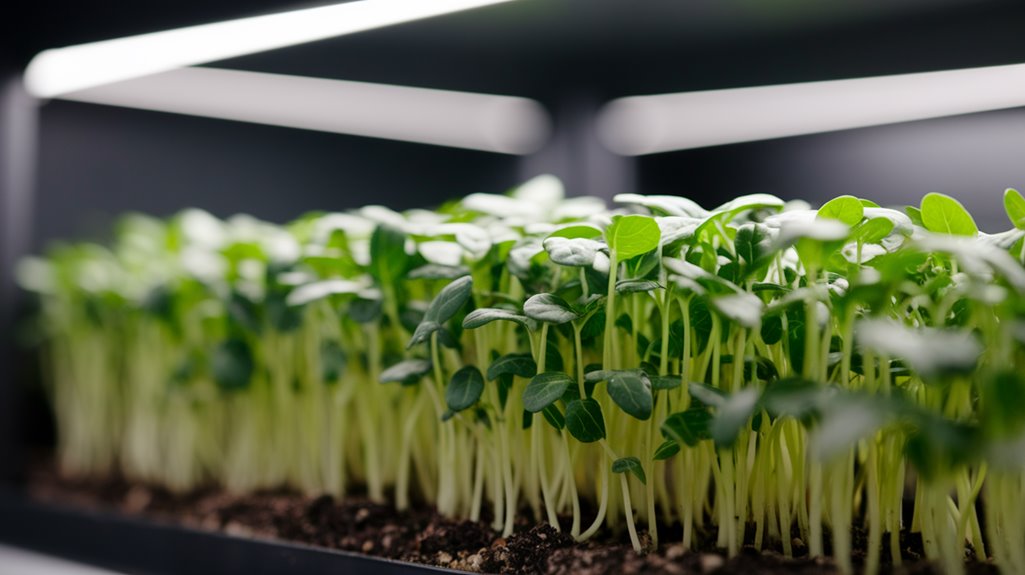
Broccoli microgreens are packed with nutrients, making them a powerhouse for any diet.
I’ll share some effective growing tips and techniques to help you cultivate these greens at home.
Let’s explore how you can maximize their health benefits while enjoying a fresh harvest.
Nutritional Benefits of Broccoli
Microgreens pack a powerful nutritional punch, and broccoli microgreens are no exception. These tiny greens are loaded with vitamins, minerals, and antioxidants that can significantly boost your health. I’ve discovered that just a small serving can offer impressive benefits.
Here’s a quick look at their nutritional profile:
| Nutrient | Amount per 100g |
|---|---|
| Vitamin C | 89 mg |
| Vitamin K | 101.6 µg |
| Calcium | 47 mg |
Broccoli microgreens contain sulforaphane, a compound linked to cancer prevention. Their high fiber content also promotes digestive health. Incorporating these microgreens into your diet can be a simple yet effective way to enhance your overall nutrition. Trust me, you won’t regret adding them to your meals!
Growing Tips and Techniques
Although growing broccoli microgreens may seem daunting at first, it’s a straightforward process that anyone can master.
Start by soaking your seeds for about four hours to enhance germination. Use a shallow tray filled with seed-starting mix, ensuring it’s evenly moistened but not soggy. Spread the soaked seeds evenly across the surface, then lightly cover them with a thin layer of soil.
Mist the surface to keep it moist, and cover the tray with a lid or plastic wrap to create a humid environment. Once germination occurs, remove the cover and place the tray in indirect sunlight.
Water daily to keep the soil moist, and in about 7 to 14 days, your broccoli microgreens will be ready for harvest. Enjoy!
Pea Shoots
Pea shoots aren’t only delicious but also packed with essential nutrients, making them a fantastic addition to any diet.
I’ve found that they thrive in specific growing conditions, which can significantly enhance their flavor and nutritional value.
Let’s explore the benefits and ideal environments for cultivating these vibrant microgreens.
Nutritional Benefits of Pea Shoots
When I explore the nutritional profile of pea shoots, I’m often impressed by their impressive range of vitamins and minerals.
These microgreens are rich in vitamin C, which supports the immune system, and vitamin K, essential for bone health. They also contain significant amounts of vitamin A, promoting eye health and skin integrity.
Additionally, pea shoots are a good source of folate, crucial for DNA synthesis and repair. Their fiber content aids digestion, while the antioxidants present help combat oxidative stress.
I find their balance of macronutrients, including protein, beneficial for muscle repair. Overall, incorporating pea shoots into my diet not only enhances flavor but also boosts nutritional intake, making them a smart choice for health-conscious individuals.
Ideal Growing Conditions
To successfully cultivate pea shoots, it’s essential to create the right growing conditions.
First, I recommend planting in well-draining soil, ideally a seed-starting mix that retains some moisture. Pea shoots thrive in temperatures between 60°F and 75°F (15°C to 24°C).
I also find that providing around 12 to 16 hours of light daily, either from natural sunlight or grow lights, significantly boosts growth rates. Maintain consistent moisture in the soil, but avoid waterlogging, as this can cause root rot.
A humidity level of about 40-60% is optimal, so consider using a humidity dome during germination. Lastly, ensure good air circulation to prevent mold and promote healthy growth.
Following these guidelines will yield vibrant and nutritious pea shoots.
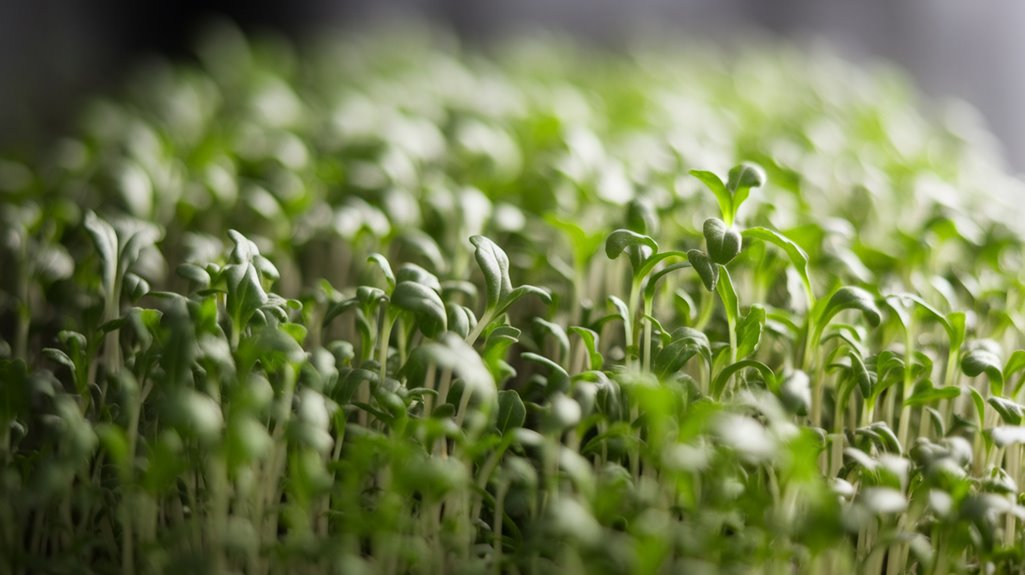
Sunflower Microgreens
Sunflower microgreens are a powerhouse of nutrition and flavor, making them a popular choice for home growers. They’re rich in vitamins A, C, E, and K, along with essential minerals like calcium and iron. Their nutty taste complements salads, sandwiches, and smoothies perfectly.
Here’s a quick comparison of sunflower microgreens’ benefits:
| Nutrient | Amount per 100g |
|---|---|
| Vitamin A | 12,000 IU |
| Vitamin C | 20 mg |
| Calcium | 100 mg |
Growing sunflower microgreens is straightforward. I recommend starting with high-quality seeds, using a shallow tray, and ensuring adequate light. You’ll enjoy their rapid growth and vibrant flavor within just 7-10 days!
Basil Microgreens
Basil microgreens aren’t only flavorful but also packed with essential nutrients that can enhance your diet.
I’ll share some effective tips and techniques for growing these vibrant greens at home.
Let’s explore how to maximize their nutritional benefits while ensuring a successful growing experience.
Nutritional Benefits of Basil
While exploring the world of microgreens, I’ve found that basil microgreens stand out for their impressive nutritional profile.
These tiny greens are packed with essential vitamins and minerals, including vitamins A, C, and K, which support immune function, skin health, and bone density.
Basil microgreens also contain significant amounts of antioxidants, such as flavonoids and polyphenols, which combat oxidative stress in the body.
Additionally, they’re a good source of essential oils, particularly eugenol, known for its anti-inflammatory and antibacterial properties.
Incorporating basil microgreens into your diet can enhance not only flavor but also nutritional value, as they provide a concentrated dose of nutrients in a small serving.
Their benefits make them a worthwhile addition to any health-conscious meal.
Growing Tips and Techniques
To enjoy the nutritional benefits of basil microgreens, it’s important to understand the best practices for growing them.
First, select high-quality basil seeds and soak them in water for about 4 hours to enhance germination. Use a sterile, well-draining soil mix, filling your container about an inch deep. Scatter the seeds evenly and lightly press them into the soil, ensuring good contact. Mist the surface with water, then cover the container to create a humid environment.
Place it in a warm, bright location, but avoid direct sunlight until the seeds sprout. Keep the soil consistently moist but not soggy.
Once they reach about 1-2 inches in height, you can harvest your flavorful basil microgreens using scissors. Enjoy!
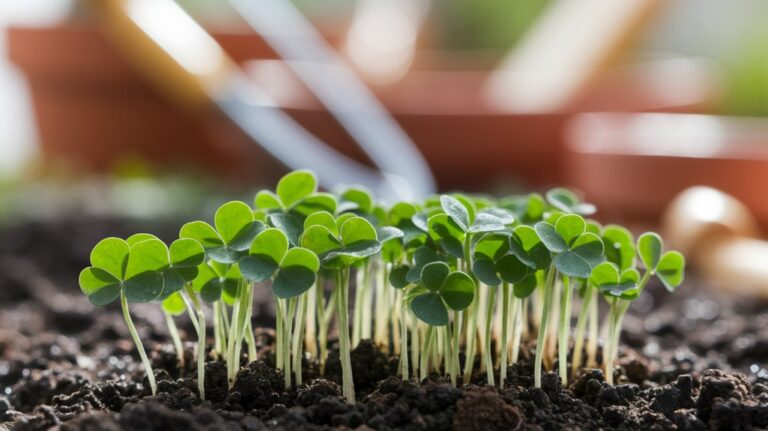
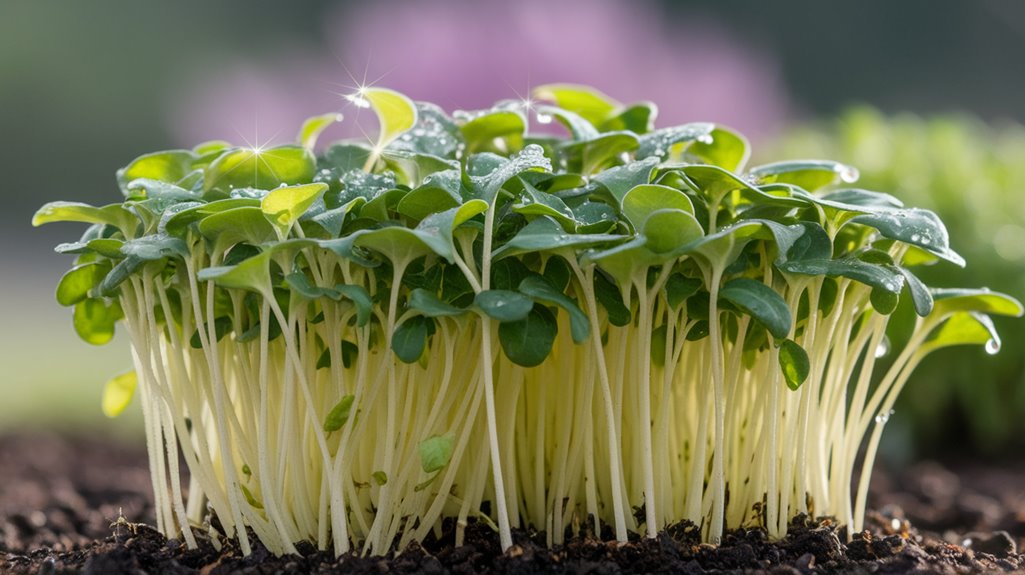
Beet Microgreens
Beet microgreens, with their vibrant purple-red leaves and earthy flavor, are a fantastic addition to any kitchen garden. They’re not only visually appealing, but they also pack a nutritional punch. Rich in vitamins A, C, and K, these microgreens support overall health. They grow quickly, typically ready for harvest in just 7-14 days.
Here’s a quick comparison of beet microgreens with other popular varieties:
| Microgreen | Flavor Profile | Nutritional Benefits |
|---|---|---|
| Beet | Earthy and sweet | High in vitamins A, C, K |
| Radish | Spicy and peppery | Rich in antioxidants |
| Sunflower | Nutty and mild | Protein and healthy fats |
| Pea Shoots | Sweet and tender | Vitamins A, C, and folate |
Try incorporating beet microgreens into your salads or sandwiches for a colorful, nutritious boost!
Mustard Microgreens
Mustard microgreens are a zesty powerhouse, bringing a sharp, peppery flavor that can elevate various dishes. I’ve found these vibrant greens to be incredibly versatile in my kitchen.
Here are three key benefits of growing and eating mustard microgreens:
- Nutrient Density: Packed with vitamins A, C, and K, they contribute to overall health with minimal calories.
- Culinary Versatility: Their bold flavor enhances salads, sandwiches, and even stir-fries, adding a unique twist to standard recipes.
- Easy to Grow: Mustard microgreens thrive indoors or outdoors, requiring minimal space and just a week or two to harvest.
Incorporating mustard microgreens into your diet not only diversifies your meals but also boosts their nutritional value significantly.
Cilantro Microgreens
Cilantro microgreens offer a fresh burst of flavor, making them a delightful addition to various cuisines. These tiny greens, harvested just after the first true leaves emerge, pack a punch of the characteristic cilantro taste that many enjoy.
They thrive in well-draining soil and require around 14 days to reach maturity, making them quick and rewarding to grow. I recommend providing moderate sunlight, as too much can cause bitterness.
Rich in vitamins A, C, and K, cilantro microgreens also boast antioxidants that promote overall health. I often sprinkle them on tacos, salads, or soups, enhancing both flavor and presentation.
Their vibrant green color and distinct taste can elevate any dish, introducing a fresh, aromatic element that’s simply irresistible.
Chard Microgreens
Chard microgreens present a vibrant and nutritious option for home growers and culinary enthusiasts alike.
These tiny greens pack a punch in both flavor and health benefits, making them a fantastic addition to various dishes.
When growing chard microgreens, consider these key points:
- Nutrient Density: Chard microgreens are rich in vitamins A, C, and K, along with essential minerals like magnesium and iron.
- Growing Conditions: They thrive in well-drained soil with adequate light, requiring about 10-14 days to harvest after sowing.
- Culinary Uses: Their slightly earthy flavor complements salads, sandwiches, and smoothies, offering a colorful touch to any meal.
Incorporating chard microgreens into your diet not only enhances flavor but also boosts nutritional value.
Frequently Asked Questions
Conclusion
In conclusion, growing microgreens like arugula, radish, and broccoli can greatly enhance your meals with their vibrant flavors and nutritional benefits. I’ve found that incorporating these tiny powerhouses into my diet not only adds variety but also boosts my health. Whether you’re a seasoned gardener or just starting out, these top ten microgreens are accessible and rewarding to grow. So, why not give them a try and enjoy the fresh taste and benefits they bring to your table?