The Best Tools for Microgreens and Sprouts Gardening
To successfully grow microgreens and sprouts, I’ve found that using shallow trays with drainage holes promotes excellent root development. I recommend a high-quality soil mix, rich in organic matter, to enhance growth. Choosing fresh seeds from reputable suppliers is key to high germination rates, and proper watering techniques, like bottom watering and using fine-mist sprayers, help maintain moisture. Moreover, energy-efficient LED grow lights provide the necessary spectrum for growth. There’s much more to explore on this topic.
Key Takeaways
- Use shallow trays (10×20 inches) with drainage holes to promote healthy root development and prevent waterlogging.
- Select a high-quality soil mix rich in organic matter, avoiding heavy garden soils for optimal growth.
- Choose quality seeds from reputable suppliers, ensuring they are fresh and stored in airtight containers.
- Employ gentle watering tools like spray misters or watering cans with fine spouts to maintain moisture balance without over-saturation.
- Invest in energy-efficient LED grow lights or full-spectrum bulbs to support photosynthesis and enhance growth rates effectively.
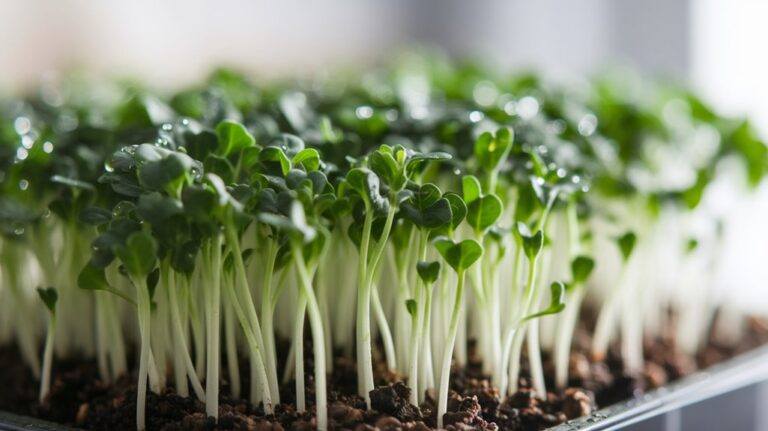
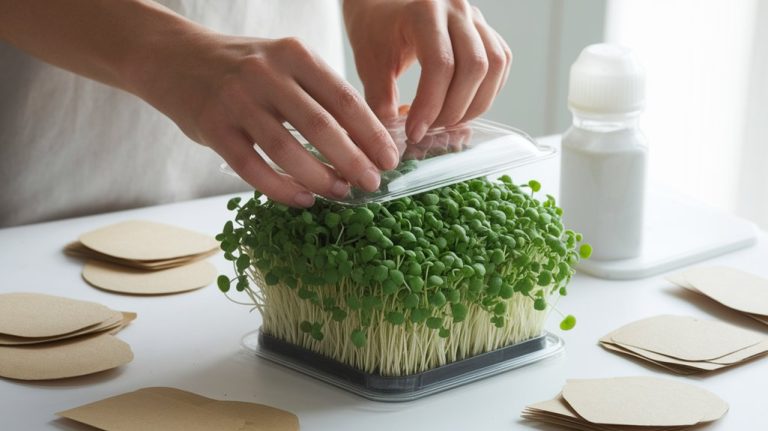
Essential Growing Containers

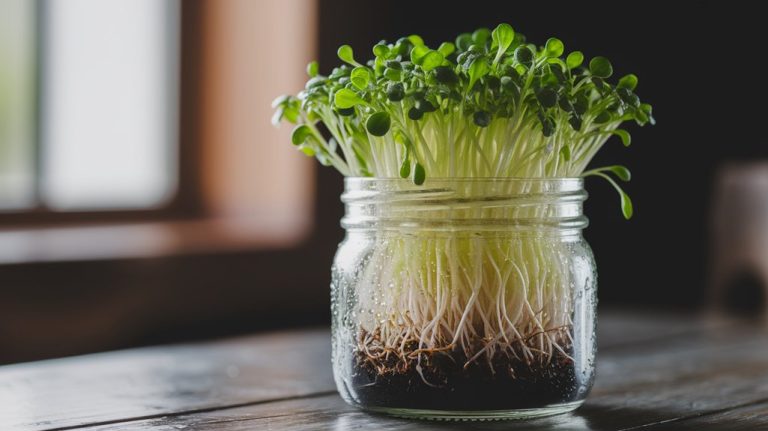
When it comes to growing microgreens, choosing the right containers is crucial for success. I’ve found that shallow trays, ideally around 2 to 4 inches deep, work best for microgreens because they allow for optimal root development.
Drainage is another key factor; containers should have holes to prevent waterlogging, which can lead to mold.
I’ve experimented with various materials, including plastic, wood, and biodegradable options. While plastic is lightweight and affordable, I prefer biodegradable containers for their environmental benefits.
Additionally, size matters – I typically opt for trays that are around 10×20 inches, as they provide ample space for multiple crops without overcrowding.
Ultimately, the right container can significantly influence the growth and health of my microgreens.
High-Quality Soil Mix
Selecting the right containers sets the stage for success, but the quality of the soil mix you use is equally important for thriving microgreens.
I’ve found that a well-balanced soil mix—rich in organic matter—promotes healthy growth and maximizes yields. Look for a blend that includes peat moss, vermiculite, and compost. This combination provides excellent drainage and aeration while retaining moisture.
Avoid heavy garden soils, as they can compact and hinder root development. Additionally, ensure the mix is free from fertilizers and pesticides to maintain the purity of your microgreens.
Testing the pH level can also be beneficial; ideally, it should range between 6.0 and 7.0. Investing in a high-quality soil mix truly makes a difference in your gardening success.
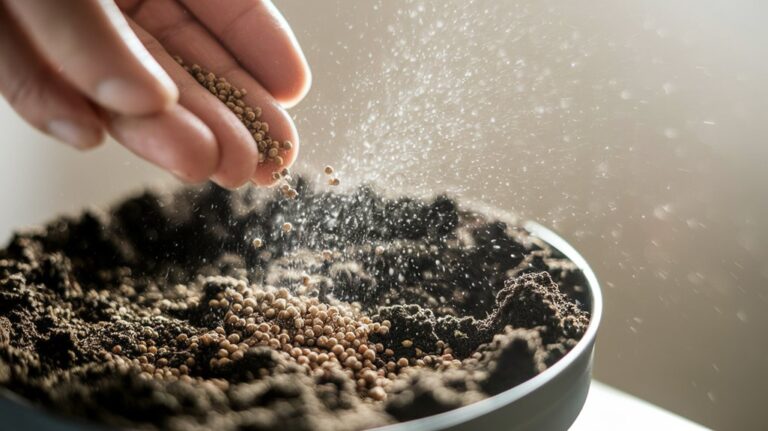
Seed Selection and Storage

When it comes to microgreens, choosing quality seeds is crucial for a successful harvest.
I’ve learned that proper seed storage can significantly impact their longevity and germination rates.
Let’s explore the best practices to ensure your seeds remain viable and ready for planting.
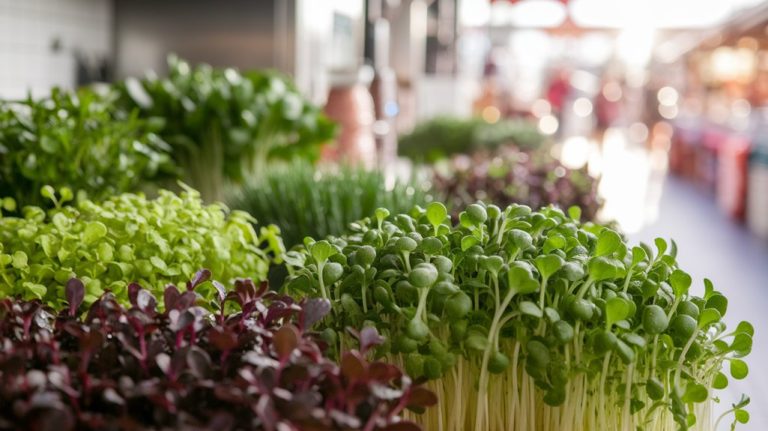
Choosing Quality Seeds
Choosing quality seeds is crucial for a successful microgreens garden, as the right seeds can significantly impact both growth rates and flavor profiles.
I always consider a few key factors when selecting seeds:
- Source: I prefer seeds from reputable suppliers known for high germination rates and organic practices.
- Variety: I look for diverse varieties that suit my taste preferences and growing conditions, ensuring a vibrant mix.
- Freshness: I check the packaging date; fresher seeds typically yield better results.
Proper Seed Storage
Proper seed storage plays a vital role in maintaining seed viability and ensuring successful germination. To achieve this, I always keep my seeds in a cool, dark, and dry environment.
Ideally, I use airtight containers to protect them from moisture and pests, as these factors can significantly reduce their lifespan. Labeling each container with the seed type and date of purchase helps me track freshness.
I also recommend checking the humidity levels in your storage area; a desiccant can absorb excess moisture if needed. Lastly, it’s crucial to avoid frequent temperature fluctuations, which can damage seeds.
Seed Longevity Tips
While selecting seeds, I always consider their longevity alongside their growth potential. Understanding seed longevity helps in planning my gardening effectively.
Here are three essential tips for ensuring my seeds last longer:
- Choose Quality Seeds: I opt for reputable brands that offer seeds with a longer shelf life and test results for germination rates.
- Store Properly: I keep seeds in a cool, dark, and dry place, using airtight containers to minimize exposure to moisture and light.
- Label and Date: I always label my seed packets with the purchase date, so I know when to use them for optimal freshness.
Watering Tools and Techniques
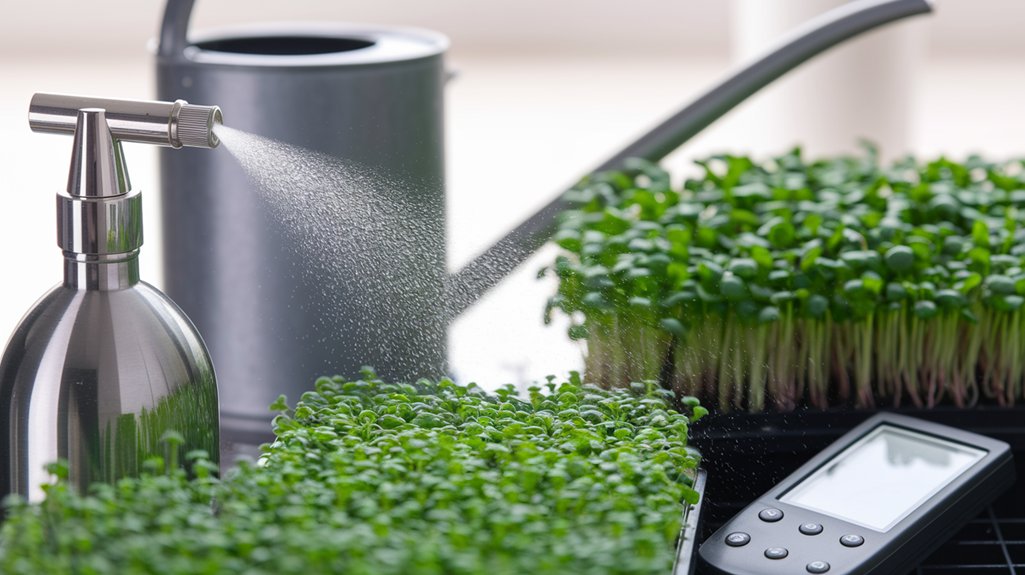
When it comes to watering microgreens, choosing the right methods and equipment is crucial for optimal growth.
I’ve found that using a gentle spray mister or a watering can with a fine spout helps maintain the delicate balance of moisture without oversaturating the soil.
Let’s explore the best watering techniques and essential tools that can enhance your microgreens gardening experience.
Best Watering Methods
Many gardeners overlook the importance of effective watering methods for microgreens, but I find that the right tools and techniques can make a significant difference in growth and yield.
Here are three effective watering methods I’ve used:
- Bottom watering: I place trays in a shallow water bath, allowing the soil to absorb moisture from the bottom up, promoting healthy root growth.
- Misting: I use a fine mist spray bottle to gently moisten the soil surface, preventing waterlogging while ensuring even moisture distribution.
- Watering can with a fine spout: This allows me to control the flow and prevent over-saturation while ensuring every seedling receives adequate hydration.
Essential Watering Equipment
To successfully grow microgreens, having the right watering equipment is crucial for ensuring optimal moisture levels and promoting healthy growth.
I’ve found that a fine mist spray bottle is essential for delicate seedlings, allowing me to evenly distribute water without overwhelming them. Additionally, a watering can with a narrow spout provides precision when I need to target specific areas.
For larger batches, a drip irrigation system can be invaluable; it delivers consistent moisture directly to the roots.
I also recommend using moisture meters to monitor soil conditions accurately, preventing over- or under-watering.
Light Sources for Optimal Growth
Choosing the right light source is crucial for achieving optimal growth in microgreens.
I’ve found that the right lighting can significantly impact germination and growth rates. Here are three light sources I recommend:
- LED Grow Lights: Energy-efficient and long-lasting, they provide the right spectrum for plant growth without generating excessive heat.
- Fluorescent Lights: These are affordable and effective for small spaces. They’re perfect for seedling stages and can cover a wide area.
- Full-Spectrum Bulbs: Mimicking natural sunlight, these bulbs support photosynthesis throughout the growth cycle, making them ideal for all stages of microgreens.
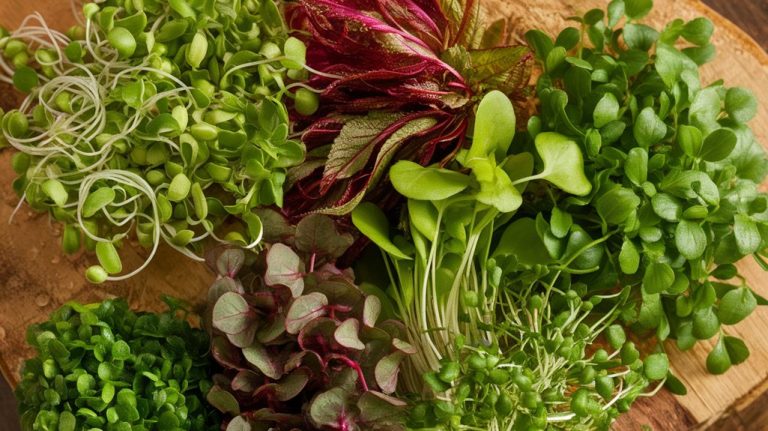
Harvesting Tools for Microgreens and Sprouts
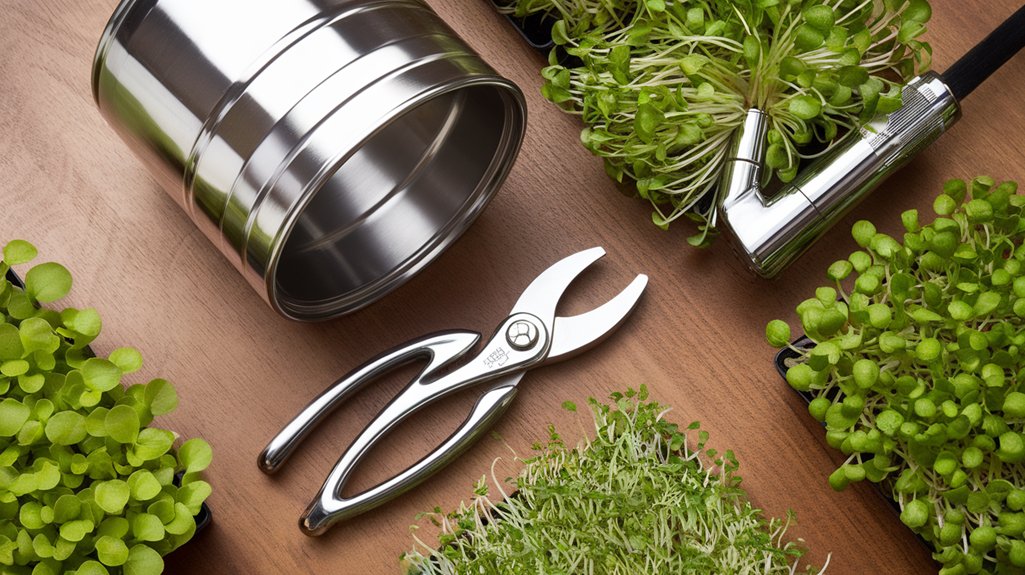
How do you ensure a clean and efficient harvest of your microgreens and sprouts? I rely on a few essential tools that make all the difference.
First, a sharp pair of scissors is crucial; they allow for precise cuts without damaging the delicate plants. I often choose scissors with a curved blade for better access to tight spaces.
Next, a harvesting tray helps catch any stray sprouts, preventing mess and waste. Additionally, I use a fine mesh sieve for rinsing harvested sprouts, ensuring they’re clean and ready for consumption.
Lastly, having sterilization wipes on hand keeps my tools clean and free from contaminants. These tools streamline the process and enhance the overall quality of my harvest.
Frequently Asked Questions
Can I Grow Microgreens Indoors Year-Round?
Absolutely, you can grow microgreens indoors year-round!
I’ve found that with proper lighting and temperature control, it’s easy to cultivate these nutrient-rich greens regardless of the season. I use LED grow lights to simulate sunlight, ensuring my microgreens thrive.
Also, maintaining a consistent temperature around 70°F helps their growth.
How Long Does It Take for Microgreens to Grow?
When I grow microgreens, I find that most varieties take about 7 to 21 days to reach harvestable size.
Factors like light, temperature, and moisture can influence their growth rate. For example, radish and mustard greens often sprout quickly, while basil and cilantro may take a bit longer.
I’ve learned that keeping an eye on them during this period helps ensure I get the best flavor and nutrition from my microgreens.
Are Microgreens More Nutritious Than Mature Vegetables?
I’ve found that microgreens often pack a nutritional punch that can exceed that of mature vegetables.
Research shows they can contain higher concentrations of vitamins, minerals, and antioxidants in smaller servings. For instance, varieties like kale and radish microgreens have been shown to deliver more nutrients per ounce compared to their fully grown counterparts.
What Are the Best Temperatures for Growing Microgreens?
When growing microgreens, I’ve found that the ideal temperature ranges from 60°F to 75°F (15°C to 24°C).
These temperatures encourage optimal germination and growth. If it gets too cold, germination slows, while excessive heat can hinder growth and flavor.
I always pay attention to my microgreens’ environment, ensuring they’re in a stable, suitable range. This way, I maximize their potential and enjoy a lush, nutritious harvest.
Can I Reuse Soil for Multiple Microgreen Crops?
I often wonder if I can reuse soil for multiple microgreen crops. In my experience, it’s possible, but I’ve found it best to refresh the soil by mixing in some new organic matter or compost.
This helps replenish nutrients and prevent disease. I usually avoid reusing soil more than once or twice, as it can lead to diminished growth and health issues.
Conclusion
In conclusion, equipping yourself with the right tools for microgreens and sprouts gardening can significantly enhance your success. By investing in essential growing containers, high-quality soil, and appropriate seeds, and employing effective watering techniques, you’ll create an optimal environment for growth. Don’t overlook the importance of proper lighting and harvesting tools, as these can make all the difference in your yield. With the right approach, you’ll enjoy a bountiful harvest that’s both rewarding and nutritious.