How to Sprout Thyme
To sprout thyme, I start by choosing the right variety, like Common Thyme for cooking. I prepare the soil by clearing debris, loosening it for drainage, and enriching it with compost. Then, I scatter seeds in a tray, lightly pressing them in. I mist the soil to keep it damp but not soggy. As they grow, I water sparingly and pinch back tips for bushiness. Once they’ve flourished, I’ll be ready to harvest my flavorful thyme! There’s more to explore about growing and using this delightful herb.
Key Takeaways
- Choose the right thyme variety, such as Common Thyme, for optimal culinary results and growth conditions.
- Prepare the soil by clearing debris, loosening to 12 inches, and enriching with compost for nutrients.
- Use a seed tray or small pots, scatter seeds evenly, and lightly press them into the soil for good contact.
- Mist the soil to settle the seeds and ensure a warm, well-lit environment for sprouting.
- Water sparingly once soil feels dry, as thyme prefers slightly dry conditions for healthy growth.
Choosing the Right Thyme Variety
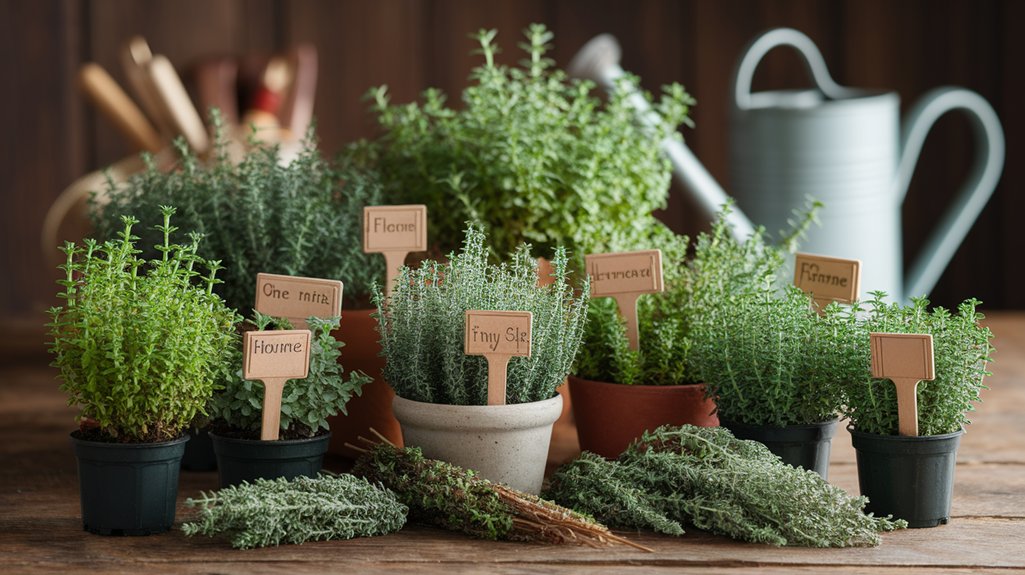
When it comes to choosing the right thyme variety, how do you know which one suits your needs best? I’ve found that it really depends on what you’re looking to achieve.
If you’re after culinary uses, Common Thyme (Thymus vulgaris) is your go-to; it’s flavorful and versatile. For ornamental purposes, consider Creeping Thyme, which adds a beautiful touch to gardens.
Then there’s Lemon Thyme, perfect for adding a citrus twist to dishes. I love experimenting with different varieties! Each one has its unique aroma and taste profile.
It’s essential to think about your climate too; some thrive in hotter conditions while others prefer cooler temperatures.
Preparing the Soil for Planting
Before I dive into planting thyme, I always make sure the soil is properly prepared, as this sets the foundation for healthy growth.
First, I clear the area of any weeds or debris, ensuring nothing competes with my thyme. Then, I loosen the soil to a depth of about 12 inches, promoting good drainage and root development.
Adding organic matter, like compost, enriches the soil with nutrients, which is crucial for thriving thyme. I also check the pH level; thyme prefers slightly alkaline soil, so I adjust it if necessary.
Finally, I rake the surface smooth, creating a welcoming bed for my thyme seeds. Taking these steps makes all the difference in growing robust, flavorful thyme!
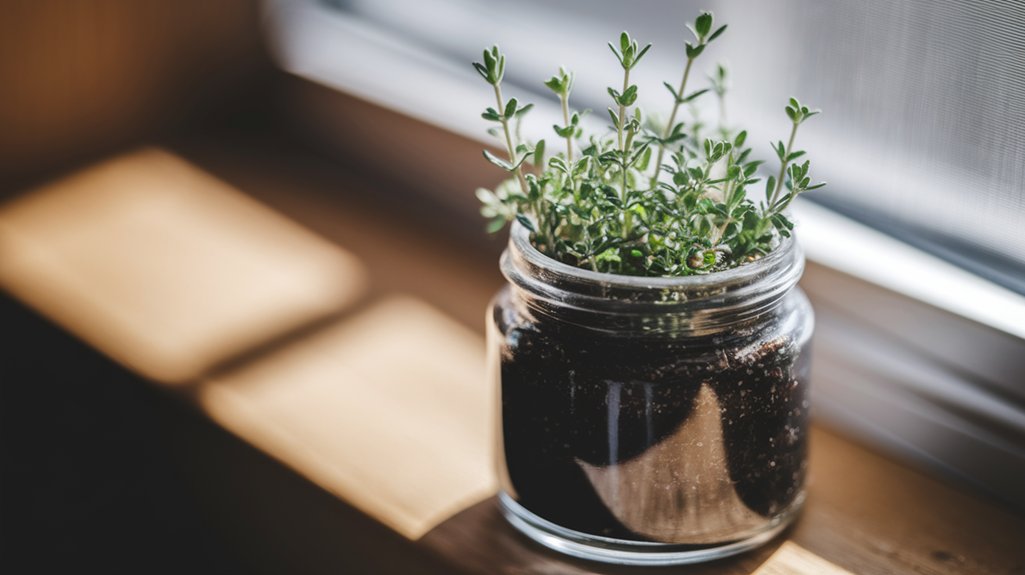
Planting Thyme Seeds
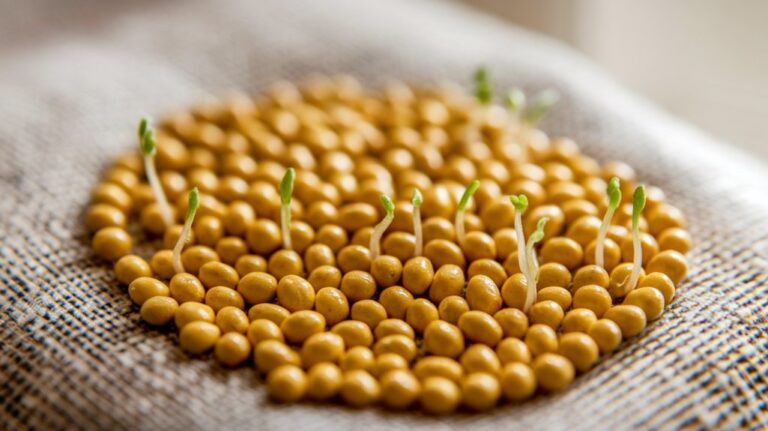
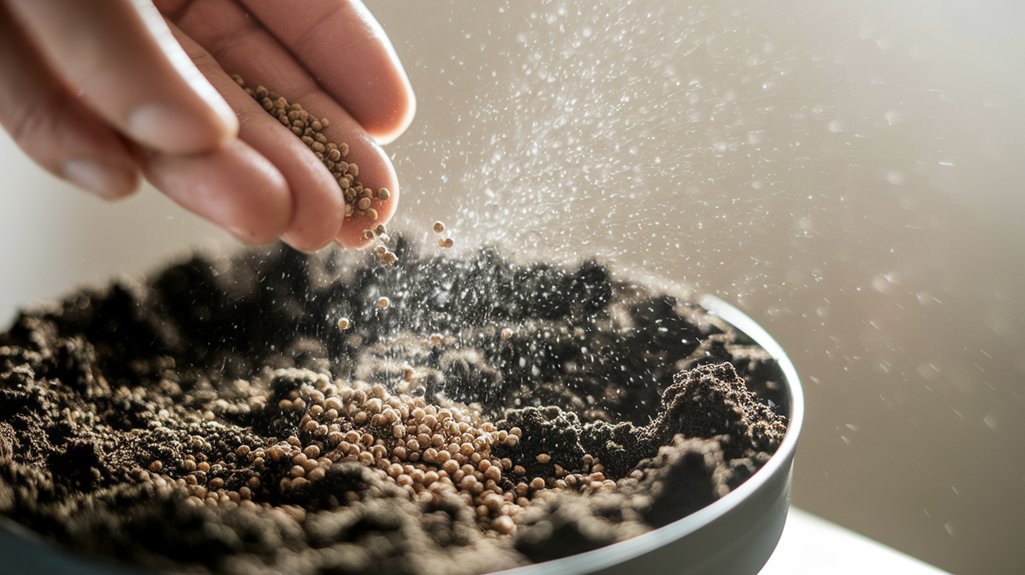
Now that the soil is prepped and ready, it’s time to plant thyme seeds. I recommend using a seed tray or small pots for better control over the growing environment.
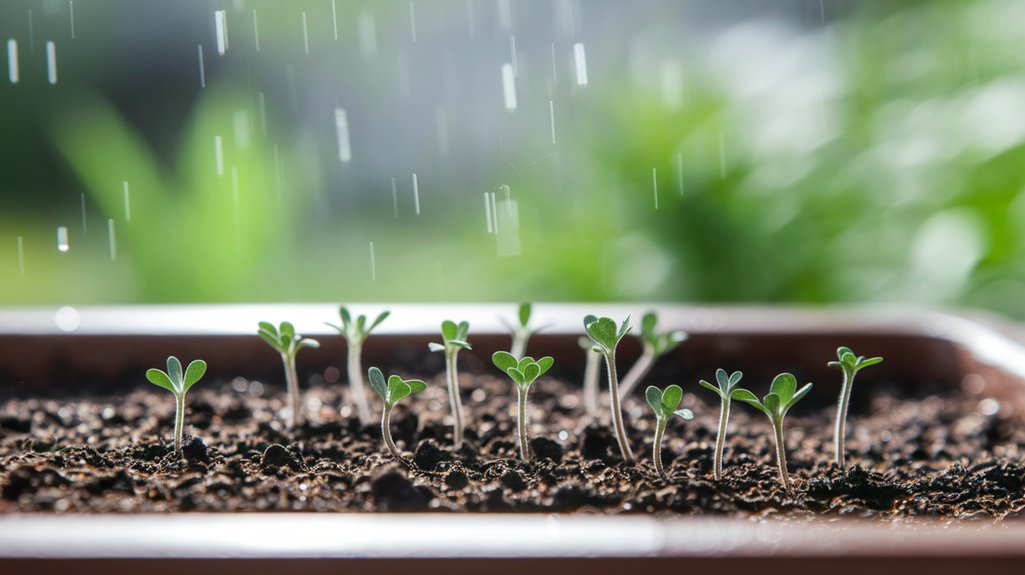
Scatter the tiny seeds evenly across the surface of the soil, about a quarter inch apart. Don’t bury them too deep; just lightly press them into the soil to ensure good seed-to-soil contact. A fine mist of water helps settle the seeds without washing them away.
Keep your planting area warm and well-lit, as thyme loves sunshine! I’m always excited to see those little green sprouts emerge, knowing I’m one step closer to fresh thyme for my kitchen.
Happy planting, and enjoy the journey!
Watering and Maintenance
After planting those thyme seeds and watching for the first signs of life, the next step is to focus on watering and maintenance.
I’ve found that thyme prefers slightly dry conditions, so I water sparingly. When the soil feels dry to the touch, I give it a gentle soak, ensuring not to overwater. It’s crucial to keep an eye on drainage; thyme roots don’t like sitting in water.
Regularly check for weeds, as they can compete for nutrients. If you notice any pests, I gently remove them by hand or use a mild soap solution.
Lastly, I love to pinch back the tips of the plants to encourage bushier growth. This little bit of care goes a long way in nurturing healthy thyme!
Providing the Right Light Conditions
Since thyme thrives in bright light, I make sure to position my plants where they can soak up plenty of sunlight. I usually place them near a south-facing window, ensuring they get at least six to eight hours of direct sunlight each day.
If I’m growing thyme indoors, I sometimes use grow lights to supplement natural light, especially during the darker months. These lights mimic sunlight and help my plants stay healthy and vibrant.
I also rotate my pots weekly to ensure all sides receive equal light exposure. By providing the right light conditions, my thyme grows strong and aromatic, ready to enhance my culinary creations.
Harvesting Thyme
Now that your thyme is thriving, it’s time to think about harvesting it at the perfect moment for optimal flavor.
I’ll share effective cutting techniques to ensure you get the most out of your plants, as well as some smart storage methods to keep your fresh thyme vibrant longer.
Let’s make sure you enjoy the fruits of your labor to the fullest!
Optimal Harvesting Time
Knowing when to harvest thyme is essential for maximizing its flavor and aroma. I usually wait until the plants are established and have plenty of lush green leaves, typically around six to eight weeks after planting.
Early morning is my favorite time to snip the leaves; that’s when the oils are at their peak. I look for vibrant stems and a fresh scent—those are my indicators that it’s time.
Harvesting just before the plant flowers ensures the best taste, as the leaves have concentrated flavors. I always harvest about one-third of the plant at a time, encouraging new growth while still enjoying that delightful thyme in my dishes.
Trust me, timing makes all the difference!
Cutting Techniques Explained
When I’m ready to harvest my thyme, I focus on using the right cutting techniques to ensure the plant stays healthy and continues to thrive.
First, I always use sharp, clean scissors or pruning shears to avoid damaging the plant. I cut just above a leaf node, which encourages new growth. I aim to take no more than one-third of the plant at a time to prevent stress.
It’s best to harvest in the morning when the oils are most concentrated. I also make sure to remove any dead or yellowing stems to keep the plant vibrant.
Storage Methods Overview
After carefully harvesting my thyme with the right cutting techniques, I turn my attention to how I can best store it to preserve its flavor and aroma.
Effective storage methods can make a big difference in maintaining that fresh, vibrant taste. Here are my top five approaches:
- Refrigeration: Store fresh thyme wrapped in a damp paper towel inside a plastic bag.
- Freezing: Chop thyme and freeze it in ice cube trays with olive oil.
- Drying: Hang bundles upside down in a cool, dark place.
- Infusing: Submerge thyme in vinegar or oil for flavor-infused condiments.
- Canning: Create thyme-infused preserves for long-term flavor.
Storing and Using Your Thyme
To make the most of your freshly sprouted thyme, it’s essential to store it properly and know how to use it effectively in your cooking. I love drying thyme for longer storage, or you can keep it fresh in the fridge for a week. When using thyme, always remember that fresh thyme packs more flavor than dried.
Here’s a quick reference to help you out:
| Storage Method | Duration |
|---|---|
| Fresh in Fridge | 7 days |
| Dried in Jar | 6 months |
| Frozen in Ice Cubes | 1 year |
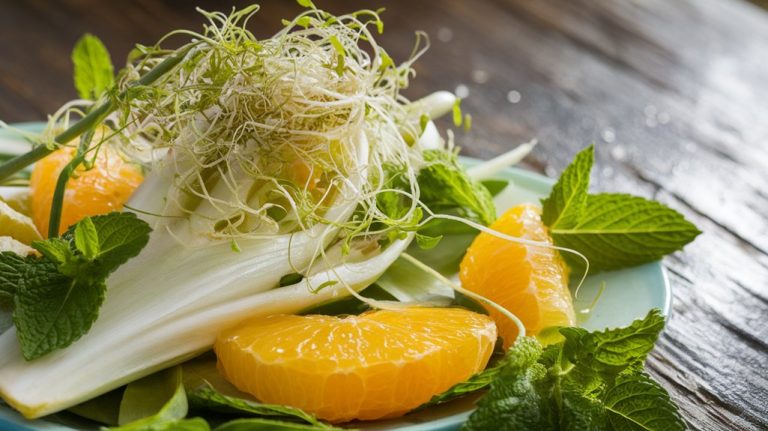
Using thyme can elevate your dishes! I often sprinkle it on roasted vegetables, add it to soups, or infuse it in oils. Enjoy exploring its culinary magic!
Frequently Asked Questions
Conclusion
Sprouting thyme is a rewarding experience that fills your garden with delightful aromas and flavors. By choosing the right variety, preparing the soil, and providing the necessary care, you can enjoy fresh thyme at your fingertips. Remember to harvest wisely and store your bounty for future culinary adventures. There’s nothing quite like the satisfaction of growing your own herbs, and thyme is a fantastic addition to any garden. So, get started and let your thyme thrive!