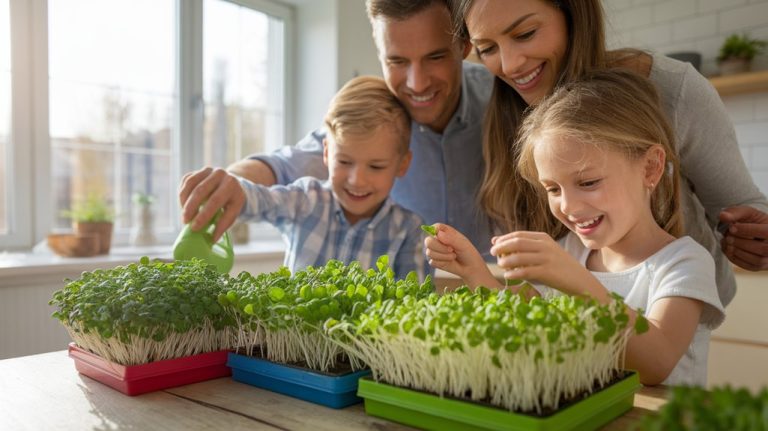
Preserving Microgreens: Tips to Keep Them Fresh Longer
To keep your microgreens fresh longer, I recommend starting with proper washing techniques—gently rinse them in cold water and dry carefully to prevent bruising. Store them in a cool place in breathable containers, avoiding overcrowding for better airflow. I’ve found that managing moisture is crucial; use a damp paper towel and check regularly. If you’re looking for ways to extend their shelf life even further, more options await you just ahead!
Key Takeaways
- Store microgreens in a cool environment (32°F to 41°F) to maintain freshness and prevent wilting.
- Use breathable containers like perforated bags to ensure proper airflow and reduce moisture buildup.
- Rinse microgreens gently with cold water, then pat dry to avoid bruising and sogginess.
- Conduct regular checks for moisture, mist lightly if dry, or leave the lid off if too wet.
- Consume microgreens within 7-14 days post-harvest for optimal flavor and nutritional value.
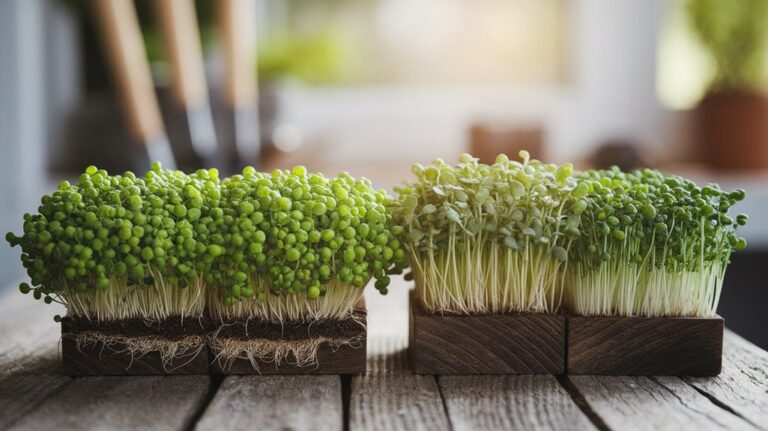
Choosing the Right Microgreens
When it comes to choosing the right microgreens, what factors should you consider? First, think about flavor. Some microgreens, like radish or mustard, pack a punch, while others, like basil, offer a milder taste.
Next, consider nutritional value; varieties like broccoli and kale are rich in vitamins and antioxidants. Also, think about your intended use—are you adding them to salads, sandwiches, or smoothies?
Texture plays a role too; crunchy options like peas can add a delightful contrast. Lastly, make sure to check for freshness. Vibrant colors and crisp leaves indicate quality.
Proper Washing Techniques
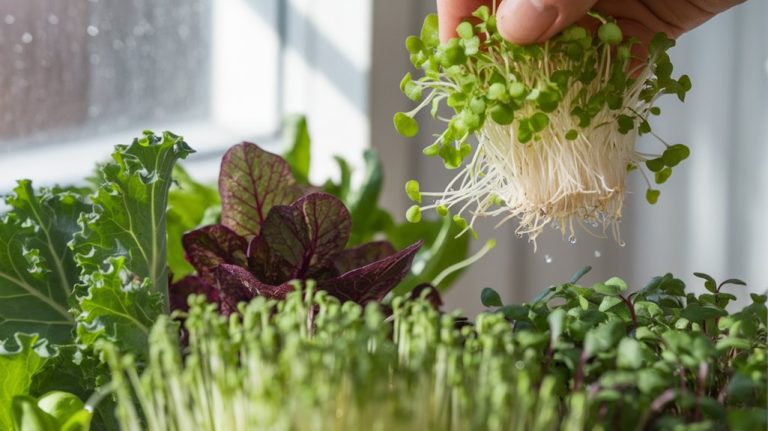
When it comes to washing microgreens, I’ve found that rinsing them with cold water is essential for removing any dirt or debris.
To ensure they’re extra clean, I sometimes use a vinegar solution as a natural disinfectant.
Finally, I always pat them dry gently to keep their delicate leaves intact.
Rinse With Cold Water
Rinsing microgreens with cold water is a crucial step in preserving their freshness and flavor. I always take the time to do this properly, as it really makes a difference.
Here are my top tips for rinsing:
- Use Cold Water: Cold water helps to maintain the crispness of the microgreens and prevents wilting.
- Gentle Handling: I recommend being gentle while rinsing to avoid bruising. A light toss works best!
- Drain Thoroughly: After rinsing, I place them in a salad spinner or on a clean towel to remove excess water. This helps prevent sogginess.
Use Vinegar Solution
To ensure my microgreens aren’t only clean but also safe to eat, I often use a vinegar solution in my washing routine. Mixing one part vinegar with three parts water creates an effective natural disinfectant.
I gently submerge my microgreens in this solution for about five minutes, allowing it to work its magic. This step helps eliminate any lingering bacteria or pesticides without compromising flavor or texture.
After soaking, I rinse them thoroughly under cold water to remove any vinegar taste. Using this vinegar solution not only prolongs the freshness of my microgreens but also gives me peace of mind knowing they’re safe to enjoy.
It’s a simple and essential step in my preservation process.
Pat Dry Gently
After rinsing my microgreens thoroughly, I focus on the next vital step: patting them dry gently. This step’s essential to maintaining their freshness and preventing spoilage.
Here’s how I do it:
- Use a Clean Towel: I grab a clean, dry kitchen towel or paper towels to absorb excess moisture without bruising the delicate leaves.
- Dab, Don’t Rub: Instead of rubbing, I gently dab the microgreens, which helps keep their structure intact while removing water.
- Avoid Overcrowding: I spread them out in a single layer to ensure even drying, which prevents any soggy patches.
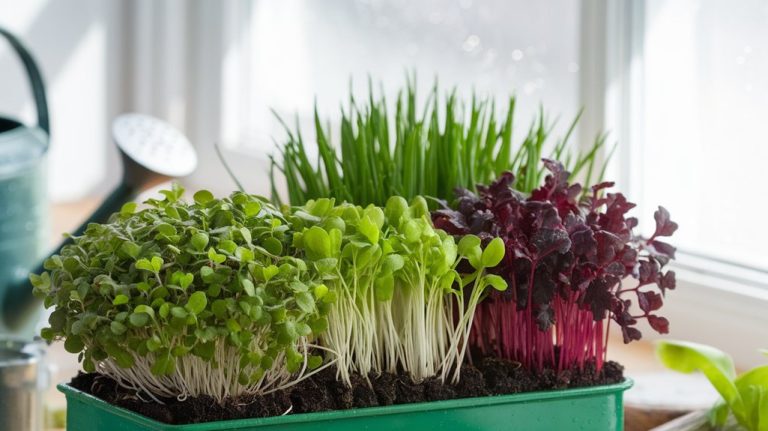
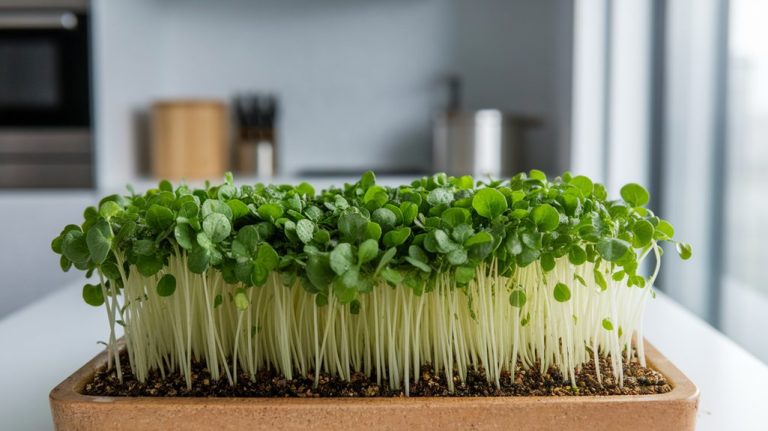
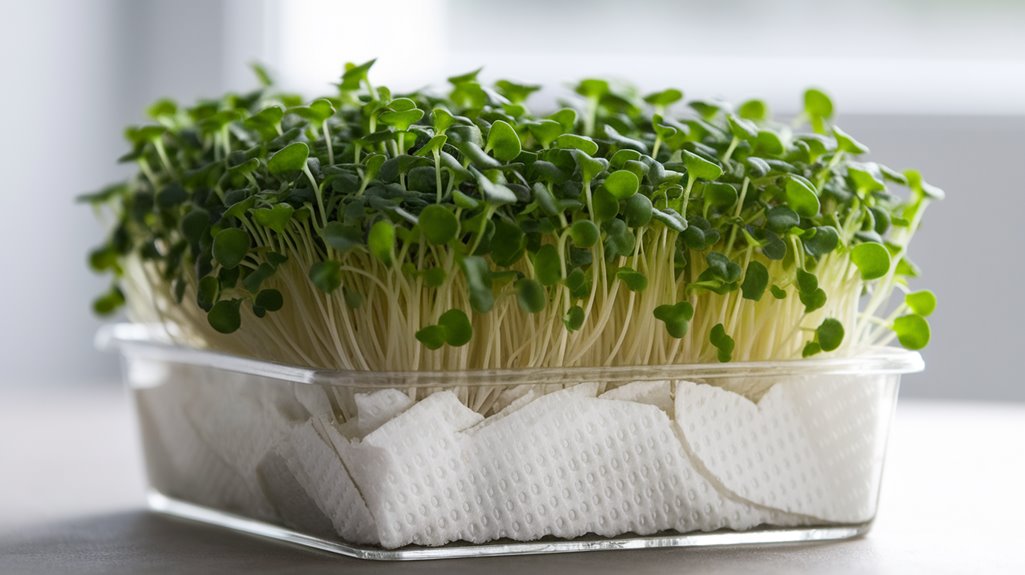
Ideal Storage Conditions
While many might underestimate the importance of proper storage, maintaining ideal conditions for microgreens can significantly enhance their freshness and nutritional value.
I’ve found that keeping them in a cool environment, ideally between 32°F and 41°F (0°C to 5°C), is crucial. A crisper drawer in your fridge works wonders!
Make sure to use a breathable container, like a perforated bag or a shallow container with a lid slightly ajar. This helps regulate airflow, preventing moisture buildup that can lead to spoilage.
It’s also wise to avoid overcrowding—give them space to breathe.
Using Moisture-Control Methods
Maintaining the right moisture levels is just as important as storing microgreens in a cool environment.
Too much moisture can lead to mold, while too little can cause wilting. Here are three moisture-control methods I’ve found effective:
- Damp Paper Towels: Place a slightly damp paper towel in your container with the microgreens. This helps maintain humidity without soaking them.
- Ventilation: Ensure your container has holes for air circulation. This prevents excess moisture buildup while keeping your greens fresh.
- Regular Checks: I check my microgreens every few days. If they seem too dry, I mist them lightly; if they’re too wet, I leave the lid off for a bit.
Using these methods, you can enjoy fresh microgreens longer!
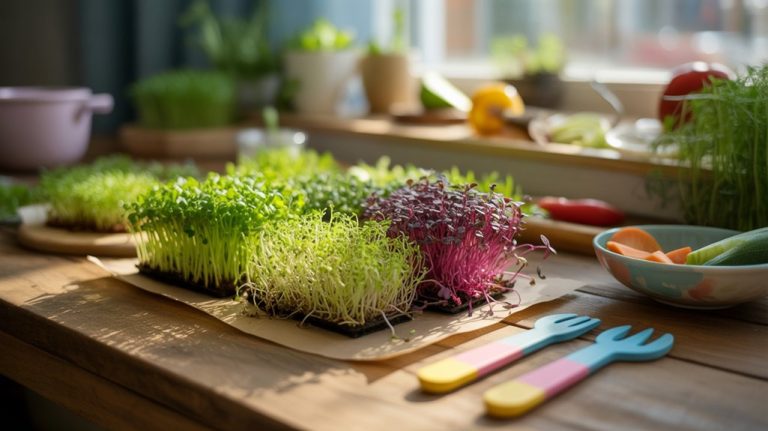
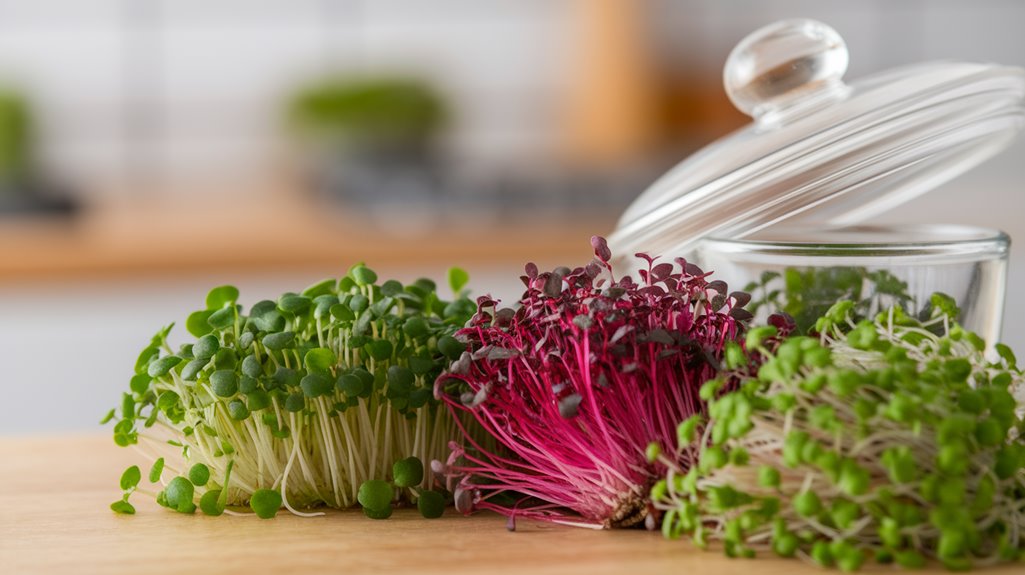
Best Containers for Preservation
When it comes to preserving microgreens, choosing the right container is key.
I’ve found that airtight options can make a significant difference, but the debate between glass and plastic really depends on your preferences.
Plus, considering ventilation and drainage will help keep your greens fresh longer.
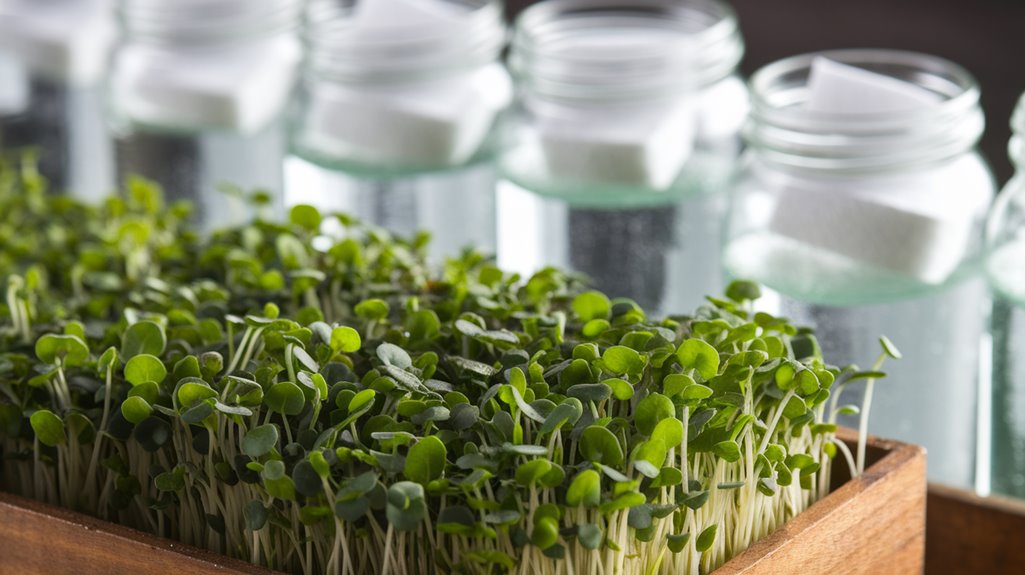
Airtight Storage Options
To keep microgreens fresh and flavorful, choosing the right airtight storage container is essential. I’ve found that the best options not only preserve their taste but also maintain their vibrant color.
Here are my top three picks:
- Mason Jars: These are perfect for smaller batches. Their glass design keeps microgreens visible while sealing in freshness.
- Vacuum-Sealed Bags: If you’re storing larger quantities, these bags remove excess air, preventing wilting and spoilage.
- Food Storage Containers: Look for BPA-free containers with airtight lids. They’re stackable and easy to store in the fridge.
Using these airtight options, I’ve successfully extended the life of my microgreens, ensuring they remain crisp and delicious for my meals!
Glass vs. Plastic
Choosing the right container can make all the difference in preserving your microgreens. I’ve found that glass and plastic each have their pros and cons.
Glass containers are non-porous, which means they don’t retain odors or stains, and they’re great for visibility—allowing you to check on your greens easily. However, they can be heavier and more prone to breaking.
On the other hand, plastic containers are lightweight and often come with airtight seals, making them convenient for stacking in the fridge. Just be cautious about chemical leaching, particularly with lower-quality plastics.
Personally, I prefer glass for short-term storage, but for longer durations, I opt for high-quality plastic. Ultimately, it’s about what works best for your lifestyle and preservation needs!
Ventilation and Drainage
While I appreciate the aesthetics of a well-stocked container, the importance of proper ventilation and drainage can’t be overstated when it comes to preserving microgreens.
Choosing the right container can significantly extend their freshness. Here are my top three recommendations:
- Ventilated Plastic Containers: These often come with built-in holes that allow air circulation, preventing moisture buildup.
- Mesh Bags: They’re excellent for drainage and airflow, keeping microgreens crisp while allowing excess moisture to escape.
- Glass Jars with Lids: If you opt for glass, choose jars with breathable lids or leave them slightly ajar to maintain airflow.
Freezing and Drying Options
When I think about preserving microgreens, freezing and drying options come to mind as practical methods to extend their shelf life while retaining essential nutrients.
Freezing is straightforward; I simply wash and dry the microgreens, then spread them on a baking sheet to freeze individually before transferring them to airtight bags. This way, I can grab a handful whenever I want.
Drying, on the other hand, requires a bit more patience. I often use a dehydrator set at a low temperature, ensuring the greens retain their color and flavor.
Once dried, I store them in glass jars away from light. Both methods not only preserve the microgreens but also allow me to enjoy their vibrant flavors long after harvest!
Frequently Asked Questions
Conclusion
By taking a few simple steps, you can keep your microgreens fresh and vibrant for longer. Choosing the right varieties, washing them properly, and storing them in the ideal conditions are all key. Plus, using moisture-control methods and the right containers can make a big difference. If you want to extend their shelf life even further, consider freezing or drying them. With these tips, you’ll enjoy the delicious benefits of microgreens in your meals for days to come!