Easy DIY Microgreen Growing Kits You Can Make at Home
I love making easy DIY microgreen growing kits at home! It’s simple and requires basic supplies like a seed tray, potting soil, and a light source. I choose nutritious seeds like basil or broccoli, and they germinate quickly. Mist the soil for moisture and watch them grow. Harvest them when they reach 2-4 inches tall for the best flavor. If you’re curious about more tips and techniques, there’s so much more to explore!
Key Takeaways
- Gather essential supplies: seed trays, potting soil, a watering can, and a light source for optimal growth conditions.
- Choose popular microgreen seeds like basil, radish, or pea shoots for flavor and nutritional benefits.
- Prepare the growing medium by filling containers with a lightweight seed-starting mix, ensuring even distribution.
- Maintain proper moisture levels by lightly misting the soil and using bottom watering to avoid disturbing seeds.
- Harvest microgreens at 2-4 inches tall, using clean scissors to cut just above the soil line for freshness.
Understanding Microgreens: What They Are and Why They’re Great
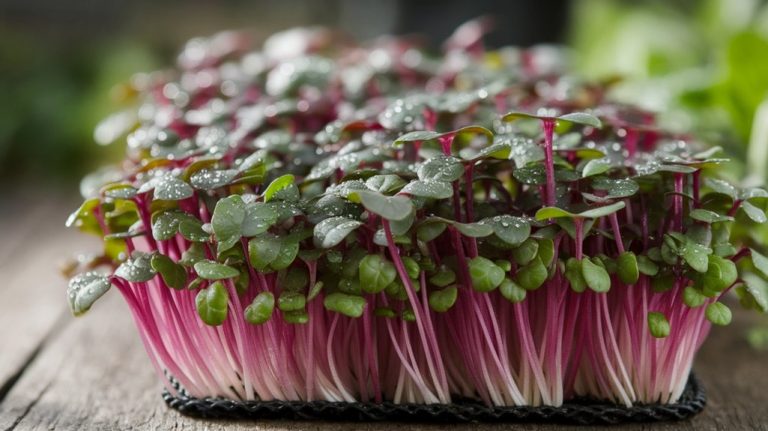
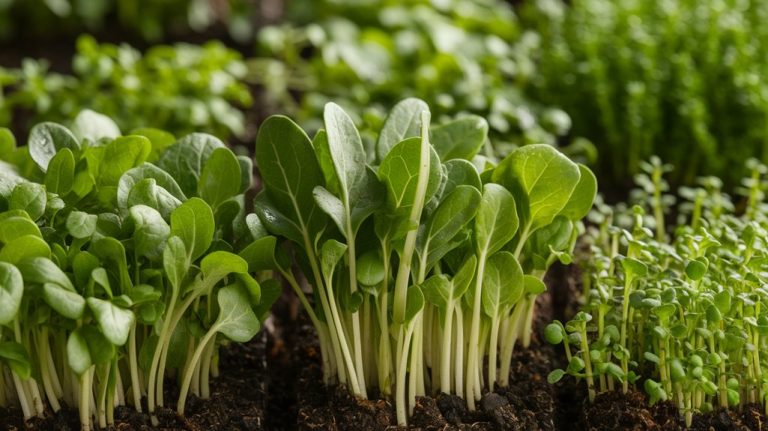
Microgreens are small, edible plants harvested at an early stage of growth, typically just after the first true leaves have developed.
These tiny greens pack a nutritional punch, often containing higher concentrations of vitamins, minerals, and antioxidants compared to their mature counterparts.
I find them incredibly versatile; they can enhance salads, sandwiches, and even smoothies.
The growing process is relatively quick, usually taking only 7 to 21 days from seed to harvest, making them perfect for impatient gardeners like me.
Plus, they require minimal space and resources, allowing anyone to cultivate them indoors or outdoors.
Their vibrant colors and unique flavors not only elevate dishes but also make them a delightful addition to any culinary experience.
Essential Supplies for Your DIY Microgreen Kit
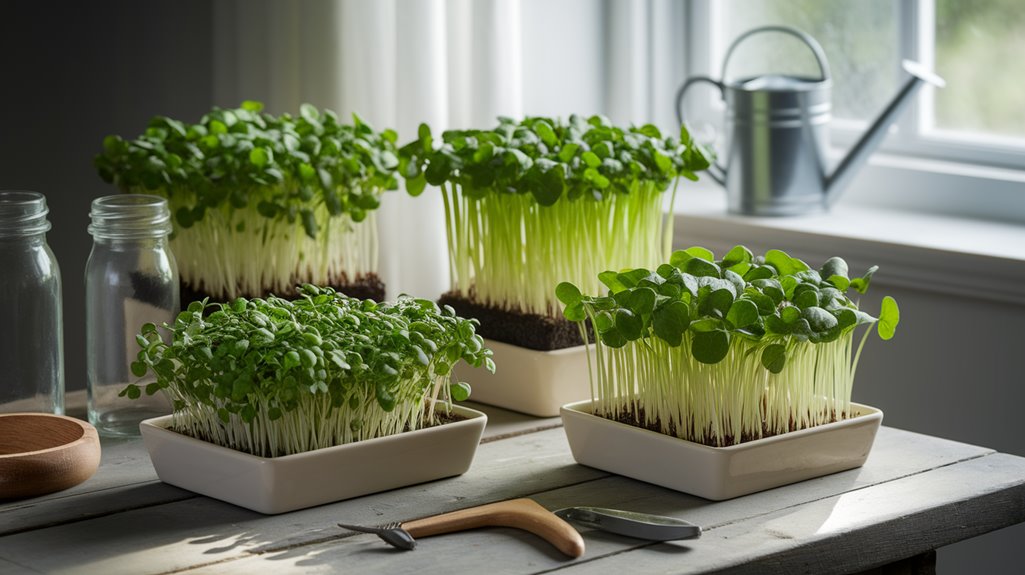
To successfully grow microgreens at home, you’ll need a few essential supplies that streamline the process and ensure optimal growth. Here’s a quick overview of what I consider must-haves for your DIY kit:
| Supply | Purpose |
|---|---|
| Seed Tray | Holds your growing medium and seeds |
| Growing Medium | Provides nutrients and support for seedlings |
| Watering Can | Ensures even moisture without overwatering |
| Light Source | Supplies adequate light for photosynthesis |
Having the right supplies makes a significant difference in the success of your microgreen garden. Each item plays a crucial role, from the seed tray’s structure to the light source’s energy. Keep these essentials handy, and you’ll be well on your way to a thriving microgreen harvest!
Choosing the Right Seeds for Your Microgreens
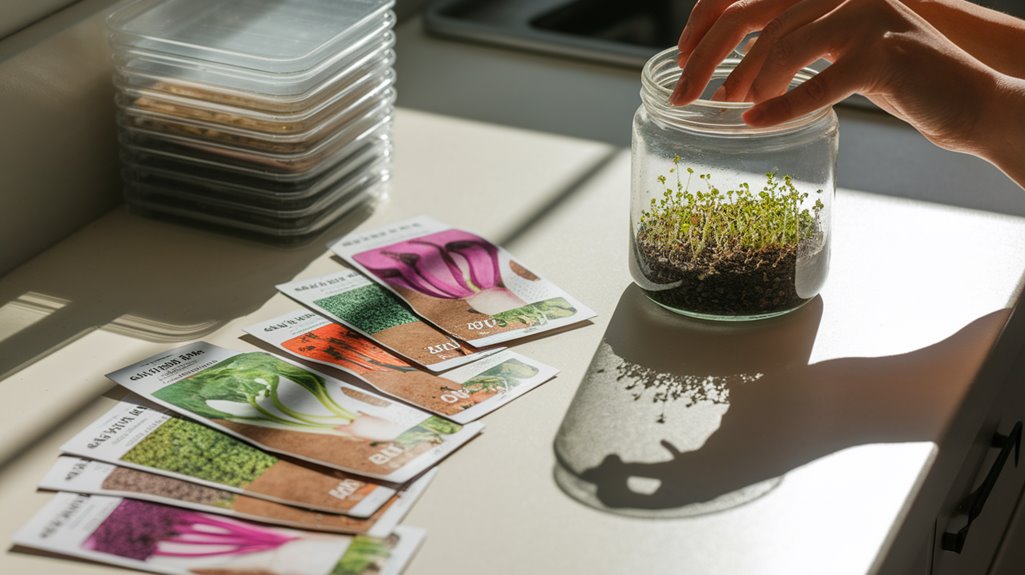
When selecting seeds for my microgreens, I focus on popular varieties that suit my taste and intended use.
Each type, from spicy radish to sweet basil, offers unique flavor profiles and culinary applications that can elevate dishes.
Understanding these differences helps me create a microgreen garden tailored to my palate and cooking style.
Popular Microgreen Varieties
Choosing the right seeds for your microgreens can significantly impact both the flavor and nutritional value of your harvest. Some popular varieties I recommend include:
| Microgreen Variety | Flavor Profile | Nutritional Benefits |
|---|---|---|
| Basil | Sweet, aromatic | Rich in antioxidants |
| Radish | Spicy, peppery | High in vitamin C |
| Pea Shoots | Sweet, crisp | Good source of fiber |
| Sunflower | Nutty, mild | Packed with protein |
| Broccoli | Mild, earthy | Contains sulforaphane |
These microgreens not only offer diverse flavors but also various health benefits. Choosing the right seeds will ensure you enjoy a flavorful and health-boosting microgreen experience.
Flavor Profiles and Uses
The flavor profiles of microgreens can greatly enhance various dishes, making it important to consider their culinary uses alongside their nutritional benefits. When choosing seeds, I focus on the distinct tastes each variety offers.
For instance, broccoli microgreens deliver a mild, slightly peppery flavor, perfect for salads and sandwiches. In contrast, radish microgreens pack a spicy punch, adding zest to tacos or stir-fries.
Basil microgreens provide a sweet, aromatic touch, ideal for garnishing pasta or pesto. I also love the subtle earthiness of beet microgreens, which complement roasted vegetables beautifully.
Step-by-Step Guide to Assembling Your Microgreen Kit
Now that you’ve chosen the right seeds for your microgreens, let’s gather the essential materials needed for your kit.
I’ll walk you through the step-by-step assembly process to ensure you set up your microgreen garden effectively.
Essential Materials Needed
Assembling your microgreen growing kit requires a few essential materials, each playing a crucial role in fostering healthy growth.
First, you’ll need a shallow container or tray, ideally with drainage holes to prevent overwatering.
Next, high-quality potting soil or seed-starting mix provides a nutrient-rich base for your microgreens.
Don’t forget to select your seeds; I recommend varieties like radish, broccoli, or sunflower for their quick growth and robust flavors.
A spray bottle for gentle watering ensures you keep the soil moist without disturbing the seeds.
Finally, a light source, such as a grow light or a sunny windowsill, is vital for photosynthesis.
With these materials, you’re well on your way to growing delicious microgreens at home!
Step-by-Step Assembly Process
To create your microgreen growing kit, I recommend starting with a clean, shallow container or tray that has drainage holes. Next, fill the container with high-quality potting soil, ensuring it’s evenly distributed and about 1-2 inches deep. Then, sprinkle your chosen microgreen seeds evenly across the surface.
Here’s a quick reference table for your assembly:
| Step | Details |
|---|---|
| 1. Prepare Container | Use a shallow tray with drainage holes |
| 2. Add Soil | Fill with potting soil, 1-2 inches deep |
| 3. Seed Distribution | Evenly sprinkle seeds on the soil surface |
Finally, mist the seeds lightly with water. Cover your container with a lid or plastic wrap to maintain humidity until germination. Remove the cover once seedlings appear, and enjoy your microgreen journey!
Best Practices for Growing Microgreens at Home
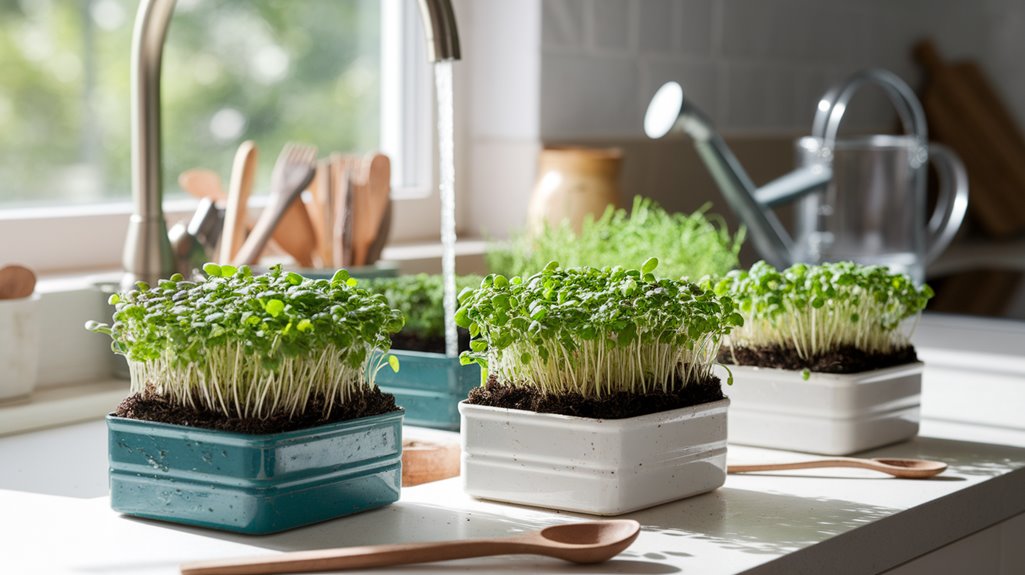
Microgreens are a vibrant addition to any home garden, offering a quick and flavorful way to enjoy fresh greens. To ensure successful growth, I’ve found that following these best practices is essential:
- Seed Quality: Always choose high-quality seeds specifically designed for microgreens. This ensures better germination and flavor.
- Soil Preparation: Use a lightweight, seed-starting mix. It retains moisture while allowing good drainage, preventing root rot.
- Watering Technique: Mist the soil instead of soaking it. This keeps the seeds in place and prevents overwatering, which can lead to mold growth.
The Importance of Light and Temperature for Microgreens
While I was experimenting with various microgreen setups, I quickly realized that light and temperature play crucial roles in their growth and development.
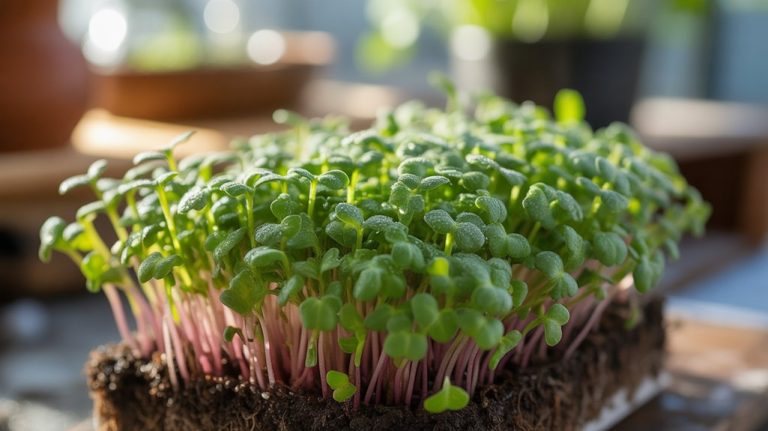
Microgreens thrive best under bright, indirect light, ideally 12-16 hours daily. I’ve found that using full-spectrum LED lights is effective, as they mimic natural sunlight and promote robust growth.
Additionally, maintaining an optimal temperature range between 65°F and 75°F fosters ideal conditions for germination and growth. If it’s too cold, germination slows down; too hot, and the plants can become leggy or stressed.
I always monitor both light intensity and temperature closely, adjusting as necessary to ensure my microgreens flourish. These factors truly make a significant difference in the quality and yield of my microgreens.
Watering Techniques for Optimal Growth
When it comes to watering microgreens, I’ve found that maintaining proper moisture levels is crucial for their growth.
Timing and frequency of watering can significantly impact their development, so I recommend closely monitoring the soil’s moisture content.
Proper Moisture Levels
Achieving proper moisture levels is crucial for the successful growth of microgreens, as insufficient or excessive watering can lead to poor germination and stunted development.
I’ve found that maintaining the right balance involves understanding a few key techniques:
- Initial Soaking: Before planting, soak your seeds for several hours. This jumpstarts the germination process, ensuring they’re adequately hydrated.
- Bottom Watering: Instead of watering from above, place your growing tray in a shallow water bath. This allows the soil to absorb moisture evenly without disturbing the seeds.
- Moisture Monitoring: Regularly check the soil’s moisture level. It should feel damp but not soggy.
Adjust your watering schedule based on environmental conditions like humidity and temperature to ensure optimal growth.
Timing and Frequency
Maintaining proper moisture levels is just the beginning; knowing when and how often to water your microgreens can significantly impact their health.
I typically check the soil daily, especially during germination, as microgreens thrive in consistently moist conditions. I find that watering once a day is often sufficient, but I adjust based on environmental factors like temperature and humidity.
Using a spray bottle for gentle misting helps avoid overwatering, which can lead to mold. I also recommend watering in the morning, allowing excess moisture to evaporate throughout the day.
Once they’re established, I ease back to every other day. Monitoring their growth closely will guide you in fine-tuning your watering routine for optimal results.
Harvesting Your Microgreens: When and How
While the excitement of growing microgreens builds, knowing when and how to harvest them is crucial for achieving optimal flavor and nutrition. Typically, I find that microgreens are ready to harvest when they reach about 2-4 inches tall, usually within 7 to 21 days after germination.
Here’s how I do it:
- Use Sharp Scissors: I always use clean, sharp scissors to avoid damaging the plants.
- Cut Above the Soil Line: I make sure to cut just above the soil line, leaving the roots intact for potential regrowth.
- Harvest in the Morning: I prefer to harvest in the morning when the plants are most hydrated.
This method ensures I get the best taste and nutritional benefits from my microgreens!
Creative Ways to Use Microgreens in Your Cooking
Microgreens add a burst of flavor and nutrition to a variety of dishes, and I love experimenting with them in my cooking. They’re versatile, and I often use them to enhance salads, sandwiches, and stir-fries. Here are some creative ways I incorporate microgreens:
| Dish Type | Microgreen Pairing | Serving Suggestion |
|---|---|---|
| Salads | Arugula or Radish | Tossed with vinaigrette |
| Sandwiches | Basil or Cilantro | Layered in a turkey or veggie sub |
| Stir-fries | Broccoli or Pea Shoots | Added just before serving for crunch |
With their intense flavors and vibrant colors, microgreens not only elevate the taste but also the presentation of my meals. Give them a try and discover your favorites!
Troubleshooting Common Microgreen Growing Issues
Growing microgreens can be incredibly rewarding, but it doesn’t come without its challenges. I’ve faced a few common issues, and here’s how I tackled them:
- Leggy Growth: If your microgreens are stretching towards the light, it means they need more light. I use a grow light if natural sunlight isn’t sufficient.
- Mold Development: Excess moisture can lead to mold. I ensure proper airflow and avoid overwatering by checking the soil moisture before watering.
- Poor Germination: If seeds aren’t sprouting, check the seed quality and ensure you soak them properly before planting.
I’ve found that fresh, high-quality seeds yield better results.
Frequently Asked Questions
Conclusion
In conclusion, creating your own DIY microgreen growing kit is not only simple but also immensely rewarding. By understanding the essentials—from choosing the right seeds to mastering watering techniques—you can enjoy a bountiful harvest right from your kitchen. Remember, the key to success lies in attentive care and experimentation. So, get started today, and elevate your culinary creations with fresh, nutrient-packed microgreens that you’ve grown yourself! Happy gardening!