Eco-Friendly Gardening: Reduce Waste With Microgreens
I’ve found that incorporating microgreens into my eco-friendly gardening efforts is a fantastic way to reduce waste and boost nutrition. These young plants are quick to grow and packed with up to 40 times more nutrients than mature options. Plus, I can use kitchen scraps to cultivate them, minimizing waste further. With their vibrant flavors and easy integration into meals, microgreens have truly transformed my cooking. Stick around, and you’ll discover more innovative gardening tips!
Key Takeaways
- Microgreens require minimal space and resources, making them an ideal choice for eco-friendly urban gardening.
- Growing microgreens indoors reduces packaging waste associated with store-bought produce.
- Utilize kitchen scraps to sprout microgreens, minimizing food waste and promoting sustainability.
- Organic seeds for microgreens avoid harmful pesticides, supporting biodiversity and environmental health.
- Community gardens focused on microgreens promote collaboration while enhancing local food production and reducing carbon footprints.
What Are Microgreens and Why Are They Important?

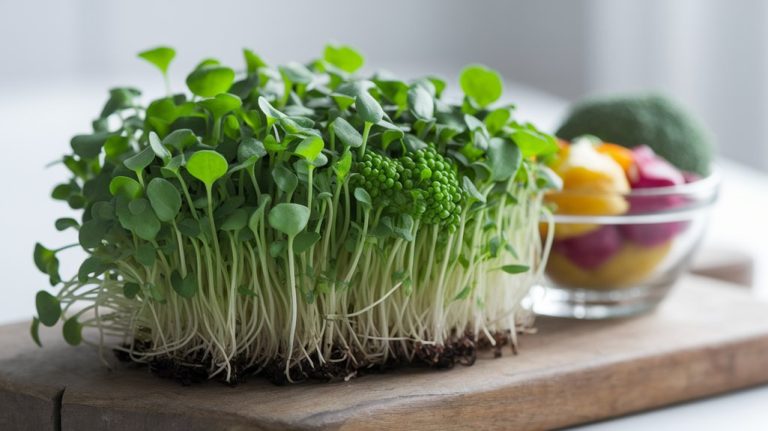
Microgreens are young, edible plants harvested just after the first true leaves emerge, and they pack a nutritional punch that’s hard to beat.
I’ve found that these tiny greens, which include varieties like kale, radish, and basil, aren’t just flavorful but also incredibly versatile. They grow quickly, often within 7 to 21 days, making them perfect for urban gardeners like me.
Their small size means they require minimal space and resources, making them an eco-friendly option. Plus, growing microgreens at home reduces waste associated with store-bought produce and cuts down on packaging.
Nutritional Benefits of Microgreens
While many people mightn’t realize it, incorporating microgreens into your diet can significantly enhance your nutritional intake. These tiny powerhouses pack a concentrated dose of vitamins, minerals, and antioxidants.
Research shows that microgreens can contain up to 40 times more nutrients than their mature counterparts. For instance, broccoli microgreens are renowned for their high sulforaphane content, which supports detoxification and reduces inflammation.
I’ve found that adding just a handful of these greens to my meals boosts not only flavor but also my overall health. They’re easy to grow, making them an accessible option for anyone looking to elevate their diet.
Embracing microgreens is a simple yet effective way to nourish your body while also enjoying fresh, vibrant flavors.
Choosing the Right Microgreens for Your Garden
When choosing microgreens for my garden, I always consider their nutritional benefits, as some varieties pack more vitamins than others.
I also look at how quickly they grow, since some can be ready to harvest in just a week, while others take longer.
Finally, exploring their culinary uses helps me select varieties that will enhance my meals and inspire my cooking.
Nutritional Benefits Consideration
As I explore the world of microgreens for my garden, I realize that choosing the right varieties can significantly boost the nutritional profile of my meals.
Research shows that microgreens like broccoli, kale, and radish pack a powerful punch of vitamins and antioxidants in small packages. For instance, broccoli microgreens contain up to 40 times more nutrients than mature plants.
I’ve learned to look for vibrant colors, as they often indicate higher levels of phytonutrients. Additionally, I consider my family’s taste preferences; if they enjoy a specific flavor, they’re more likely to eat these nutrient-dense greens regularly.
Growth Time Factors
Choosing the right microgreens for my garden involves understanding how growth time can influence my culinary and nutritional goals. Different microgreens have varying growth periods, which can help me plan my planting schedule. Here’s a quick reference table for some popular microgreens:
| Microgreen | Growth Time (Days) |
|---|---|
| Radish | 5-10 |
| Pea Shoots | 7-14 |
| Sunflower | 7-12 |
| Basil | 10-14 |
| Broccoli | 5-10 |
Culinary Uses Exploration
What culinary delights can I create with microgreens? The possibilities are endless!
I’ve discovered that basil microgreens add a burst of flavor to pesto, while radish microgreens bring a peppery crunch to salads.
If I’m looking for something unique, I often turn to beet microgreens for their vibrant color and earthy taste, perfect for garnishing dishes.
When it comes to sandwiches, sunflower microgreens provide a nutty richness that elevates even the simplest fare.
I love incorporating these tiny greens into smoothies for an extra nutrient boost.
By choosing varieties like arugula or cilantro, I can customize my dishes to suit any palate.
Exploring microgreens not only enhances my meals but also supports sustainable gardening practices.
Sustainable Growing Practices for Microgreens
While many gardeners overlook the potential of microgreens, I’ve found that adopting sustainable growing practices can significantly enhance both the health of my plants and the environment. By using organic seeds, I avoid harmful pesticides, promoting biodiversity. Additionally, I recycle kitchen scraps as compost, enriching the soil.
Here’s a quick guide to sustainable practices I follow:
| Practice | Description |
|---|---|
| Organic Seeds | Choose non-GMO, pesticide-free options. |
| Composting | Use kitchen scraps to create nutrient-rich soil. |
| Water Conservation | Implement a drip irrigation system to minimize waste. |
| Natural Pest Control | Utilize beneficial insects to manage pests. |
These methods not only support my microgreens but also contribute to a healthier planet. Embracing sustainability in my gardening journey has been incredibly rewarding.
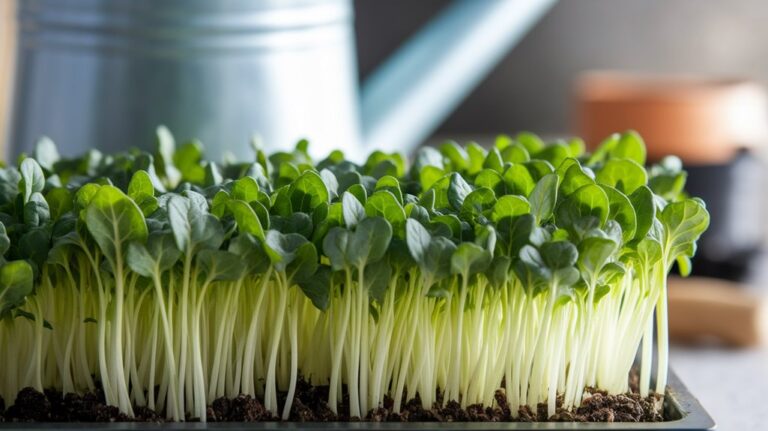
How to Grow Microgreens Indoors
Growing microgreens indoors is a rewarding way to bring fresh flavors to your meals while keeping things sustainable.
I’ve found that selecting the right containers, soil, and seeds is crucial for success, along with ensuring they get adequate light.
Let’s explore these essential elements to cultivate a thriving indoor microgreens garden.
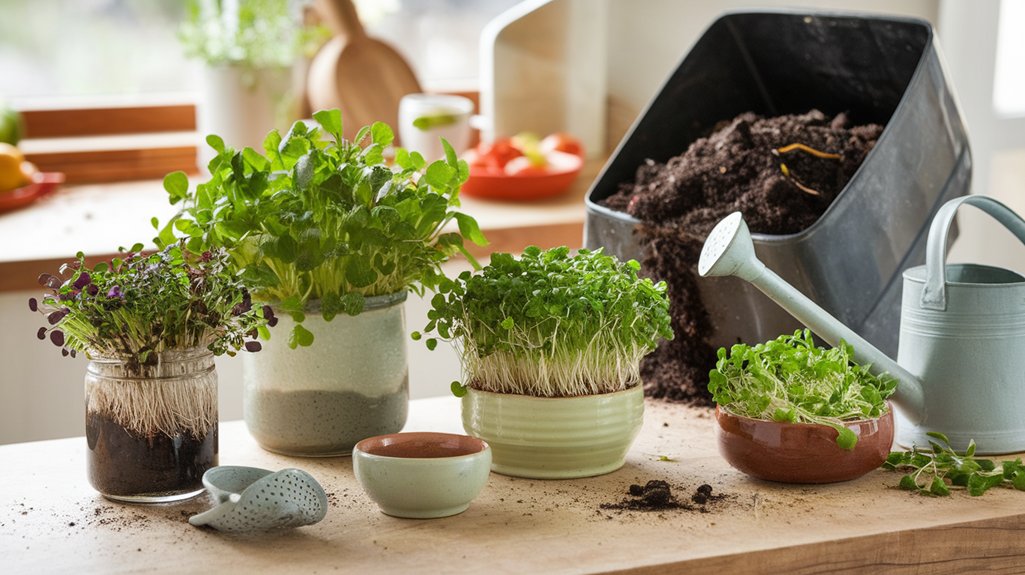
Choosing Suitable Containers
When it comes to choosing suitable containers for growing microgreens indoors, I’ve found that a few key factors can make a significant difference in your success.
First, opt for shallow trays—about 2 to 3 inches deep—since microgreens don’t require extensive root systems. Look for containers made from recycled materials, which not only supports eco-friendliness but also often comes with good drainage.
I’ve had great results using seedling trays or even repurposed food containers with drainage holes. It’s crucial to ensure proper air circulation, so avoid overly crowded arrangements.
Lastly, consider the size; larger trays allow for diverse microgreen varieties. With the right containers, you’ll set the stage for a thriving indoor microgreen garden.
Ideal Soil and Seeds
After selecting the right containers, the next step involves choosing ideal soil and seeds for your microgreens. The right soil promotes healthy growth and ensures nutrient availability, while quality seeds lead to a bountiful harvest.
Here’s what I recommend:
- Soil Type: Use a lightweight, well-draining potting mix. Look for one that’s organic and free from chemicals to maintain eco-friendliness.
- Seed Quality: Choose high-quality, non-GMO seeds. Organic varieties often yield better flavors and nutrients.
- Seed Selection: Consider popular microgreens like arugula, radish, or broccoli. They’re easy to grow and packed with nutrients.
Proper Lighting Conditions
To ensure your microgreens thrive indoors, I’ve found that providing the right lighting conditions is crucial. Microgreens require about 12-16 hours of light daily for optimal growth.
I recommend using LED grow lights, as they’re energy-efficient and can be positioned close to the plants without overheating. Position the lights about 2-4 inches above the seedlings for the best results.
If you can, use a timer to maintain consistent lighting schedules, mimicking natural sunlight. I’ve noticed that rotating the trays every few days helps ensure even light distribution, promoting uniform growth.
Remember to observe your plants; if they start stretching towards the light, it’s a sign they need more exposure. With these tips, you’ll cultivate vibrant, healthy microgreens indoors!
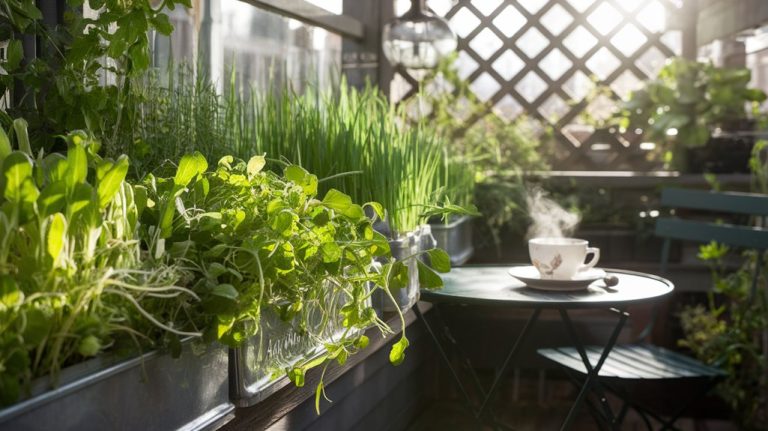
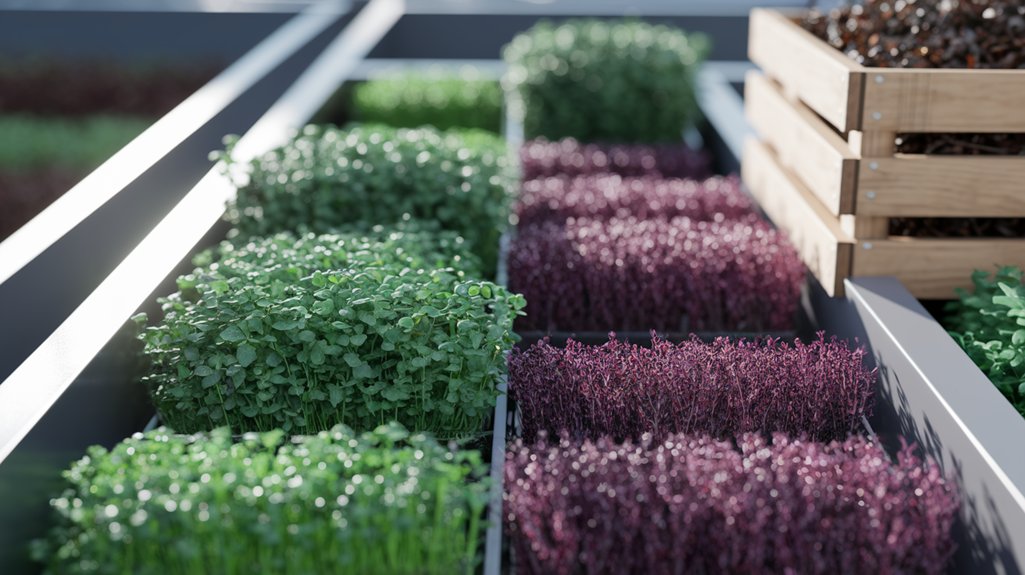
Outdoor Microgreens Gardening Tips
While many gardeners might overlook outdoor microgreens, I’ve found that with the right approach, they can thrive even in less-than-ideal conditions.
Here are three essential tips I use to ensure a successful outdoor microgreens garden:
- Choose the Right Varieties: Opt for hardy types like arugula, mustard greens, and radishes that can tolerate cooler temperatures and fluctuating weather.
- Soil Preparation: Use well-draining soil enriched with organic compost. This helps retain moisture while providing essential nutrients for optimal growth.
- Timing is Key: Plant microgreens in early spring or late summer. This timing avoids extreme heat and cold, allowing for a more consistent growing environment.
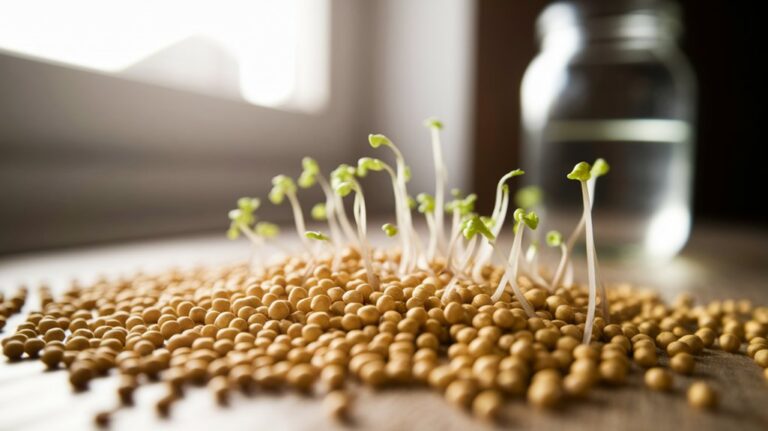
Using Kitchen Scraps to Grow Microgreens
Using kitchen scraps to grow microgreens not only reduces waste but also promotes sustainability in gardening.
I’ve discovered that leftover vegetable scraps, like beet tops or radish greens, can sprout into vibrant microgreens. Simply place these scraps in a shallow container with nutrient-rich soil, keeping them moist and in a well-lit area.
Within days, you’ll see tiny shoots emerging, ready to be harvested. Research shows that using scraps reduces the carbon footprint associated with food waste while providing fresh produce.
Plus, it’s an innovative way to engage with your kitchen waste creatively. So, next time you chop vegetables, consider saving those scraps for your microgreen garden; it’s a win-win for you and the planet!
Incorporating Microgreens Into Your Meals
After you’ve cultivated your microgreens from kitchen scraps, the next step is figuring out how to incorporate these nutrient-packed little greens into your meals.
Here are three practical ways I love to use them:
- Salads: Toss a handful of microgreens into your favorite salad for an extra crunch and a burst of flavor.
- Sandwiches: Layer microgreens on sandwiches or wraps instead of lettuce. They add a peppery kick and a nutritional boost.
- Smoothies: Blend microgreens into your morning smoothie for an easy way to sneak in vitamins without altering the taste.
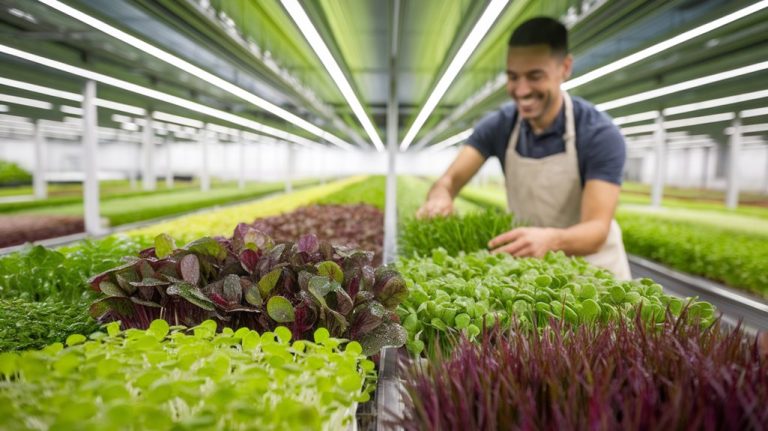
Creating a Microgreens Community Garden
Creating a microgreens community garden not only fosters a sense of connection among neighbors but also promotes sustainable gardening practices.
I began by gathering interested locals, discussing our shared goals, and selecting a suitable plot. We researched which microgreens thrive best in our climate—like radish, arugula, and pea shoots—ensuring a diverse harvest.
With a layout plan in hand, we divided the space into sections, assigning each gardener their own microgreen variety. I encouraged everyone to share tips and techniques, fostering learning and innovation.
We utilized compost and rainwater collection to minimize waste, enhancing sustainability. As our garden flourished, so did our community bonds, proving that together, we can cultivate not just food, but friendships and eco-consciousness.
Frequently Asked Questions
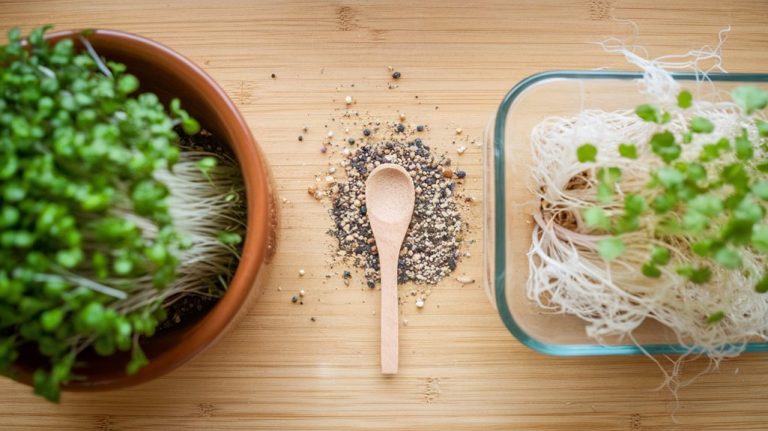
Can I Grow Microgreens Without Soil?
Absolutely, you can grow microgreens without soil! I’ve experimented with hydroponic systems and found them really effective.
By using water and nutrient solutions, the seeds thrive without any dirt. I’ve also used alternatives like coconut coir or paper towels, which work surprisingly well.
Just keep the seeds moist and in the right light conditions, and you’ll see them sprout in no time. It’s a fun and innovative way to grow your greens!
How Long Do Microgreens Take to Grow?
When I grow microgreens, I usually find they take about 7 to 21 days to reach harvestable size, depending on the variety.
I’ve experimented with different types, and it’s fascinating to see how some, like radishes, sprout quickly, while others, like basil, might take a bit longer.
It’s an exciting process, and I love watching them grow from tiny seeds into vibrant greens in just a couple of weeks!
What Materials Can I Use for Microgreens Trays?
When I set up my microgreens trays, I’ve found a variety of materials work well. I often use recycled containers like egg cartons or plastic takeout trays, which I can easily repurpose.
Biodegradable options like coconut coir or peat pots also do the trick. Just make sure they’ve drainage holes!
It’s practical and sustainable to utilize what I already have, reducing waste while enjoying the process of growing my own greens.
Are Microgreens Safe for Pets?
I’ve often wondered if microgreens are safe for pets.
After researching, I found that most microgreens, like peas and sunflowers, are indeed pet-friendly.
However, some varieties, such as certain types of mustard greens, can be harmful.
I always make sure to keep my pets away from unfamiliar plants and consult my vet when in doubt.
It’s essential to create a safe environment while enjoying the benefits of growing microgreens!
Can I Save Seeds From My Microgreens?
Absolutely, I can save seeds from my microgreens! It’s a great way to be resourceful.
After letting some plants mature, I collect the seeds once they dry. I make sure to store them in a cool, dark place to maintain their viability.
Conclusion
Incorporating microgreens into your gardening routine not only enhances your meals but also promotes sustainable practices. By utilizing kitchen scraps and adopting eco-friendly methods, I’ve reduced waste while enjoying fresh, nutrient-dense greens year-round. Whether you’re growing indoors or in a community garden, the benefits are clear. Let’s embrace this innovative approach to gardening and foster a healthier planet together. You’ll be amazed at how much joy and nourishment these tiny greens can bring to your life!