From Kitchen Counter to Farmer’s Market: My Microgreen Journey
I’ve transformed my kitchen counter into a vibrant microgreen-growing haven, bringing fresh flavors to my family’s meals. It’s been rewarding to nurture tiny greens like peppery arugula and sweet basil while facing early challenges with humidity and light. With each harvest, I’ve sparked creativity in the kitchen and discovered the joy of connecting with my community at farmer’s markets. Join me as I share how this journey evolved into a passion for growing and sharing microgreens.
Key Takeaways
- Microgreens offer a vibrant, nutritious addition to meals, enhancing flavors in salads, sandwiches, and smoothies.
- Setting up a home growing space involves choosing the right location and essential supplies like trays, soil, and grow lights.
- Early challenges in microgreen cultivation include managing humidity, light, and water levels, with solutions like humidity domes and watering schedules.
- Engaging customers through tasting events, recipe ideas, and local chef collaborations fosters community connections and promotes microgreen benefits.
- Building a strong brand identity, including a memorable logo and social media presence, is crucial for attracting and retaining customers.
Discovering the World of Microgreens
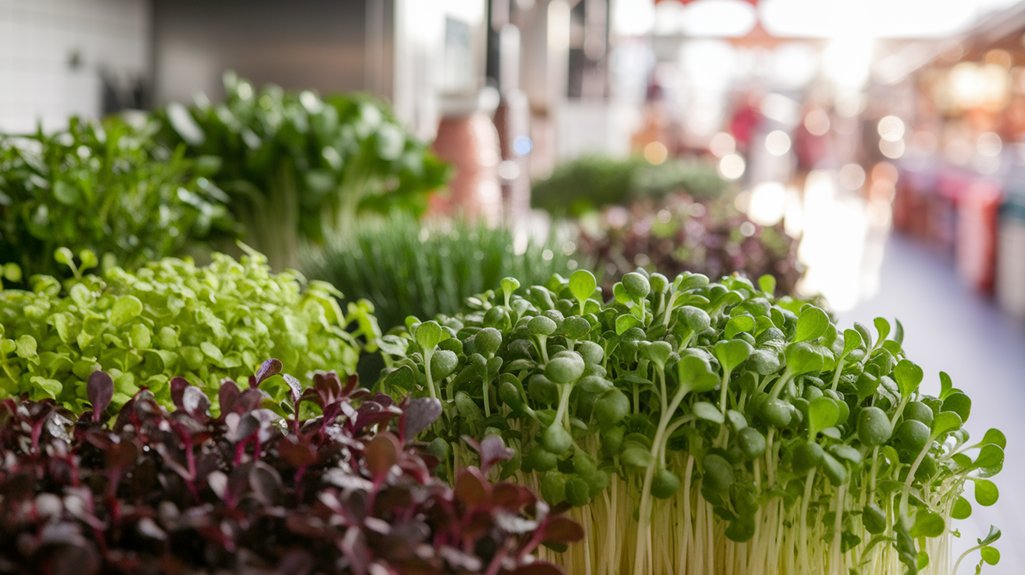
As I wandered through the vibrant rows of a local farmer’s market, I stumbled upon the captivating world of microgreens. Tiny and delicate, these miniature greens burst with color and flavor, drawing me in.
I learned they’re packed with nutrients, making them a powerhouse for health-conscious eaters. The variety was astonishing—crunchy radish, sweet basil, and peppery arugula, each offering a unique taste.
I watched as vendors enthusiastically explained their benefits, sharing tips on how to incorporate them into meals. It was fascinating to see how these little plants could transform a dish, adding a fresh, gourmet touch.
I felt a spark of excitement, knowing I was about to embark on my own journey into the world of growing microgreens.
Setting Up My Home Growing Space
Finding the perfect spot in my home for growing microgreens felt like a mini adventure.
I quickly realized that the right location and essential supplies could make all the difference in my success.
With a little planning, I transformed a sunny corner of my kitchen into a thriving green oasis.
Choosing the Right Location
While I wanted to create an inviting space for my microgreens, I quickly realized that choosing the right location is crucial to their success. The environment I provided would directly influence their growth and health.
So, I considered several factors when selecting my spot:
- Natural Light: Ample sunlight is essential for photosynthesis.
- Temperature Stability: A consistent temperature helps avoid stress.
- Humidity Levels: Microgreens thrive in slightly humid conditions.
- Accessibility: I needed a space that was easy to reach for daily care.
- Air Circulation: Good airflow prevents mold and promotes healthy growth.
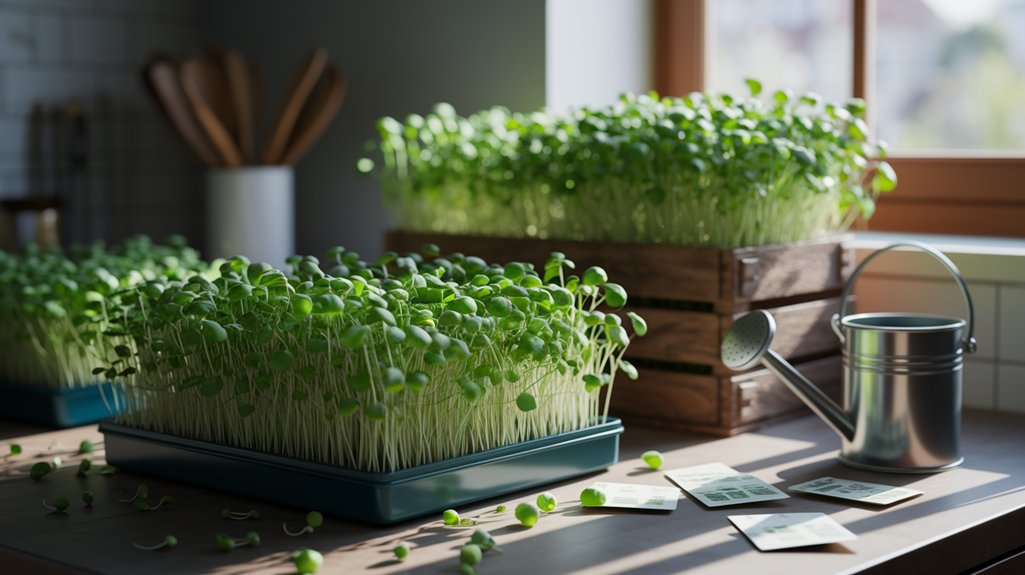
Essential Growing Supplies
To successfully nurture my microgreens, gathering the right supplies became a top priority.
I started with shallow trays that allowed for excellent drainage, ensuring my seeds wouldn’t drown. Next, I chose high-quality potting soil, rich in nutrients yet light enough for young roots to establish.
A good spray bottle was essential for gentle, even watering, while a grow light helped maintain the perfect brightness, especially during cloudy days.
I also invested in a small fan to promote air circulation, keeping mold at bay.
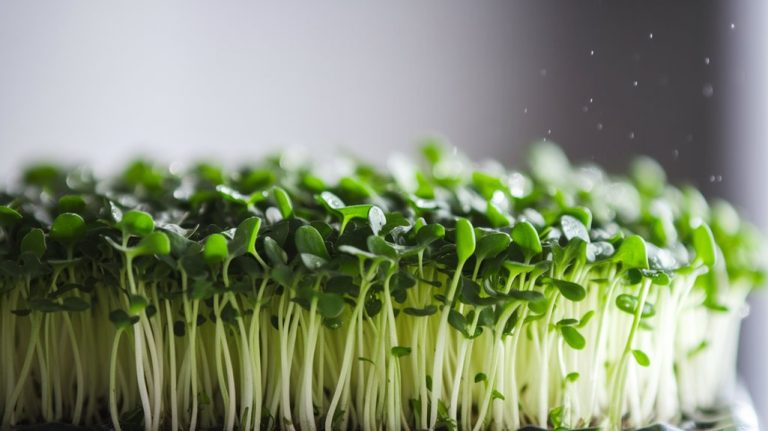
Finally, I grabbed labels to track my various seed types.
With these essentials in hand, I transformed my kitchen counter into a thriving microgreen haven, ready to sprout life and flavor!
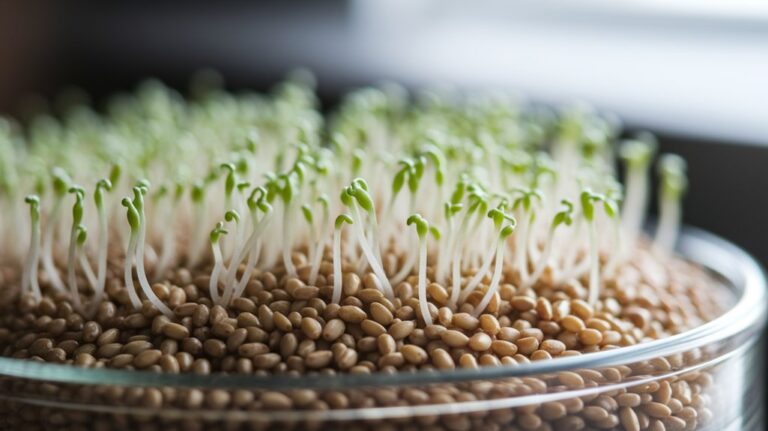
The First Sprouts: Early Challenges
As I watched my first microgreens begin to sprout, I quickly realized that selecting the right seeds was only the beginning of my journey.
Initial growing conditions posed their own set of challenges, from humidity levels to light exposure, and I felt overwhelmed at times.
To top it off, I soon discovered that managing pests was an unexpected hurdle, turning my excitement into a test of patience and perseverance.
Seed Selection Struggles
How do you choose the right seeds for your microgreen journey? That question haunted me as I wandered through aisles of colorful packets, each promising a bountiful harvest.
I quickly realized that not all seeds are created equal, and making the right choice can be tricky. Here’s what I learned:
- Variety of flavors: Different microgreens offer unique tastes that can enhance dishes.
- Germination rates: Some seeds sprout faster, which is crucial for quick turnover.
- Seed quality: Opt for organic or heirloom seeds for better results.
- Growth habit: Some microgreens grow tall, while others spread out—consider your space.
- Nutritional value: Research the health benefits of each variety to maximize your harvest.
Navigating these factors was a challenge, but it was worth it.
Initial Growing Conditions
Starting my microgreen journey, I quickly faced a handful of early challenges that tested my resolve. The initial growing conditions proved crucial, as I grappled with humidity, light, and water levels. I learned that finding the right balance was essential for my tiny greens to thrive.
Here’s a quick overview of my early struggles:
| Challenge | Solution |
|---|---|
| Humidity levels | Used a humidity dome |
| Inadequate light | Adjusted grow lights |
| Overwatering | Implemented a schedule |
Navigating these hurdles taught me the importance of observation and adjustment. With each tiny sprout that emerged, my confidence grew, motivating me to push through and refine my techniques.
Pest Management Issues
While my microgreens began to flourish, I soon encountered a new set of challenges: pest management issues. Tiny pests like aphids and fungus gnats seemed to appear out of nowhere, threatening my little greens.
I quickly realized that maintaining a healthy growing environment was crucial. To tackle these pests, I focused on a few strategies:
- Regular inspections: I checked my plants daily for any signs of infestation.
- Natural remedies: I experimented with neem oil and insecticidal soap for safe, effective treatments.
- Sanitation: I kept my workspace clean, removing any debris that might attract pests.
- Companion planting: I introduced beneficial plants to deter unwanted visitors.
- Humidity control: I adjusted moisture levels to discourage gnat populations.
These efforts proved essential in keeping my microgreens healthy and thriving!
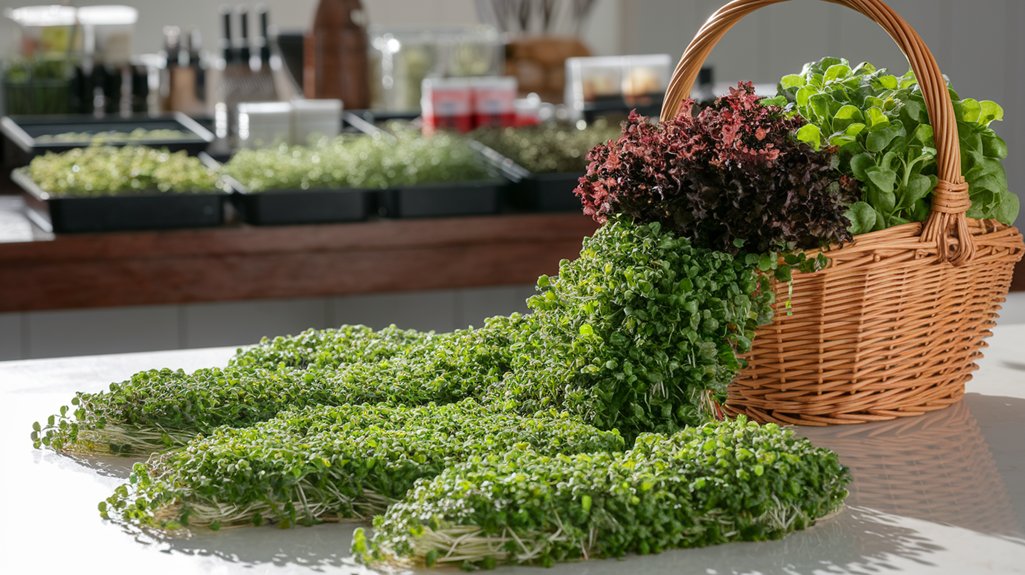
Harvesting and Experimenting With Flavors
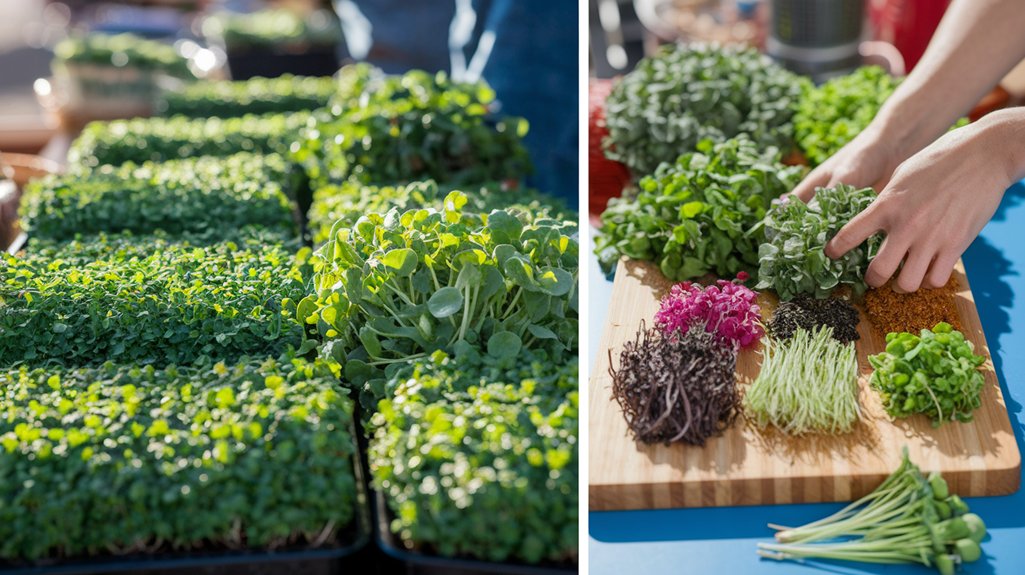
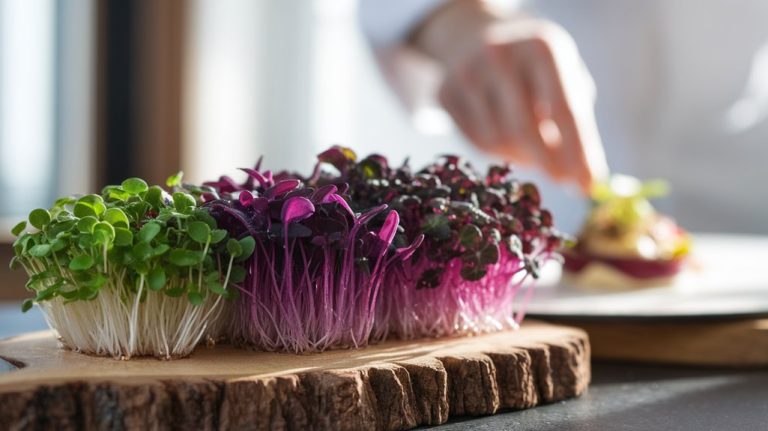
As I eagerly approach the moment of harvesting my microgreens, a rush of anticipation fills me; each tiny leaf promises a burst of flavor waiting to be explored.
Carefully, I snip the delicate greens, noting their vibrant colors and unique shapes. Each variety offers its own distinct taste—peppery arugula, sweet basil, or earthy beet greens.
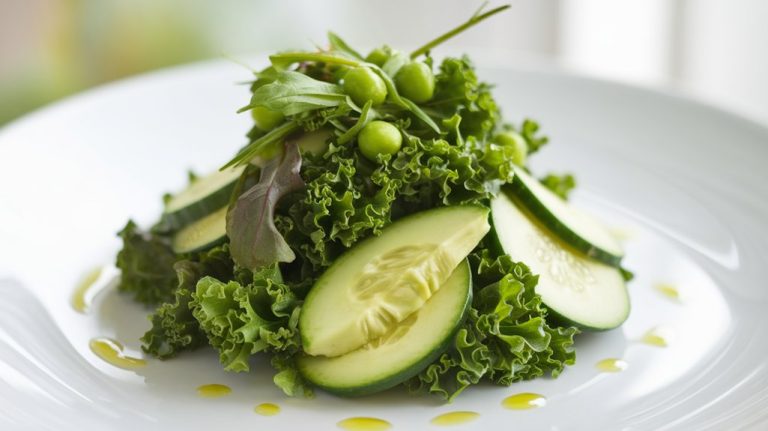
I can’t help but experiment, tossing a handful into salads, sandwiches, or even smoothies. The subtle crunch and freshness elevate every dish, igniting my creativity in the kitchen.
I jot down my flavor pairings, eager to remember which combinations work best. This journey isn’t just about growing; it’s about discovering new flavors and enhancing my culinary adventures, one tiny leaf at a time.
Building a Brand: From Hobby to Business
Building a brand around my microgreen hobby has been an exhilarating challenge, transforming my passion into a thriving business. I’ve learned that establishing a strong identity is crucial.
The journey involves:
- Crafting a memorable logo that reflects my values.
- Developing a catchy brand name that resonates with customers.
- Creating a user-friendly website to showcase my products.
- Engaging with my community through social media platforms.
- Ensuring consistent quality and packaging that stands out.
Every step has been an opportunity for growth, pushing me to refine my offerings and connect with customers.
I’ve discovered that authenticity and passion resonate deeply, drawing people to my brand as I share the story behind my microgreens. It’s incredibly rewarding to see my hobby flourish!
Navigating the Farmer’s Market Scene
Taking my microgreen brand from online visibility to a physical presence at local farmer’s markets has been an exciting adventure.
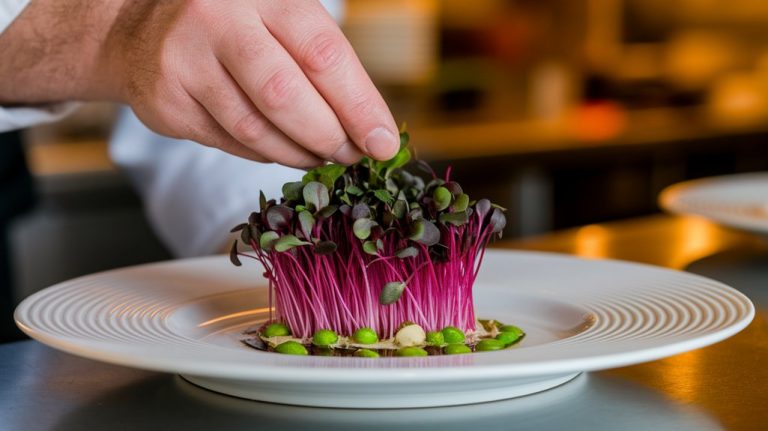
Setting up my booth for the first time felt like stepping into a world alive with colors, textures, and flavors. I quickly learned the importance of eye-catching displays, arranging my vibrant greens to draw in curious shoppers.
Each market visit taught me about the rhythm of the crowd; the peak moments when people flocked by, eager to explore local produce. I became familiar with my fellow vendors, sharing tips and forging friendships that made each market feel like a community gathering.
This experience deepened my appreciation for local farming and helped me understand the unique dynamics of this bustling marketplace.
Connecting With Customers and the Community
While I set up my booth, I realized that connecting with customers goes far beyond simply selling microgreens; it’s about creating lasting relationships within the community. Engaging with my customers has been a rewarding experience, and I’ve learned so much from our conversations.
Each interaction allows me to share not just my passion for microgreens but also to understand their needs and preferences.
- Hosting tasting events to showcase different varieties
- Offering recipe ideas to inspire healthy cooking
- Creating a newsletter to share tips and updates
- Engaging with local chefs for collaborative recipes
- Participating in community events to foster connections
These efforts have turned casual buyers into loyal supporters, and it feels incredible to be a part of this vibrant community.
Looking Ahead: Future Plans and Growth
As I look ahead, I can’t help but feel excited about the potential for growth in my microgreen journey. I envision expanding my offerings and reaching new customers. My plan includes hosting workshops to teach others about growing microgreens and exploring partnerships with local restaurants.
Here’s a glimpse of my upcoming goals:
| Goal | Timeline | Action Steps |
|---|---|---|
| Expand product range | 6 months | Research new varieties |
| Start workshops | 1 year | Develop curriculum, promote |
| Build online presence | 3 months | Create a website, social media |
| Collaborate with chefs | 1.5 years | Network, pitch ideas |
With each step, I’m eager to share the joy of microgreens and inspire my community. The journey is just beginning!
Frequently Asked Questions
What Are the Best Microgreens for Beginners to Grow?
If you’re just starting with microgreens, I’d recommend trying radish, sunflower, or pea shoots. They’re super easy to grow and can thrive in various conditions.
I’ve found radish to be particularly fast, sprouting in just a week. Sunflower adds a delightful crunch, while pea shoots bring a sweet flavor to dishes.
With minimal effort and space, you’ll be amazed at how quickly you can enjoy your fresh, nutritious greens right at home!
How Long Does It Take to Grow Microgreens?
Growing microgreens usually takes about 7 to 21 days, depending on the variety.
I’ve found that most sprouts, like radish or mustard, pop up quickly, often ready in just a week.
Others, like sunflowers, might take a bit longer.
It’s exciting to watch them grow; each day reveals new changes.
I love checking on them daily, knowing fresh greens are just around the corner, ready to add flavor and nutrition to my meals!
Can I Grow Microgreens Indoors Year-Round?
Absolutely, you can grow microgreens indoors year-round! I’ve done it myself, and it’s a rewarding experience.
All you need is a sunny windowsill or grow lights, and the right containers. I love experimenting with different seeds, like radish or basil.
The process is quick; within 7 to 14 days, you’ll have fresh greens ready to harvest. It’s amazing to enjoy fresh flavors at any time of the year, right from your home!
What Equipment Is Essential for Growing Microgreens at Home?
When I started growing microgreens at home, I quickly learned that having the right equipment is crucial.
I use seed trays for planting, potting soil for a healthy base, and a light source—like grow lights—to ensure they thrive. A spray bottle helps me keep the soil moist, and I can’t forget about a humidity dome for those delicate seedlings.
With these essentials, I’ve created a thriving little green oasis right in my kitchen!
Are Microgreens More Nutritious Than Mature Vegetables?
I’ve often wondered if microgreens pack more nutrients than their mature counterparts. Research shows they can be richer in vitamins and minerals, sometimes containing up to 40 times more nutrients.
I’ve experienced this firsthand; adding them to my meals not only boosts flavor but also enhances the nutritional profile.
Conclusion
As I look back on my microgreen journey, I’m filled with gratitude for the vibrant community I’ve connected with and the joy of sharing fresh flavors. What started as a simple kitchen experiment has blossomed into a thriving business, fueled by passion and curiosity. I’m excited to keep exploring new varieties and growing my brand at the farmer’s market. The future is bright, and I can’t wait to see where this adventure takes me next!