How to Grow Nutrient‑Dense Broccoli Microgreens at Home
To grow nutrient-dense broccoli microgreens at home, I start by selecting organic, non-GMO seeds labeled for microgreens. I prepare a shallow container filled with sterile seed starting mix and maintain a temperature of 65-75°F. After evenly spreading 10-15 seeds per square inch, I cover the tray with a humidity dome and keep it in a warm, dark place for 3-5 days. Once the seeds germinate, I expose them to grow lights. There’s more to learn about harvesting and using these delicious greens.
Key Takeaways
- Select organic, non-GMO seeds specifically labeled for microgreens to ensure high quality and better germination rates.
- Prepare a shallow container with sterile seed starting mix, maintaining a temperature of 65-75°F for optimal growth.
- Evenly sow seeds over the moistened medium, covering with a humidity dome until they germinate in 3-5 days.
- Place trays under grow lights after germination, providing 12-16 hours of light daily for healthy development.
- Harvest microgreens 7-14 days after sowing, using clean scissors to cut above the soil line for minimal root damage.
Selecting the Right Seeds for Broccoli Microgreens
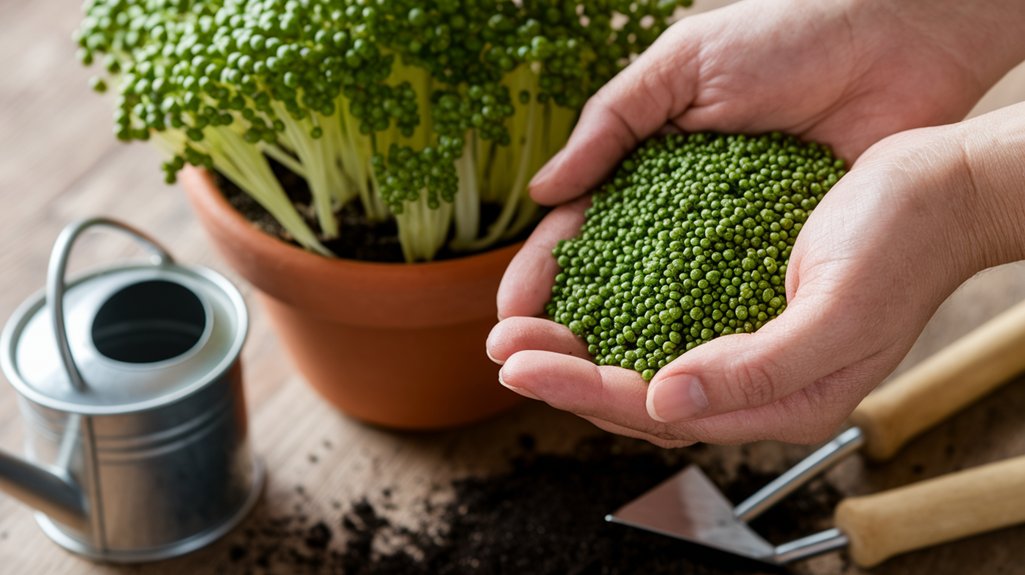
When I set out to grow broccoli microgreens, choosing the right seeds is crucial for achieving a robust flavor and high nutrient content. I always look for organic, non-GMO seeds, as they typically offer better quality and are free from harmful chemicals.
It’s essential to select seeds specifically labeled for microgreens; these varieties tend to have higher germination rates and optimal growth characteristics. I prefer seeds from reputable suppliers, ensuring they meet strict quality standards.
Additionally, I check the seed packet for information on the variety; some thrive in specific conditions, affecting their flavor and nutrition. Remember, fresh seeds yield better results, so I never use seeds that are more than a year old.
This careful selection sets the foundation for successful microgreen cultivation.
Preparing Your Growing Environment
After selecting high-quality seeds, I focus on preparing the growing environment, which plays a pivotal role in the success of my broccoli microgreens.
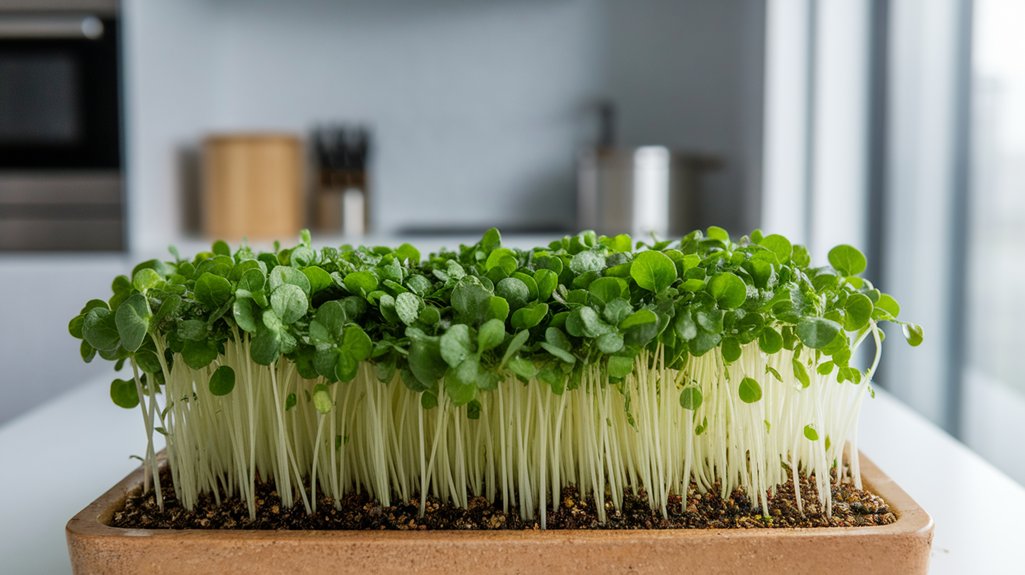
I start by choosing a shallow container with drainage holes, typically around 10 inches by 20 inches. Next, I fill it with a sterile seed starting mix, ensuring it’s about 1-2 inches deep. I moisten the soil with water until it’s evenly damp but not soggy.
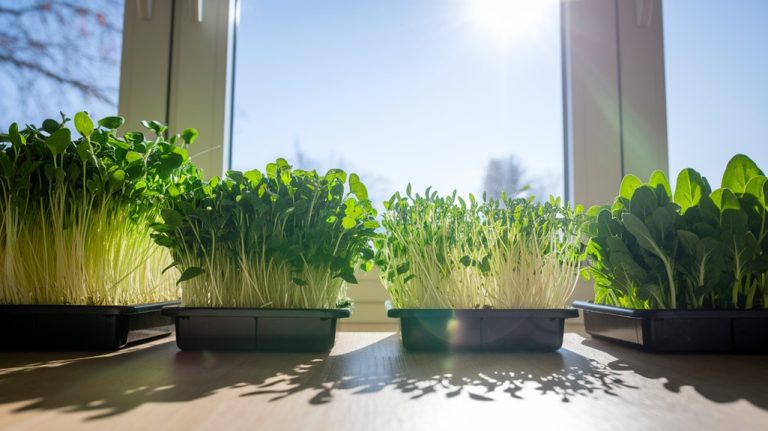
Temperature is crucial, so I maintain a range of 65-75°F (18-24°C), placing the container in a well-lit area or under grow lights for optimal growth. Lastly, I ensure proper airflow around the setup to prevent mold and encourage healthy development.
This preparation sets the foundation for thriving microgreens.
Sowing and Caring for Your Microgreens
Sowing broccoli microgreens requires careful attention to detail to ensure optimal growth.
First, I evenly spread the seeds over a pre-moistened growing medium, ensuring they’re not too crowded—aim for about 10-15 seeds per square inch. After sowing, I lightly press the seeds into the soil to enhance seed-to-soil contact.
Next, I cover the tray with a humidity dome or plastic wrap to retain moisture and promote germination. I keep the tray in a dark, warm place for 3-5 days, checking daily to maintain moisture levels.
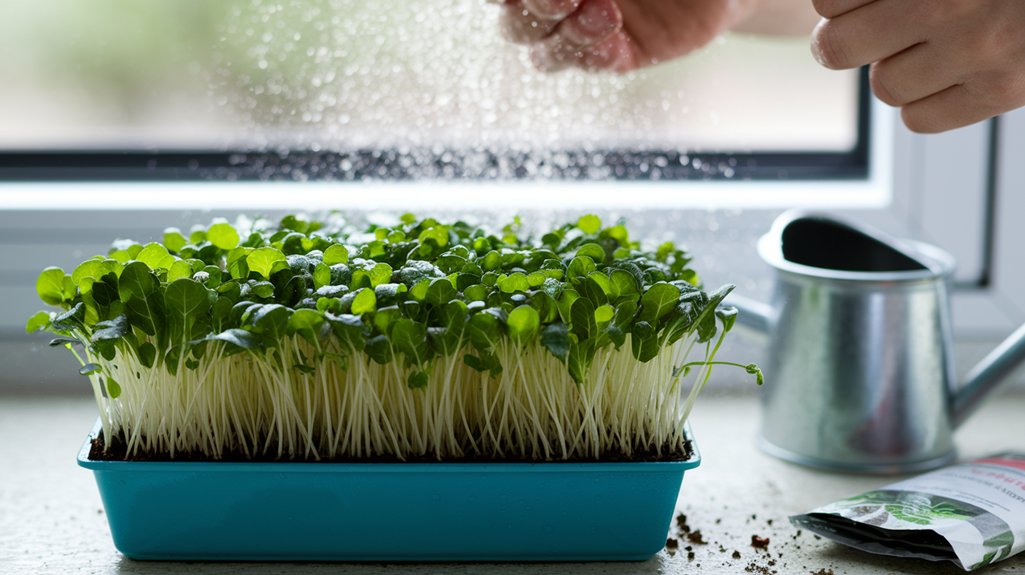
Once seedlings emerge, I remove the cover and place the tray under grow lights, ensuring they receive 12-16 hours of light daily. Regularly misting will keep them hydrated and thriving.
Harvesting Your Broccoli Microgreens
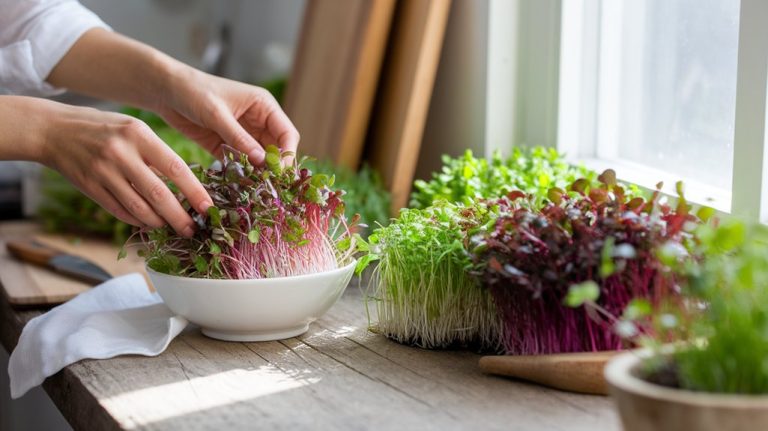
Typically, I harvest my broccoli microgreens about 7-14 days after sowing, once they’ve reached about 2-3 inches in height and have developed their first true leaves. It’s essential to use clean, sharp scissors to cut the microgreens just above the soil line. This ensures minimal damage to the roots, which might allow for a second harvest if conditions permit.
Here’s a quick reference table for optimal harvesting:
| Day After Sowing | Height (inches) | Leaf Development |
|---|---|---|
| 7 | 1-2 | Cotyledons visible |
| 10 | 2 | First true leaves emerging |
| 12 | 2-3 | True leaves fully formed |
| 14 | 3 | Ready for harvest |
Be sure to rinse and dry them before storage.
Incorporating Broccoli Microgreens Into Your Meals

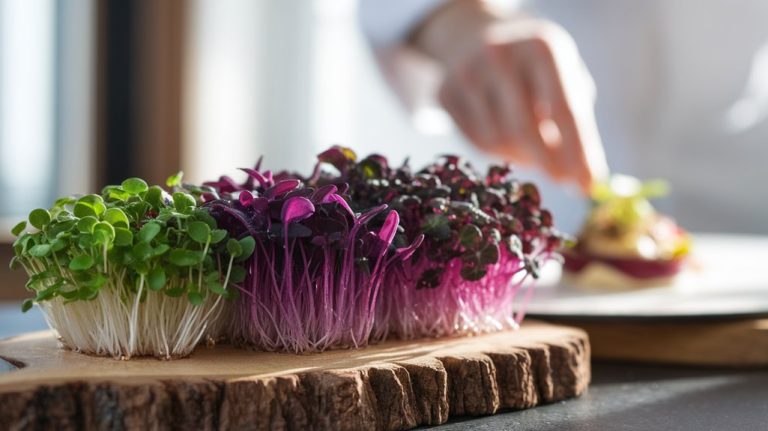
Once I’ve harvested my broccoli microgreens, I love finding creative ways to incorporate them into my meals.
These tiny greens are packed with nutrients and add a delightful crunch and flavor. One of my favorite methods is to sprinkle them on top of salads for added texture and a nutrient boost.
I also enjoy blending them into smoothies; the mild flavor complements fruits perfectly without overpowering.
Finally, I often use them as a garnish on soups and sandwiches, enhancing both presentation and nutritional value.
- Add to salads for extra crunch
- Blend into smoothies for a nutrient boost
- Use as a garnish on soups and sandwiches
Frequently Asked Questions
How Long Do Broccoli Microgreens Typically Take to Grow?
Broccoli microgreens typically take about 7 to 14 days to grow.
I’ve found that the germination period is around 3 to 5 days, depending on the conditions.
After that, you’ll notice rapid growth, especially with adequate light and moisture.
It’s fascinating to observe how quickly they develop their vibrant leaves.
Can I Grow Broccoli Microgreens Indoors Without Sunlight?
Yes, you can grow broccoli microgreens indoors without sunlight. I use LED grow lights to provide the necessary spectrum for healthy growth.
I set the lights about 2-4 inches above the plants and keep them on for 12-16 hours a day. Proper moisture levels are crucial, so I mist the soil regularly.
With this method, I’ve successfully harvested nutrient-dense microgreens even in the absence of natural light. It’s a game changer for indoor gardening!
What Pests Should I Watch for While Growing Microgreens?
While growing microgreens, I’ve encountered a few pests to watch for.
Aphids can be sneaky little invaders, sucking sap from the plants. I’ve also noticed fungus gnats, which thrive in damp soil, laying eggs that can harm the roots.
Spider mites are another threat, often hiding on the undersides of leaves.
To prevent infestations, I keep my growing area clean and monitor my microgreens regularly for any signs of these pests.
How Do I Store Harvested Broccoli Microgreens for Freshness?
To store harvested broccoli microgreens for freshness, I rinse them gently to remove any soil or debris.
After patting them dry with a clean towel, I place them in a breathable container, like a paper bag or a container lined with a damp paper towel.
I keep them in the refrigerator’s crisper drawer to maintain humidity without causing excess moisture.
This method keeps my microgreens fresh for up to a week, maximizing their flavor and nutrients.
Are Broccoli Microgreens Suitable for People With Allergies?
I’ve found that broccoli microgreens are generally safe for most people, including those with common allergies.
However, if you’re allergic to cruciferous vegetables, you might want to exercise caution. I recommend consulting a healthcare professional before adding them to your diet.
Additionally, always wash the microgreens thoroughly to minimize any potential allergens from soil or contaminants.
It’s best to err on the side of safety when introducing new foods.
Conclusion
In conclusion, growing nutrient-dense broccoli microgreens at home is both rewarding and straightforward. By selecting high-quality seeds, preparing an optimal growing environment, and following proper sowing and care techniques, you can enjoy a bountiful harvest. Incorporating these vibrant microgreens into your meals not only enhances flavor but also boosts nutritional value. With a little patience and attention, you’ll have a continuous supply of fresh, healthy microgreens to elevate your culinary creations.