How to Sprout Ruby Beet
To sprout Ruby Beets, I start by choosing high-quality, untreated heirloom seeds. Then, I prepare well-draining loamy soil rich in organic matter. I soak the seeds for 24 hours before planting them about an inch apart, ensuring they receive full sun. Consistent moisture is key, so I water gently and deeply once a week. Fertilizing with a balanced mix supports healthy growth, while proper pest management ensures strong plants. There’s more to explore about optimal care and harvesting.
Key Takeaways
- Choose high-quality, untreated organic seeds with a germination rate of at least 80% for better chances of sprouting Ruby Beets.
- Soak seeds in water for 24 hours before planting to enhance germination rates.
- Prepare well-draining loamy soil with a pH between 6.0 and 7.0 for optimal root development.
- Sow seeds about 1 inch apart and keep soil consistently moist but not waterlogged during germination.
- Thin seedlings to 3-4 inches apart once they reach about two inches in height for healthy growth.
Choosing the Right Seeds

When I choose seeds for sprouting ruby beet, I always consider the variety and quality to ensure optimal growth. I prefer heirloom varieties for their rich flavor and robust nutrient profile.
It’s essential to check the seed packet for germination rates; I aim for at least 80% to maximize my yield. I also look for seeds that are untreated and organic, avoiding any that may contain harmful chemicals.
Additionally, I pay attention to the seed size; larger seeds typically have a better chance of sprouting successfully. Lastly, I check the harvest date on the packet. Fresh seeds generally have a higher viability, so I make sure to select those harvested within the last year or two.
This careful selection sets the stage for successful sprouting.
Preparing Your Soil
When preparing soil for sprouting Ruby beet, I always start by selecting the right soil type, preferably a well-draining loamy soil rich in organic matter.
Next, I assess the nutrient requirements, ensuring the soil has adequate levels of nitrogen, phosphorus, and potassium to support healthy growth.
This careful preparation sets the foundation for robust beet development.
Soil Type Selection
Choosing the right soil type is crucial for successfully sprouting ruby beet, as it directly impacts germination and growth.
I always opt for well-draining soil with a pH between 6.0 and 7.0, as this range promotes healthy root development. Sandy loam works best for me; it retains moisture while allowing excess water to drain away.
I avoid heavy clay soils, which can lead to waterlogged conditions and poor germination rates. Adding organic matter like compost improves soil structure and moisture retention.
When preparing the soil, I ensure it’s loose and crumbly, allowing ruby beet seeds to easily establish their roots. Proper soil selection is a foundational step to ensure your ruby beet thrives.
Nutrient Requirements Assessment
After ensuring the right soil type, it’s time to assess the nutrient requirements for ruby beet. I focus on three primary nutrients: nitrogen, phosphorus, and potassium.
Nitrogen promotes lush foliage, essential for photosynthesis; I typically aim for a soil nitrogen level of around 15-20 ppm. Phosphorus is crucial for root development, so I ensure my levels are about 10-15 ppm.
Potassium supports overall plant health, aiding in disease resistance, and I target around 100-150 ppm in my soil. Conducting a soil test is vital; it helps me identify deficiencies and adjust accordingly.
I often incorporate compost or organic fertilizers to boost nutrient levels, ensuring a thriving environment for my ruby beets to sprout and grow robustly.
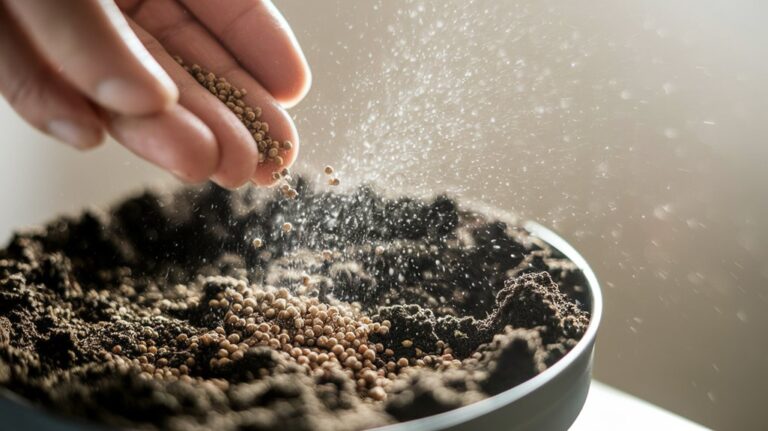
Planting the Seeds
When planting Ruby beet seeds, I focus on selecting high-quality seeds that are fresh and disease-resistant.
It’s essential to ensure the soil is well-prepared, as it influences germination and growth.
Seed Selection Tips
How do I ensure I’m selecting the best seeds for sprouting ruby beets? Choosing the right seeds is crucial for a successful harvest. Here are some tips I follow:
- Quality Source: I always buy seeds from reputable suppliers, ensuring they’re fresh and disease-free.
- Variety Selection: I opt for heirloom or organic varieties that are known for their flavor and resilience.
- Seed Viability: I check the packaging for the seed’s germination rate and expiration date, aiming for seeds with high viability.
- Local Adaptation: I consider seeds that are well-adapted to my local climate, increasing my chances of success.
Soil Preparation Essentials
With the right seeds in hand, preparing the soil for ruby beets becomes the next vital step toward a thriving garden.
I start by selecting a well-draining location with full sun exposure, ideally receiving six to eight hours of sunlight daily. The soil should be loose and rich in organic matter; I often incorporate compost or well-rotted manure to enhance fertility.
Testing the soil pH is crucial; ruby beets thrive in slightly acidic to neutral conditions, ideally between 6.0 and 7.0. I then till the soil to a depth of at least 12 inches, breaking up any clumps.
Finally, I level the surface, creating a fine seedbed, which promotes even germination and root development.
Watering Techniques
Proper watering techniques are crucial for successfully sprouting ruby beets, as they directly influence germination and root development.
I’ve found that a consistent approach works best. Here are four key techniques I follow:
- Initial Soaking: Before planting, soak the seeds for 24 hours to enhance germination.
- Moisture Monitoring: Keep the soil consistently moist but not waterlogged. I check daily, especially in warm conditions.
- Gentle Watering: Use a spray bottle or a fine mist setting on your hose to avoid displacing seeds.
- Deep Watering: Once seedlings emerge, water deeply once a week to encourage strong root growth.
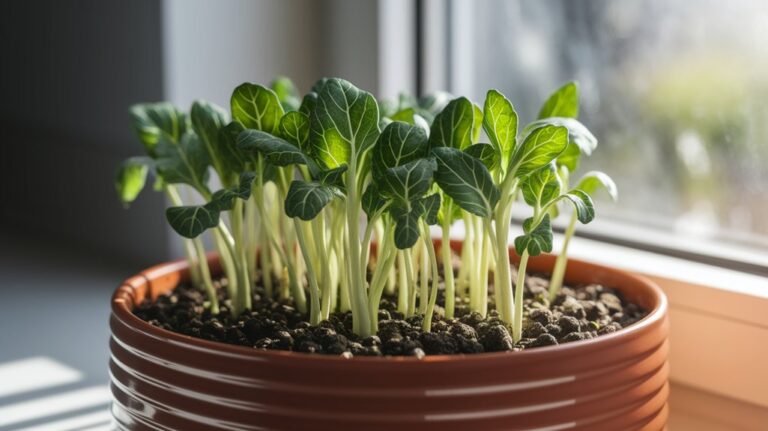
Ideal Growing Conditions
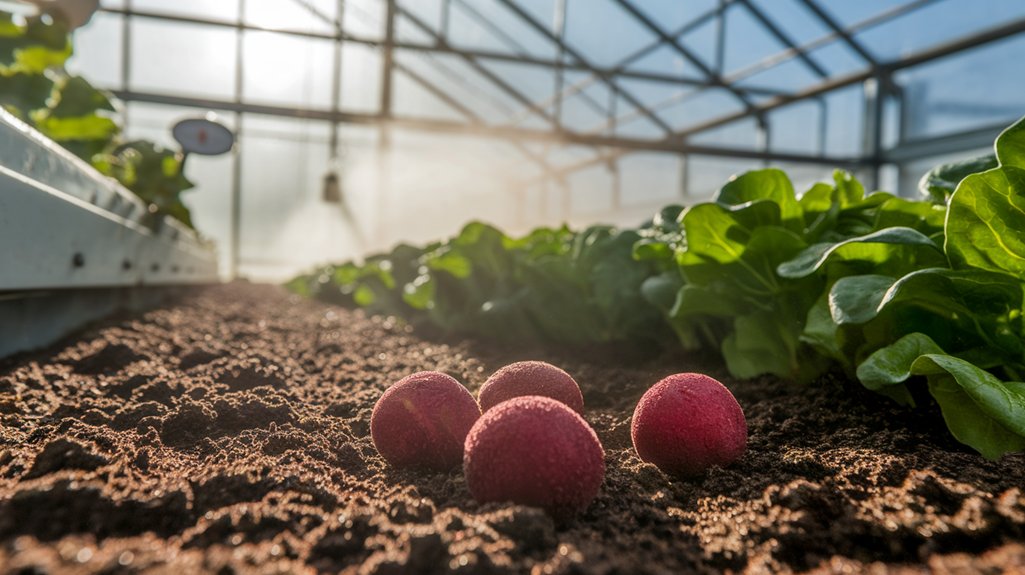
Creating the right environment is vital for ruby beet growth, especially after establishing effective watering techniques. You’ll want to focus on soil type, temperature, and sunlight. Ruby beets thrive in well-draining, loamy soil rich in organic matter. Aim for a pH level between 6.0 and 7.0.
Temperature plays a crucial role; ideal germination occurs between 50°F and 86°F. During the growing season, they prefer temperatures around 60°F to 70°F. Lastly, ensure your ruby beets receive full sun for at least 6 hours daily for optimal growth.
Here’s a quick reference table to help you:
| Factor | Ideal Condition | Notes |
|---|---|---|
| Soil Type | Loamy, well-draining | Rich in organic matter |
| Temperature | 60°F to 70°F | Germination: 50°F-86°F |
| Sunlight | 6+ hours of direct sun | Essential for growth |
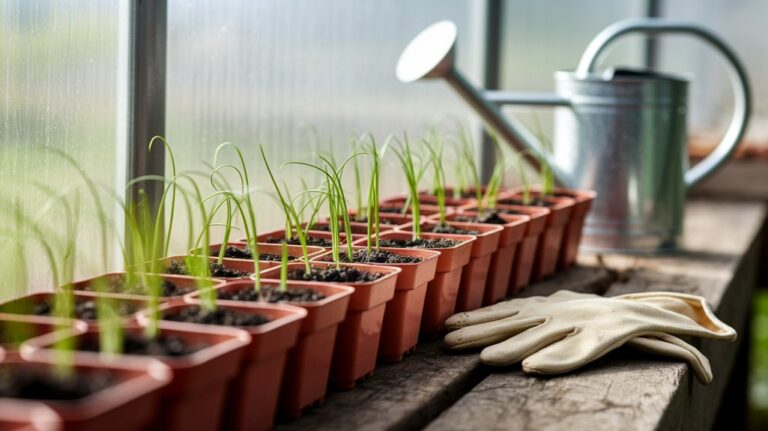
Thinning Seedlings
When thinning ruby beet seedlings, I focus on achieving optimal spacing to ensure each plant has enough room to grow.
It’s crucial to time the thinning process correctly, usually when seedlings reach about two inches in height.
I also recommend using clean, sharp tools to minimize damage to the remaining plants during this important step.
Optimal Seedling Spacing
Thinning seedlings is crucial for achieving optimal growth and yield when sprouting Ruby Beets. Proper spacing allows each plant to access sunlight, nutrients, and water without competition.
Here’s how I determine optimal seedling spacing:
- Initial Spacing: Sow seeds about 1 inch apart in rows, ensuring enough room to germinate.
- Thinning: After germination, thin seedlings to about 3-4 inches apart. This distance promotes healthy growth.
- Row Width: Space rows 12-18 inches apart. This gives you space to navigate while maintaining airflow.
- Final Spacing: Aim for a final spacing of 4-6 inches between plants. This allows each Ruby Beet to reach its full potential without overcrowding.
Timing for Thinning
To ensure healthy Ruby Beet seedlings thrive, I carefully monitor their growth and determine the right timing for thinning. I usually start to observe seedlings about 2-3 weeks after germination. At this stage, I look for signs of overcrowding, where seedlings are competing for resources. Thinning is crucial to prevent stunted growth and encourage larger roots.
Here’s a quick reference table to help:
| Seedling Age (Weeks) | Action |
|---|---|
| 2 | Begin monitoring |
| 3 | Assess for thinning |
| 4 | Thin if overcrowded |
| 5 | Finalize spacing |
Tools for Thinning
Having the right tools makes thinning Ruby Beet seedlings a straightforward process. I’ve found that using specific tools not only saves time but also helps prevent damage to the remaining plants.
Here’s what I recommend:
- Scissors or Snips: A sharp pair allows for precise cuts without uprooting neighboring seedlings.
- Tweezers: For delicate handling, especially in tight spaces, tweezers can help remove weaker seedlings effectively.
- Garden Fork: This is useful for loosening soil around seedlings if you need to reposition or gently extract them.
- Gloves: Protecting your hands is essential, especially when dealing with soil and potentially thorny plants.
With these tools, thinning becomes efficient, ensuring your Ruby Beets thrive beautifully.
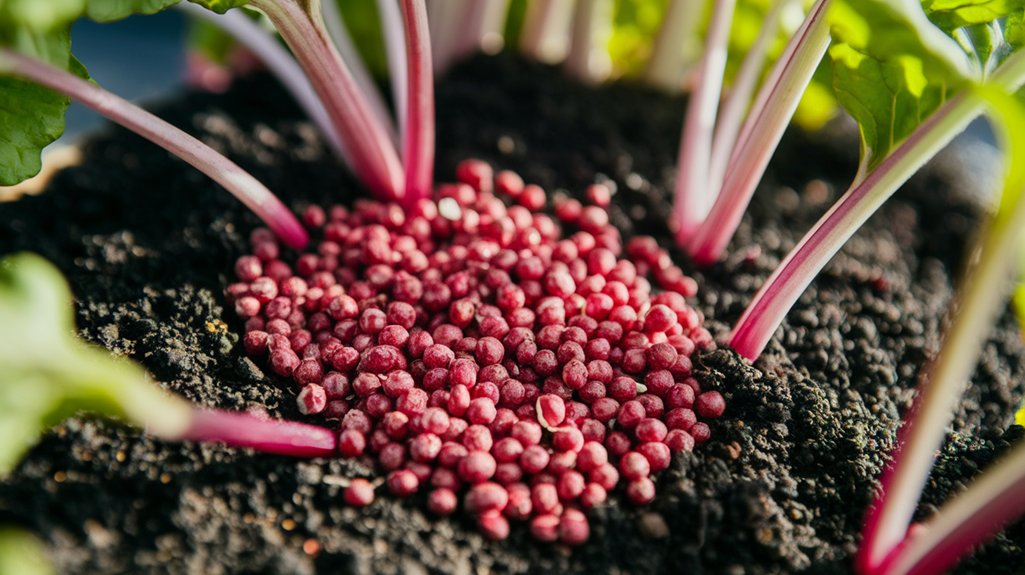
Fertilizing Your Beets
While it’s tempting to think that beets will thrive solely on good soil, proper fertilization is essential for achieving robust growth and maximum yield. I recommend starting with a balanced fertilizer that contains equal parts nitrogen, phosphorus, and potassium. Applying this at planting time provides the initial nutrients beets need.
As they grow, I usually side-dress with a nitrogen-rich fertilizer about four weeks after germination to encourage leafy growth. It’s crucial to monitor soil pH, aiming for a range of 6.0 to 7.0, as beets absorb nutrients better in this environment.
Additionally, I always ensure consistent moisture in the soil, as this helps the plants utilize the fertilizers effectively. Remember, over-fertilizing can cause more harm than good, so moderation is key.
Pest and Disease Management
Even with proper fertilization and soil management, beets can face threats from pests and diseases that may hinder their growth.
I’ve found that proactive measures are essential for keeping these issues at bay. Here’s how I manage pests and diseases effectively:
- Crop Rotation: I alternate planting locations each year to disrupt pest life cycles.
- Companion Planting: I plant garlic or onions nearby to deter common beet pests.
- Regular Monitoring: I inspect my plants weekly for any signs of distress or infestation, addressing issues promptly.
- Organic Pesticides: If necessary, I use neem oil or insecticidal soap, ensuring they’re safe and effective.
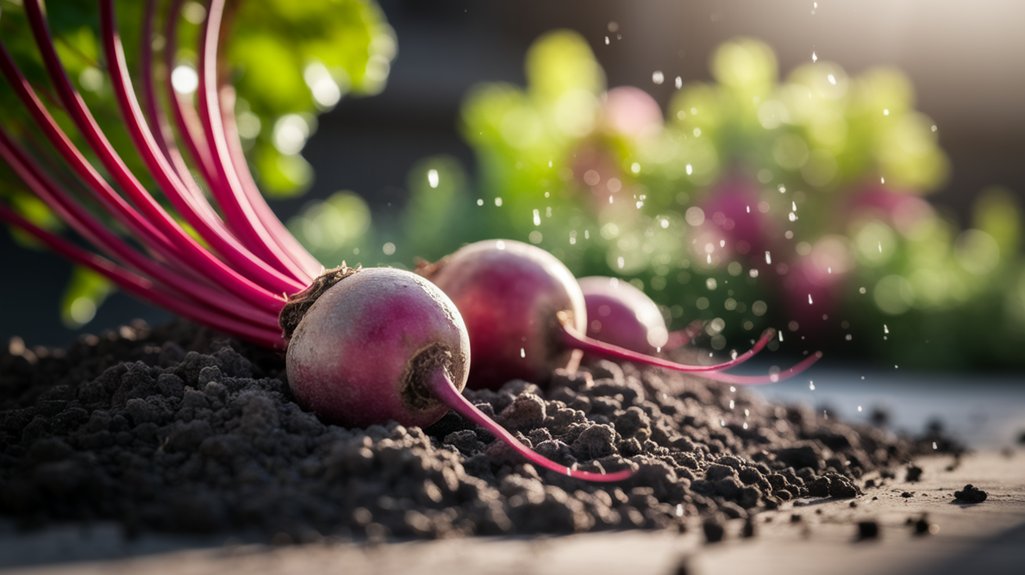
Harvesting Your Ruby Beets
As the time for harvesting your ruby beets approaches, you’ll want to keep an eye on their size and color to determine the right moment for picking. Typically, beets are ready when they reach about 2-3 inches in diameter. Their vibrant color will deepen, indicating optimal sweetness.
Here’s a quick reference table to help you assess your beets:
| Beet Size | Harvest Timing |
|---|---|
| 1 inch | Too early |
| 2-3 inches | Ideal for harvesting |
| 4 inches | Overripe, woody texture |
| Greater than 4 inches | Best used for cooking |
Storing and Using Your Beets
Once you’ve harvested your ruby beets, proper storage is key to maintaining their freshness and flavor.
I recommend following these steps to ensure your beets stay vibrant and delicious:
- Trim the Greens: Cut off the beet greens, leaving about an inch of stem to prevent moisture loss.
- Wash Gently: Rinse the beets under cool water to remove any soil, but avoid scrubbing too hard.
- Store in a Cool Place: Place the beets in a breathable bag or container and store them in the fridge’s vegetable drawer.
- Use Within Two Weeks: For optimal taste, try to use your beets within two weeks, as they’ll start losing sweetness after that.
Frequently Asked Questions
Conclusion
In conclusion, successfully sprouting ruby beets requires careful attention to seed selection, soil preparation, and nurturing conditions. By following the outlined steps—from planting to harvesting—you’ll ensure a robust yield of vibrant, nutritious beets. Don’t forget to monitor for pests and diseases throughout the growing process. Once harvested, store your beets properly to enjoy their earthy sweetness long after the gardening season ends. Happy gardening, and may your ruby beets thrive!