How to Sprout Sunflower
To sprout sunflower seeds, I first choose high-quality, preferably organic seeds. I rinse the seeds thoroughly, then soak them in clean water for about 6 to 8 hours. After draining, I place them in a sprouting container in a warm, dark spot, rinsing them twice daily. Within a few days, I see sprouts emerging. Once they’ve grown, I provide them with indirect sunlight and ensure they stay moist but not soggy. There’s more to know about caring for and enjoying these nutritious sprouts.
Key Takeaways
- Select high-quality, preferably organic sunflower seeds with a thin seed coat for quicker sprouting.
- Rinse seeds thoroughly, then soak them in clean, filtered water for 6 to 8 hours.
- Drain the seeds and place them in a sprouting jar or tray in a warm, dark location.
- Rinse the seeds twice daily, maintaining humidity until sprouts emerge within a few days.
- Once sprouted, provide indirect sunlight for 12-16 hours daily and keep the soil moist but not soggy.
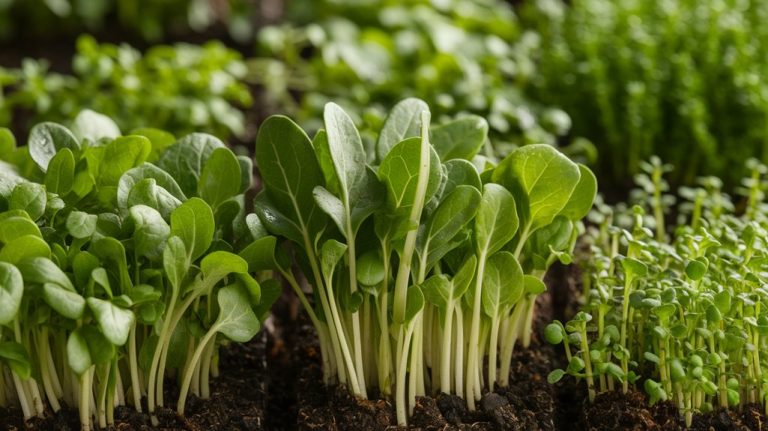
Understanding Sunflower Seeds
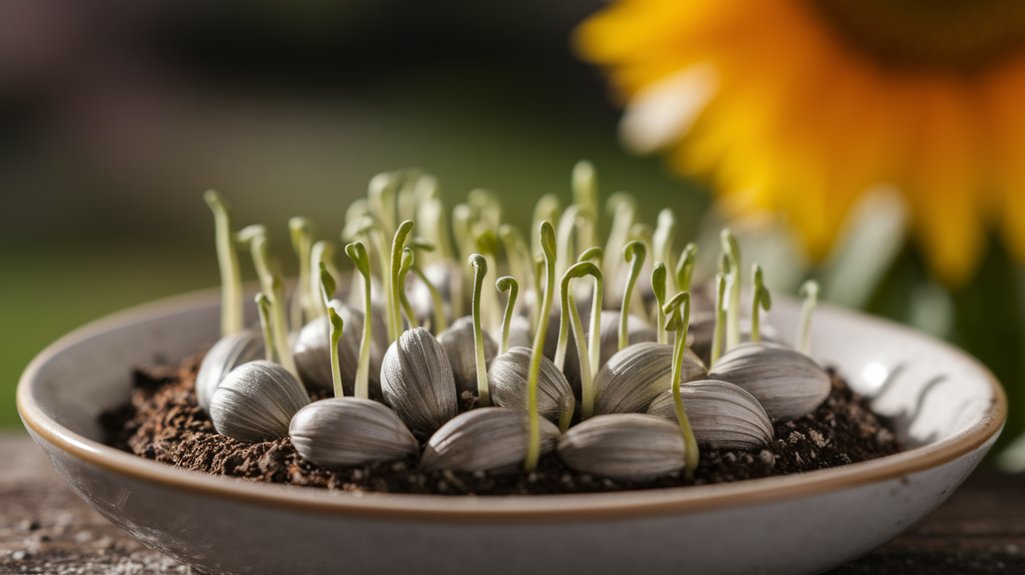
When I first began exploring the world of gardening, I quickly realized that understanding sunflower seeds is crucial for successful sprouting. These seeds are typically large, oval-shaped, and come in various varieties, each impacting growth.
I discovered that the moisture content and seed viability are essential factors; fresh seeds sprout more reliably. Additionally, the seed coat’s thickness can influence germination speed—thinner coats generally allow for quicker sprouting.
I learned that pre-soaking seeds in water for a few hours can help kickstart the germination process. Temperature also plays a vital role; sunflower seeds thrive best at around 70°F to 85°F.
Choosing the Right Seeds
Selecting the right sunflower seeds is essential for achieving a successful crop. I recommend opting for organic seeds, as they’re free from harmful chemicals and often yield healthier plants.
Consider the specific variety based on your climate and intended use; some are better for oil production, while others are ideal for snacking. I usually check the seed package for information on germination rates and seed size, as these can impact growth.
Look for non-GMO seeds if you want to avoid genetically modified options. Lastly, I always choose seeds from reputable suppliers to ensure quality and viability.
Preparing for Sprouting
Preparing for sprouting sunflower seeds requires careful attention to detail to ensure optimal growth. First, I gather high-quality seeds, preferably organic, as these yield healthier sprouts.
Next, I prepare my sprouting container, which should be clean and well-ventilated, such as a jar or a sprouter. I then rinse the seeds thoroughly to remove any impurities.
It’s essential to soak the seeds in clean, filtered water for about 6 to 8 hours, as this initiates the absorption process. After soaking, I drain the water and spread the seeds evenly in the container.
Finally, I place the container in a warm, dark location, maintaining humidity levels and monitoring them closely to encourage successful sprouting.
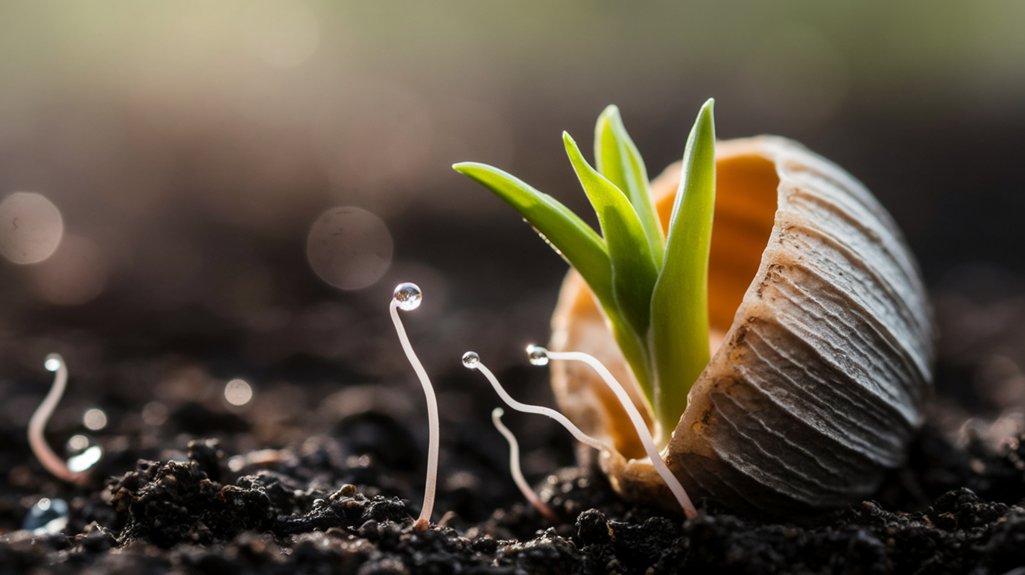
The Sprouting Process
Now that we’ve prepared for sprouting, let’s focus on the sprouting process itself.
I’ll outline the required materials and tools, followed by step-by-step instructions to ensure a successful sprout.
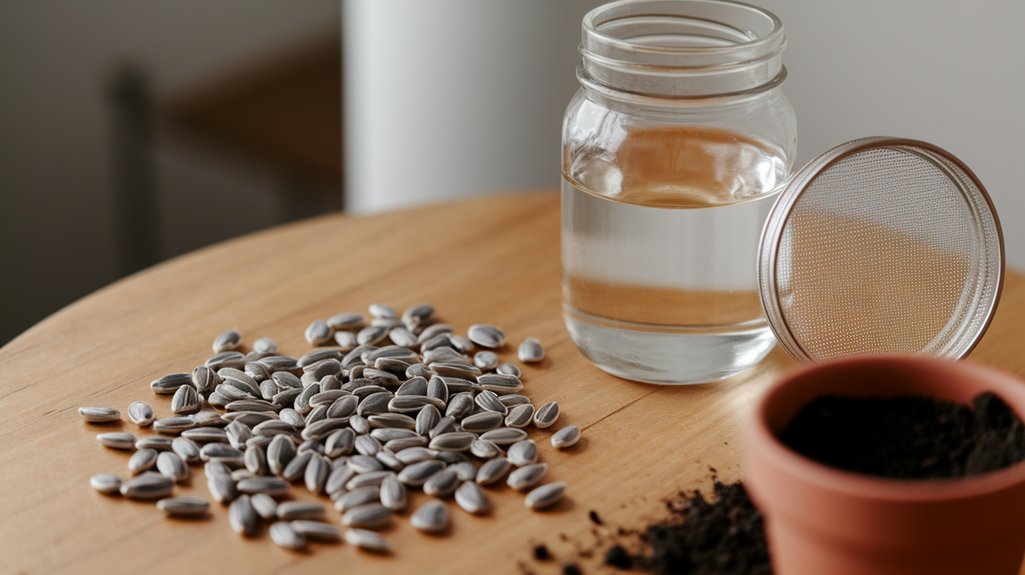
Required Materials and Tools
To successfully sprout sunflower seeds, you’ll need a few essential materials and tools. Gathering these items beforehand will streamline the process and ensure a successful outcome.
Here’s what I recommend having on hand:
- Sunflower seeds – Choose high-quality, raw seeds without additives.
- Glass jar – A quart-sized jar works well for soaking and sprouting.
- Mesh lid or cheesecloth – This allows for proper drainage and airflow.
- Water – Use clean, filtered water for soaking and rinsing.
- A warm, dark place – Find a spot in your home that maintains a consistent temperature.
With these materials ready, you’ll be set to begin the sprouting process effectively.
Let’s get those seeds growing!
Step-by-Step Instructions
Starting the sprouting process involves a few straightforward steps. First, I rinse the sunflower seeds under cool water to remove any debris. Next, I soak them in water for about 8 hours. After soaking, I drain the water and place the seeds in a sprouting jar or tray lined with a damp cloth. I ensure they’re spread evenly without overlapping.
Then, I cover them with a lid or cloth and set them in a warm, dark spot. I rinse the seeds twice daily to keep them moist. Within a few days, I see little sprouts emerging.
| Day | Action |
|---|---|
| Day 1 | Soak seeds |
| Day 2 | Rinse and drain |
| Day 3+ | Rinse twice daily |
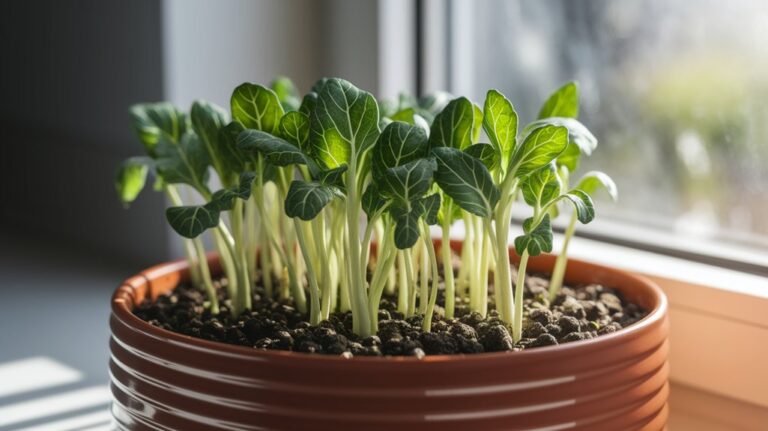
Caring for Your Sprouts
While sprouting sunflower seeds can be an exciting process, caring for your sprouts is crucial for their healthy development.
I’ve found that following a few simple guidelines ensures they thrive:
- Light: Provide 12-16 hours of indirect sunlight daily to promote strong growth.
- Water: Keep the soil moist but not soggy; overwatering can lead to mold.
- Airflow: Ensure good ventilation to prevent any fungal issues, especially in humid environments.
- Temperature: Maintain a warm temperature, ideally between 70-75°F (21-24°C) for optimal sprouting.
- Nutrients: Once they’re about a week old, consider a diluted liquid fertilizer to boost growth.
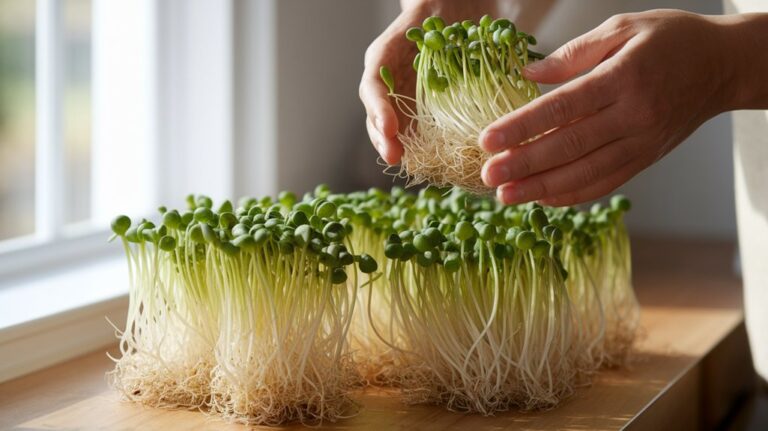
Harvesting Your Sunflower Sprouts
When I harvest my sunflower sprouts, I focus on timing to ensure maximum flavor and nutrition.
Using the right cutting techniques is essential for preserving the quality of the sprouts.
After harvesting, proper storage recommendations help maintain their freshness until I’m ready to enjoy them.
Optimal Harvest Timing
As your sunflower sprouts grow, knowing the right time to harvest them is crucial for maximizing flavor and nutrition.
I typically wait until the sprouts reach about 2 to 4 inches tall, which usually takes around 7 to 10 days.
Here are some key indicators I look for:
- Color: The leaves should be vibrant green, indicating healthy growth.
- Size: Sprouts should be at least 2 inches tall for optimal taste.
- Texture: The leaves should feel tender but not wilted.
- Roots: Check for a healthy root system; they shouldn’t be tightly packed.
- Taste: A quick taste test can tell you if they’re ready!
Harvesting at this stage ensures you enjoy the best flavor and nutritional benefits.
Cutting Techniques
To effectively harvest your sunflower sprouts, I recommend using a sharp pair of scissors or kitchen shears. This tool helps ensure a clean cut, preventing damage to the delicate sprouts.
When you’re ready to harvest, grasp a handful of sprouts gently, being careful not to bruise them. Position your scissors just above the soil line, and cut swiftly to minimize stress on the plants.
I find it helpful to harvest in small batches, which allows me to manage the process more easily. Avoid pulling the sprouts, as this can disturb the roots and impact future growth.
Once harvested, I rinse the sprouts gently under cool water to remove any soil particles before using them in my meals.
Storage Recommendations
After harvesting your sunflower sprouts, proper storage is vital to maintaining their freshness and nutritional value.
I’ve found that following these guidelines helps keep them crisp and delicious:
- Rinse the sprouts gently with cool water to remove any debris.
- Pat them dry with a clean kitchen towel or use a salad spinner.
- Store them in a breathable container, like a produce bag or a glass jar with a lid.
- Keep them in the refrigerator, ideally in the vegetable crisper drawer.
- Consume within 5-7 days for the best flavor and nutrition.
Storing Your Sprouts
Storing sunflower sprouts properly is crucial for maintaining their freshness and nutritional value. After harvesting, I gently rinse the sprouts under cool water to remove any debris. I then spin them dry in a salad spinner or pat them with a clean towel.
To store, I place the sprouts in a breathable container, like a paper bag or a mesh produce bag, allowing for air circulation. It’s essential to keep them in the refrigerator at temperatures between 34°F and 40°F.
I avoid sealing them in airtight containers, as this can cause moisture buildup and lead to spoilage. When stored correctly, my sunflower sprouts can last up to a week, ensuring I enjoy their benefits for as long as possible.
Enjoying Your Home-Sprouted Sunflower Seeds
Sunflower sprouts aren’t only nutritious but also versatile in their culinary applications. I love incorporating them into my meals for added flavor and texture.
Here are some of my favorite ways to enjoy home-sprouted sunflower seeds:
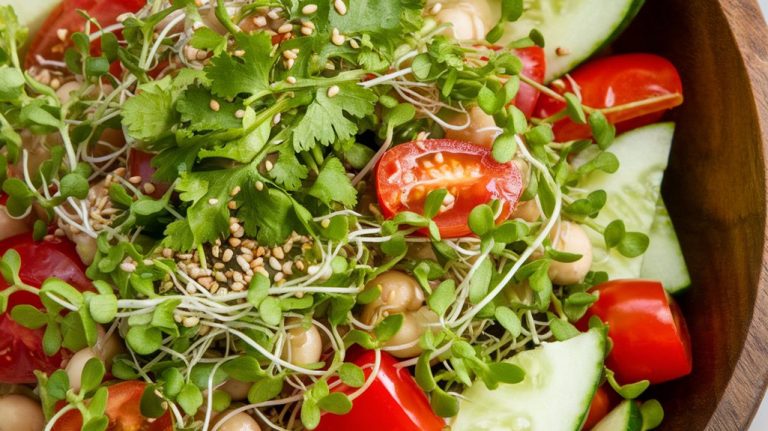
- Salads: Toss them into mixed greens for a crunchy bite.
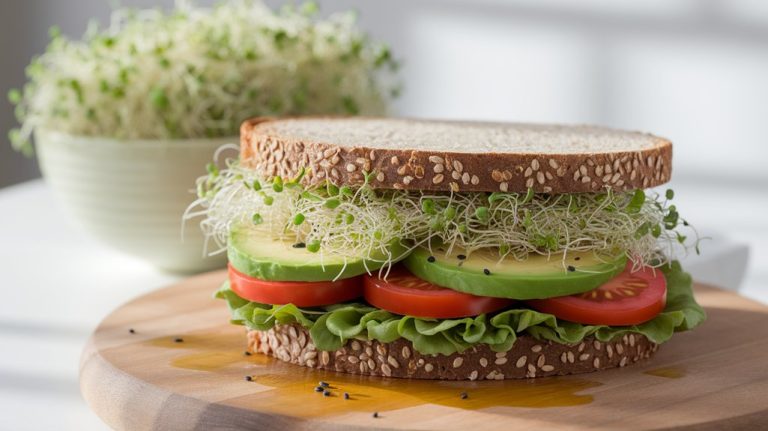
- Sandwiches: Use them as a delicious topping on your favorite sandwich.
- Smoothies: Blend them into smoothies for an extra nutrient boost.
- Wraps: Add them to wraps for enhanced flavor and nutrition.
- Soups: Garnish soups with sunflower sprouts for a fresh finish.
Frequently Asked Questions
Conclusion
In conclusion, sprouting sunflower seeds at home is a rewarding process that provides fresh, nutritious greens. By understanding the right seeds, preparing properly, and caring for your sprouts, you can enjoy a bountiful harvest. Whether you use them in salads, sandwiches, or smoothies, home-sprouted sunflower seeds add a delightful crunch and a wealth of health benefits. With simple storage techniques, you can keep your sprouts fresh and ready for enjoyment. Happy sprouting!