How to Sprout Wheat
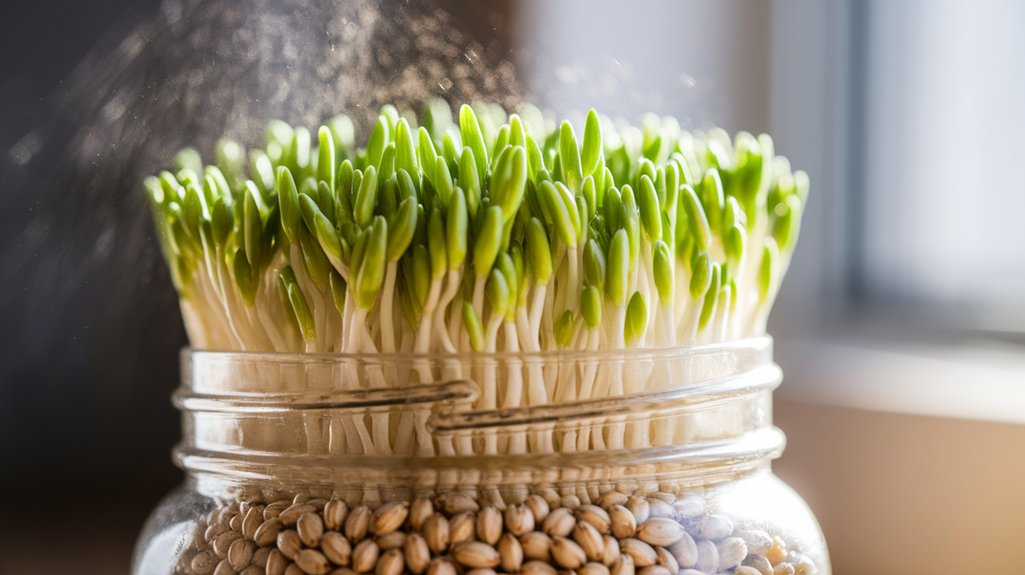
To sprout wheat, I start by rinsing one cup of whole wheat kernels and soaking them in water for 8 to 12 hours. After draining, I spread them in a sprouting jar and rinse every 8 to 12 hours while keeping them in a dark, warm area. In about 3 to 5 days, tiny sprouts appear, indicating they’re ready for use. If you want to maximize their health benefits and discover delicious ways to enjoy sprouted wheat, keep exploring.
Key Takeaways
- Rinse one cup of whole wheat kernels under cool water, then soak them in water for 8 to 12 hours.
- Drain the soaked kernels and spread them evenly in a sprouting jar at an angle to ensure proper drainage.
- Rinse and drain the kernels every 8 to 12 hours, keeping the jar in a dark, warm area for optimal sprouting conditions.
- Observe tiny sprouts developing after 3 to 5 days; they typically sprout within 2 to 3 days under ideal conditions.
- Store rinsed and drained sprouts in airtight containers in the fridge for up to a week or freeze for longer storage.
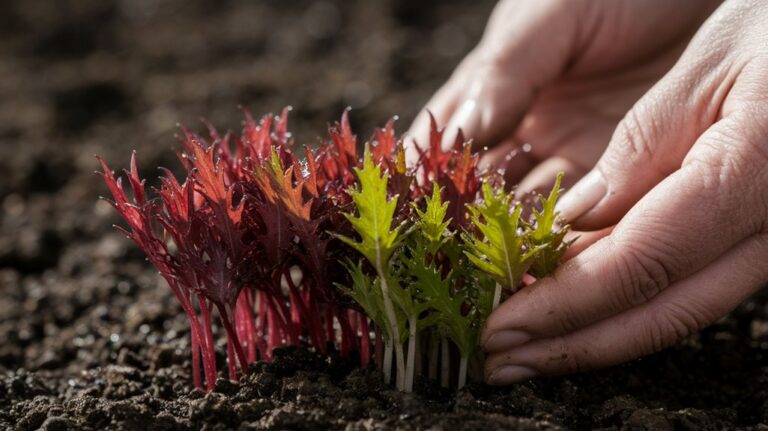
Understanding the Benefits of Sprouting Wheat
Sprouting wheat offers an impressive array of nutritional benefits that can enhance your diet.
When I sprout wheat, I notice a significant increase in vitamins, particularly B vitamins, which are crucial for energy metabolism. The sprouting process also boosts the protein content, making it a more complete source of essential amino acids.
Additionally, enzymes activated during sprouting improve digestibility, allowing my body to absorb nutrients more efficiently. I find that sprouted wheat has lower levels of anti-nutrients, such as phytic acid, which can inhibit mineral absorption.
This means I get more iron, zinc, and magnesium from my food. Overall, incorporating sprouted wheat into my meals not only enriches my diet but also supports better overall health.
Choosing the Right Wheat for Sprouting
When choosing the right wheat for sprouting, I consider various factors like the specific wheat variety, whether it’s organic or conventional, and the freshness and quality of the seeds.
Different types of wheat, such as hard red or soft white, can affect both the sprouting process and the nutritional profile of the sprouts.
Ensuring that I select high-quality seeds helps maximize the health benefits of my sprouts.
Types of Wheat Varieties
Choosing the right wheat variety for sprouting is crucial, as different types can significantly impact the flavor, texture, and nutritional value of the sprouts.
I often recommend hard red wheat for its robust flavor and high protein content, perfect for adding a nutty taste to salads and sandwiches.
Soft white wheat, on the other hand, tends to produce milder sprouts with a softer texture, ideal for lighter dishes.
For an extra nutritional boost, consider spelt wheat; it’s rich in vitamins and minerals.
Additionally, durum wheat offers a firmer sprout, which can enhance the crunchiness in your meals.
Ultimately, experimenting with various varieties can help you discover the perfect sprout that meets your culinary needs and preferences.
Organic vs. Conventional Wheat
While both organic and conventional wheat can yield nutritious sprouts, the choice between them often hinges on factors like farming practices, pesticide exposure, and personal health priorities.
Personally, I weigh the following aspects when deciding:
- Farming Practices: Organic wheat is grown without synthetic fertilizers or pesticides, promoting soil health.
- Pesticide Exposure: Conventional wheat may contain residues from pesticides, which concerns many health-conscious individuals.
- Nutritional Value: Some studies suggest organic wheat may contain higher levels of certain nutrients.
- Environmental Impact: Organic farming generally supports biodiversity and reduces chemical runoff.
Ultimately, it’s about aligning your choice with your values and health goals.
I encourage you to consider these factors carefully when selecting wheat for sprouting!
Freshness and Quality Factors
Selecting the right wheat for sprouting hinges on freshness and quality, which significantly impact the success of your sprouts. I always recommend choosing whole grains that are certified organic and non-GMO, as they typically have higher nutrient density.
Check the packaging for the harvest date; wheat that’s less than a year old is ideal. Freshness ensures better germination rates.
Moreover, inspect the grains for any signs of mold, discoloration, or insect damage. Healthy grains should be firm and uniform in color.
I’ve found that hard red wheat and soft white wheat are excellent choices, providing a balance of flavor and nutritional benefits. By prioritizing these freshness and quality factors, you’ll boost your chances of producing vibrant, nutritious sprouts.
Essential Supplies for Sprouting Wheat
To successfully sprout wheat, I need to gather a few essential supplies that ensure optimal germination.
This includes selecting quality wheat and understanding the ideal conditions for sprouting.
Let’s explore the required equipment and techniques to achieve the best results.
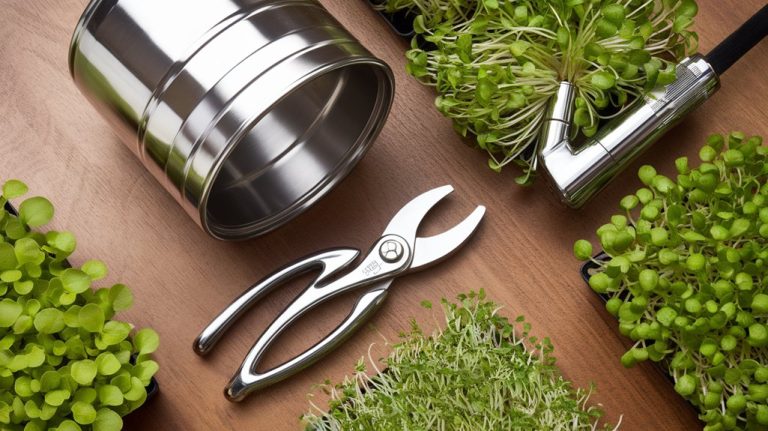
Required Equipment Overview
When I prepare to sprout wheat, having the right equipment is crucial for success. The tools I use not only streamline the process but also ensure the highest quality sprouts.
Here’s a quick overview of the essential items I recommend:
- Sprouting Jar: A wide-mouth glass jar allows for easy rinsing and draining.
- Mesh Lid: This replaces the regular jar lid, providing ventilation while keeping the grains secure.
- Sprouting Tray: A tray with drainage holes facilitates even water distribution and airflow.
- Watering Can: A fine-spout watering can helps control the amount of water without flooding the sprouts.
Investing in these tools enhances the sprouting process, making it more efficient and productive.
Choosing Quality Wheat
Quality wheat is the foundation of successful sprouting, and I always prioritize sourcing the best seeds available. When selecting wheat, I opt for organic, non-GMO seeds to ensure purity and avoid harmful chemicals.
I check for seeds that are whole, unbroken, and free from any signs of mold or discoloration. It’s crucial to consider the variety; hard red wheat and soft white wheat are excellent choices for sprouting due to their high germination rates.
Before purchasing, I verify the seed’s harvest date, preferring those that are recent for optimal freshness. I also research suppliers, ensuring they’ve a reputation for quality and sustainability.
With these criteria in mind, I’m confident in my sprouting endeavors.
Ideal Sprouting Conditions
After selecting the right seeds, attention turns to creating ideal sprouting conditions, which are vital for successful germination. Here’s what I find essential:
- Temperature: Keep the temperature between 68-75°F (20-24°C) to promote optimal sprouting.
- Moisture: Ensure consistent moisture without waterlogging; I typically rinse the seeds every 8-12 hours.
- Light: While direct sunlight isn’t necessary, providing a moderate amount of indirect light encourages healthy growth.
- Ventilation: Good airflow prevents mold growth; I use a mesh lid on my sprouting jar to facilitate this.
Step-by-Step Guide to Sprouting Wheat
Sprouting wheat is a straightforward process that can enhance its nutritional value and flavor.
First, I measure about one cup of whole wheat kernels and rinse them thoroughly under cool water. Next, I place the rinsed kernels into a sprouting jar or a bowl, covering them with about two inches of water. After soaking them for 8 to 12 hours, I drain the water and spread the kernels evenly in the jar.
I then place the jar at an angle to allow excess moisture to escape. Over the next few days, I rinse and drain the wheat every 8 to 12 hours, keeping it in a dark, warm area.
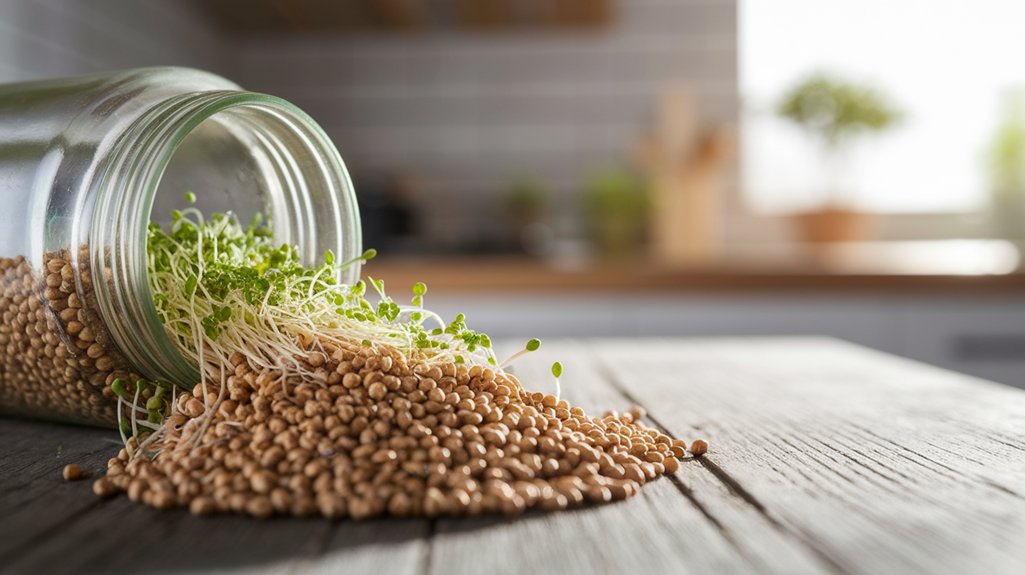
After 3 to 5 days, I’ll see tiny sprouts, ready for use!
Rinsing and Draining the Wheat
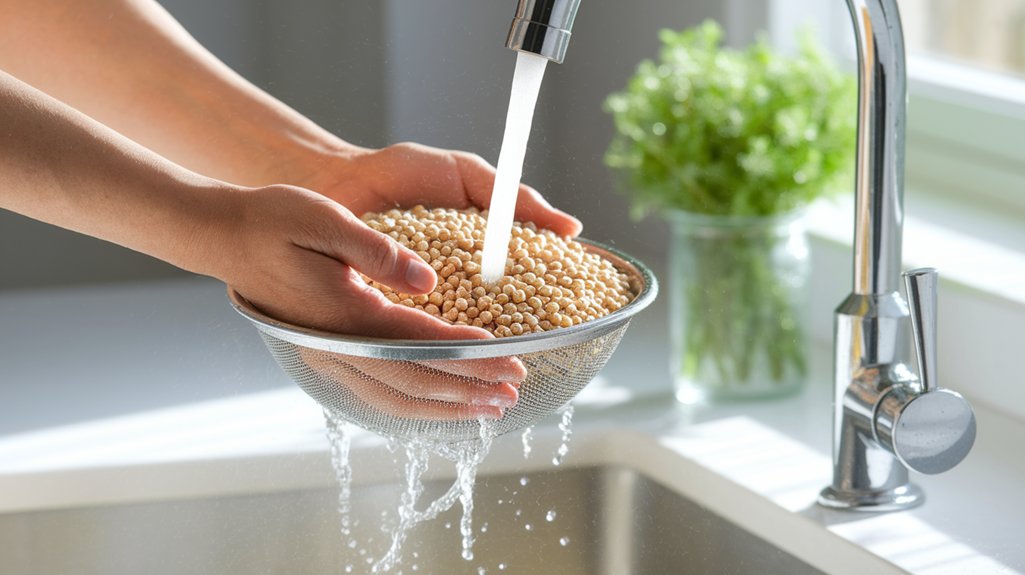
Rinsing and draining the wheat is crucial for successful sprouting. This process removes any impurities and ensures the seeds are hydrated properly. Here’s how I do it:
- Place the wheat in a fine mesh strainer or sprouting jar.
- Rinse thoroughly under cool running water for about 1-2 minutes, ensuring all debris is washed away.
- Drain the excess water by tilting the strainer or jar at an angle, allowing gravity to do its work.
- Let it sit for a few hours in a cool, dark place to ensure the wheat absorbs moisture without becoming waterlogged.
Following these steps helps create the perfect environment for germination, setting the stage for healthy sprouted wheat.
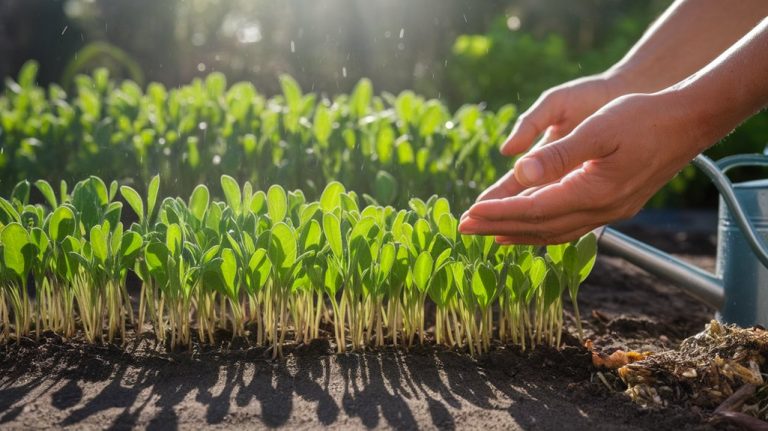
The Ideal Environment for Sprouting
To achieve optimal sprouting results, creating the right environment is essential. I ensure my wheat is kept in a dark, warm place, ideally between 70°F and 75°F. This temperature range promotes germination and prevents mold growth.
I also maintain consistent moisture levels by rinsing the wheat every 8-12 hours, preventing it from drying out while avoiding over-saturation. A breathable container, like a jar covered with cheesecloth, enhances air circulation, crucial for healthy sprouts.
Additionally, I keep an eye on humidity; a slightly humid environment works best, as it helps the seeds absorb water without becoming waterlogged. By setting these conditions, I create an ideal environment that encourages strong, vibrant sprouting.
How Long to Sprout Wheat
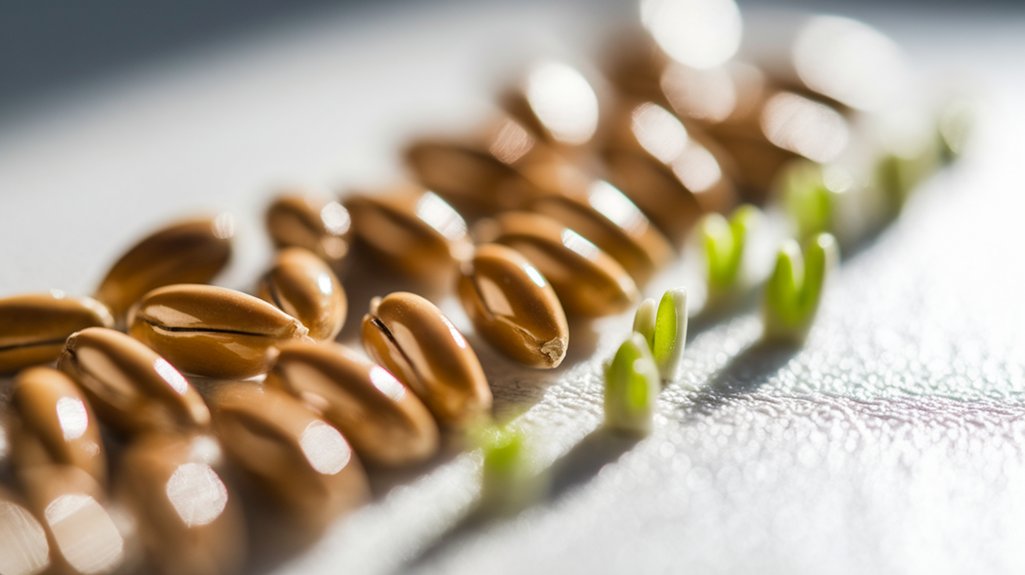
How long does it take for wheat to sprout? Typically, you can expect wheat to sprout within 2 to 3 days under optimal conditions.
Here’s a breakdown of the process:
- Soaking: I soak the wheat berries for about 8-12 hours to jumpstart germination.
- Rinsing: After soaking, I rinse the berries thoroughly to remove any anti-nutrients.
- Draining: I drain the water and place the berries in a sprouting jar or container, ensuring good airflow.
- Sprouting: Over the next 2 to 3 days, I keep rinsing and draining them every 8-12 hours until tiny sprouts appear.
Monitoring temperature and moisture is crucial during this phase.
With patience, you’ll have healthy, sprouted wheat ready for use!
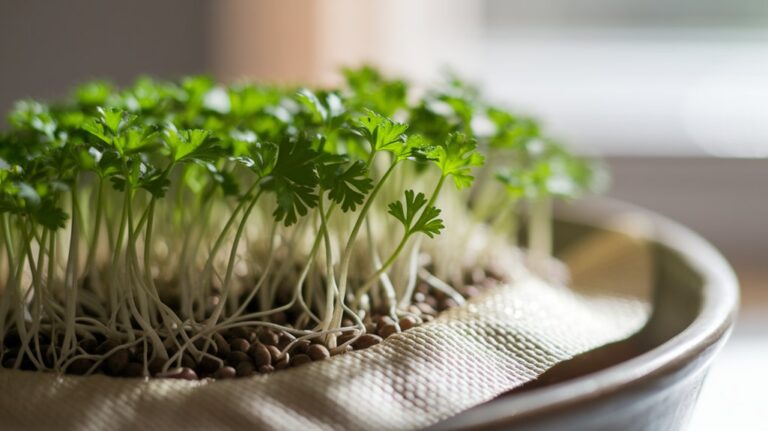
Storing and Using Sprouted Wheat
Once I’ve successfully sprouted my wheat, the next step is to store and use it properly to maintain its freshness and nutritional benefits.
I typically rinse the sprouts thoroughly and let them drain well. Then, I spread them out on a clean towel to dry for about an hour.
For storage, I use airtight containers, placing them in the fridge where they can last up to a week. If I want to keep them longer, I often freeze them in portions.
When using sprouted wheat, I find it’s best to add it to salads, smoothies, or baked goods. Its nutty flavor and crunchy texture elevate dishes while providing a wealth of vitamins, minerals, and enzymes for optimal health.
Delicious Recipes Featuring Sprouted Wheat
What can you create with sprouted wheat that’s both nutritious and delicious? Here are four fantastic recipes that I’ve enjoyed and think you’ll too:
- Sprouted Wheat Bread: Combine sprouted wheat flour, water, yeast, and salt to create a hearty, nutrient-dense loaf.
- Sprouted Wheat Salad: Toss sprouted wheat with fresh vegetables, olive oil, and lemon juice for a refreshing dish rich in fiber.
- Sprouted Wheat Pancakes: Blend sprouted wheat flour with eggs, milk, and a hint of vanilla for fluffy pancakes packed with protein.
- Sprouted Wheat Porridge: Cook sprouted wheat in almond milk and top with fruits and nuts for a healthy breakfast option.
These recipes not only enhance the flavor but also maximize the health benefits of sprouted wheat!
Frequently Asked Questions
Conclusion
In conclusion, sprouting wheat is an easy and rewarding process that enhances its nutritional profile and flavor. By selecting the right wheat and following the step-by-step guide, you can enjoy the benefits of sprouted grains in your diet. Remember to provide the ideal environment for sprouting and store your wheat properly for maximum freshness. With a variety of delicious recipes at your fingertips, incorporating sprouted wheat into your meals can elevate your culinary experience and health.