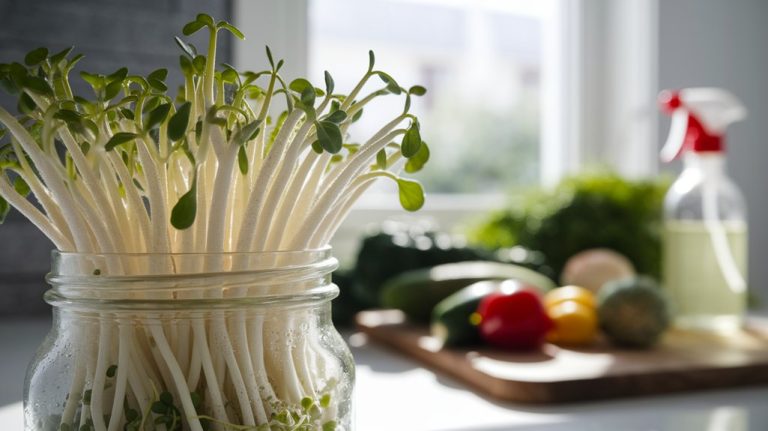
How to Sprout White Quinoa
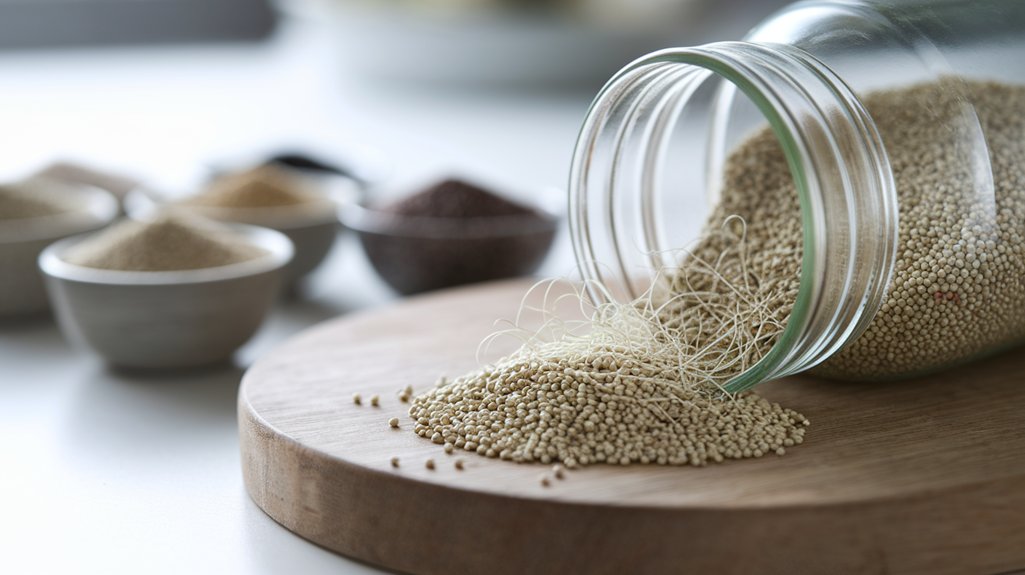
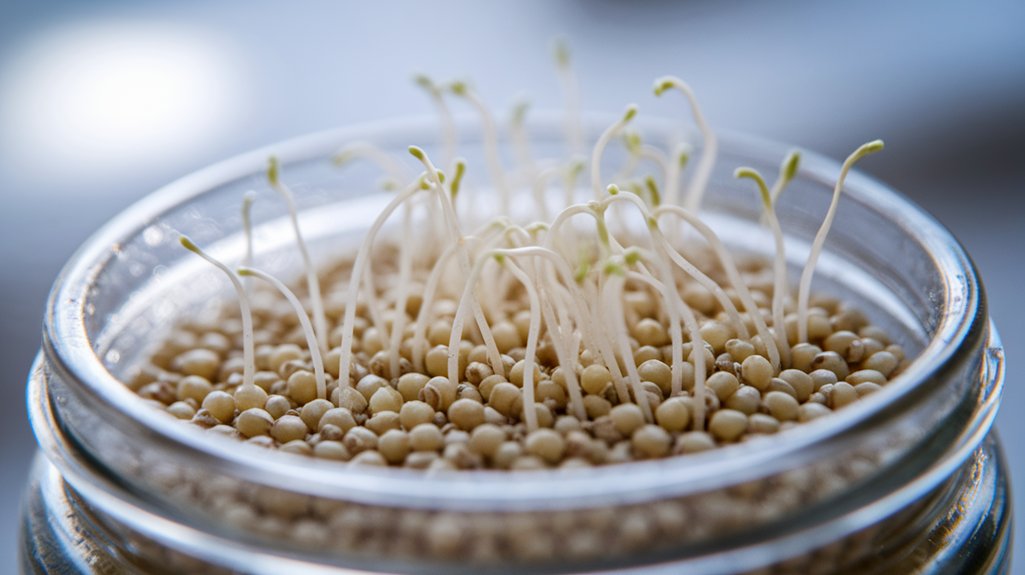
To sprout white quinoa, I rinse it thoroughly to remove the bitter saponins. Then, I soak it in water for 4-6 hours to kickstart germination. After draining, I place it in a sprouting jar and rinse every 8-12 hours, ensuring proper drainage to prevent mold. In about 24-48 hours, I can see tiny sprouts forming. Once ready, I can use sprouted quinoa in various dishes, enhancing nutrition and flavor. There’s more to explore about its benefits and uses!
Key Takeaways
- Rinse white quinoa thoroughly to remove saponins, preventing bitterness before sprouting.
- Soak the quinoa in water for 4 to 6 hours to initiate germination.
- Drain the quinoa using a fine mesh strainer to remove excess water.
- Spread quinoa in a sprouting jar or tray and ensure good airflow and light exposure.
- Rinse every 8 to 12 hours and observe for tiny sprouts within 24 to 48 hours.
Understanding Quinoa: A Nutritional Overview
Quinoa, often hailed as a superfood, packs a powerful nutritional punch.
It’s a complete protein, meaning it contains all nine essential amino acids, making it an excellent choice for vegetarians and vegans. I appreciate that it’s also high in fiber, which helps with digestion and can keep me feeling full longer.
Quinoa is rich in vitamins and minerals, particularly magnesium, iron, and B vitamins, contributing to overall health. Its low glycemic index is another plus, as it helps manage blood sugar levels.
Plus, it’s gluten-free, making it a versatile option for those with gluten sensitivities.
With its nutty flavor and chewy texture, quinoa isn’t just nutritious but also a delicious addition to a variety of meals.
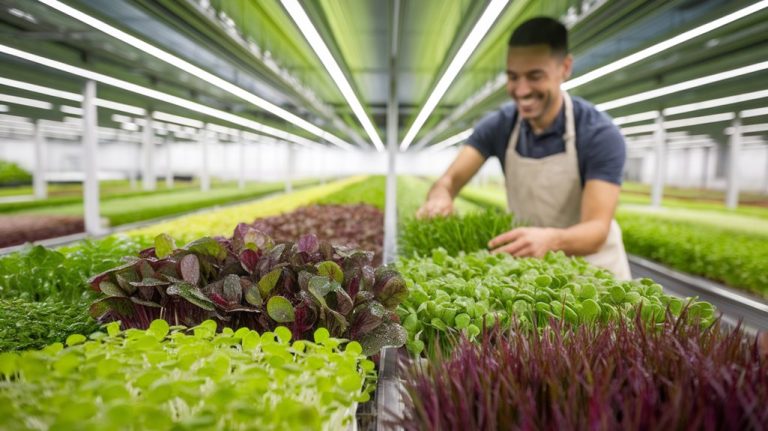
The Benefits of Sprouting Quinoa
While many people enjoy quinoa for its nutritional value, sprouting it can elevate its health benefits even further.
Sprouted quinoa contains higher amounts of vitamins, particularly B vitamins, which support energy metabolism. The sprouting process also increases its antioxidant levels, helping to combat oxidative stress in the body.
Additionally, sprouting enhances protein digestibility, making it easier for our bodies to absorb essential amino acids. I’ve noticed that sprouted quinoa has a nuttier flavor and a slightly crunchy texture, adding variety to my meals.
It’s also worth mentioning that sprouted quinoa is often easier on the digestive system due to reduced phytic acid, which can inhibit mineral absorption.
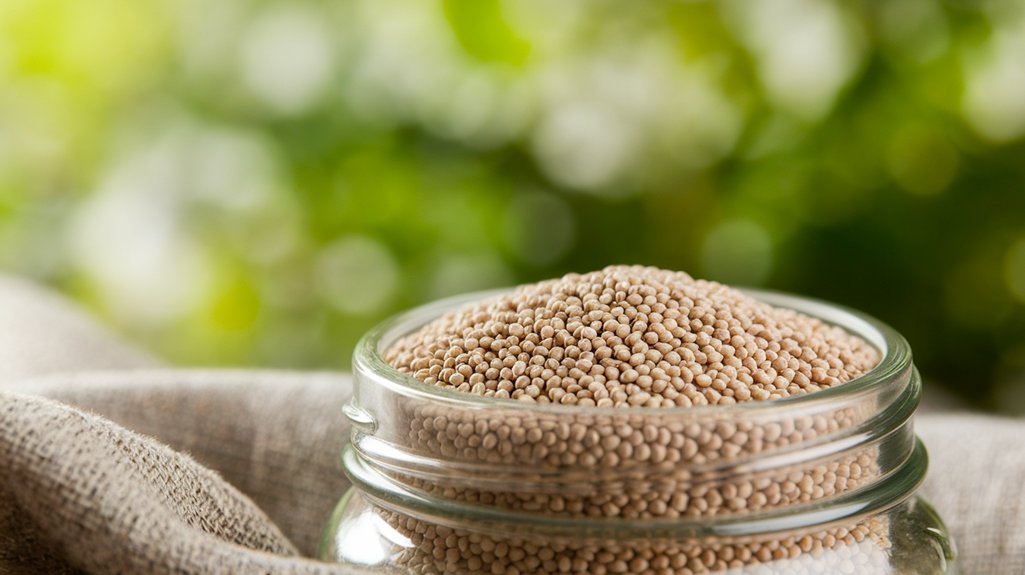
Choosing the Right Quinoa for Sprouting
When you’re ready to sprout quinoa, choosing the right variety is crucial for achieving the best results. I’ve found that white quinoa is often the most versatile for sprouting due to its mild flavor and high germination rate. Here’s a quick comparison of quinoa varieties:
| Quinoa Type | Flavor Profile | Germination Time |
|---|---|---|
| White Quinoa | Mild, nutty | 24-48 hours |
| Red Quinoa | Earthy, slightly sweet | 36-48 hours |
| Black Quinoa | Rich, sweet | 48-72 hours |
I prefer white quinoa for its ease of use and quick sprouting. Remember, always choose organic varieties to avoid chemical residues that could hinder sprouting. Happy sprouting!
Preparing Quinoa for Sprouting
Before you start sprouting white quinoa, it’s essential to prepare it properly for optimal germination. I always follow these steps to ensure my quinoa is ready:
- Rinse thoroughly: This removes any saponins, which can make quinoa taste bitter.
- Soak: I soak the quinoa in water for 4-6 hours, allowing it to absorb moisture and kickstart the germination process.
- Drain: After soaking, I drain the quinoa using a fine mesh strainer, ensuring excess water is removed.
- Spread out: I spread the rinsed quinoa evenly in a glass jar or sprouting tray, allowing for good airflow and light exposure.
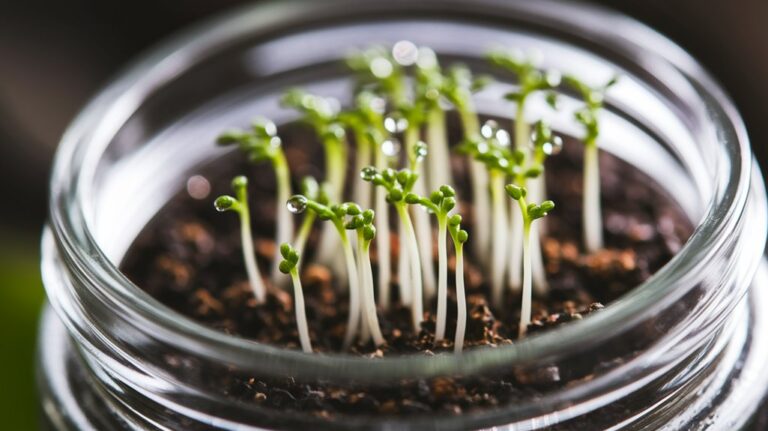
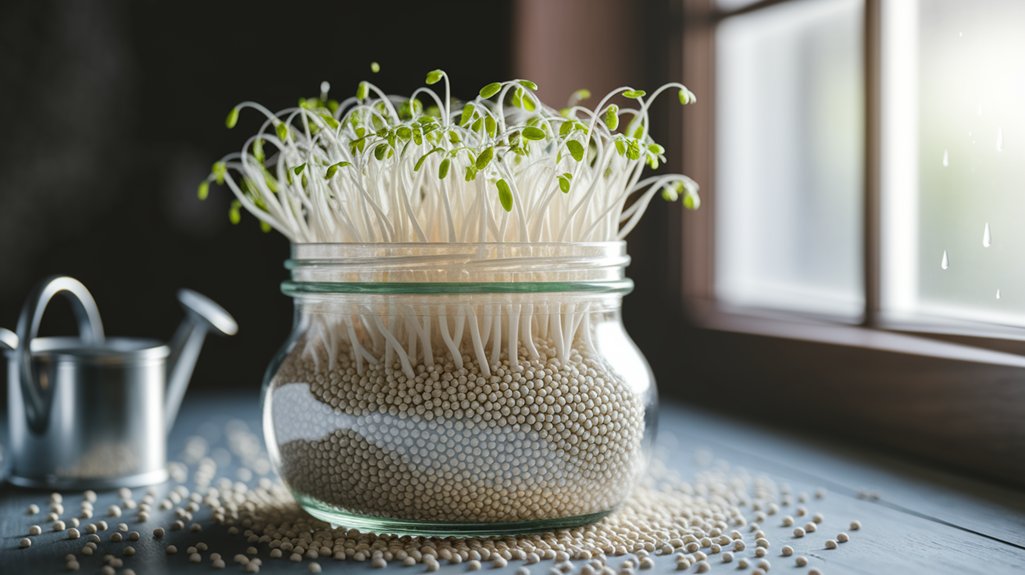
The Sprouting Process: Step-by-Step Guide
Now that your quinoa is prepared, it’s time to dive into the sprouting process.
First, I place the soaked quinoa in a sprouting jar or a fine-mesh sieve. I cover it with a breathable cloth to allow airflow while keeping contaminants out.
Every 8 to 12 hours, I rinse the quinoa with fresh water to keep it moist and remove any residual saponins. After rinsing, I let it drain thoroughly, positioning the jar at an angle to prevent water accumulation.
Within 24 to 48 hours, I start seeing tiny sprouts emerging, indicating it’s time to harvest. I can simply rinse the sprouts one last time before enjoying them in salads, sandwiches, or as a nutritious addition to various dishes.
Rinsing and Draining: Key Techniques
When I sprout white quinoa, rinsing and draining are crucial steps.
Proper rinsing removes saponins, which can make quinoa taste bitter, while effective draining ensures the seeds don’t sit in water and rot.
Timing these processes right can significantly enhance the sprouting results, leading to healthier, tastier quinoa.
Importance of Rinsing
While I understand the excitement of sprouting white quinoa, it’s crucial to emphasize the importance of rinsing. Rinsing not only removes the natural coating called saponin, which can taste bitter, but also ensures your quinoa is clean.
This step enhances the flavor and makes the sprouting process more effective. Here’s why rinsing matters:
- It eliminates saponins that can affect taste.
- It reduces potential contaminants like dirt or bacteria.
- It improves hydration, crucial for sprouting.
- It leads to better germination rates for healthier sprouts.
Effective Draining Methods
To ensure your quinoa sprouts successfully, mastering effective draining methods is essential. After rinsing the quinoa, I often use a fine-mesh strainer to remove excess water. This technique prevents water from pooling, which can lead to mold growth. I also give the strainer a gentle shake to release any trapped moisture.
Next, I place the strainer at an angle in a bowl to allow further drainage. This setup encourages airflow, which is crucial for the sprouting process.
I check on the quinoa periodically, ensuring it doesn’t become too wet. By keeping the quinoa adequately drained, I create an optimal environment for sprouting, allowing those little seeds to thrive and develop into nutritious sprouts.
Timing for Best Results
Achieving the best results in sprouting white quinoa relies heavily on timing, especially during the rinsing and draining phases.
I’ve found that sticking to a schedule helps optimize sprout growth. Here’s what I recommend:
- Rinse the quinoa for about 2 minutes to remove saponins, ensuring a cleaner taste.
- Drain thoroughly, allowing excess water to escape—this prevents mold growth.
- Rinse and drain every 8 to 12 hours; consistency is key for even sprouting.
After 24 to 48 hours, you’ll notice tiny tails emerging, indicating successful sprouting.
Monitoring Sprout Growth
As I monitor my quinoa sprouts, I focus on creating ideal conditions for growth.
Each day, I observe the sprouts for signs of healthy development, noting their progress carefully.
This attention helps me ensure that my sprouts thrive and reach their full potential.
Ideal Sprouting Conditions
While sprouting white quinoa can be a rewarding process, monitoring the sprout growth is crucial for achieving optimal results.
I’ve found that several ideal conditions can significantly enhance the sprouting experience. Here’s what I focus on:
- Temperature: Keeping the environment around 68-75°F (20-24°C) ensures a comfortable growing space.
- Humidity: Maintaining a moist environment, but not soggy, promotes healthy sprout development.
- Light: Providing indirect light encourages growth without overheating or drying out the sprouts.
- Airflow: Ensuring proper ventilation helps prevent mold and keeps the sprouts healthy.
Daily Growth Observations
To ensure your white quinoa sprouts are developing properly, I make it a habit to conduct daily observations. Each morning, I check for moisture levels and ensure the sprouts aren’t drying out.
I look for consistent growth; typically, you should see noticeable changes in size and color. Maintaining a consistent light source helps, so I monitor their exposure.
I also gently rinse the sprouts every day, which keeps them hydrated and prevents mold. If I notice any unusual odors or discoloration, I take immediate action, adjusting the environment as needed.
This daily routine helps me catch any issues early, ensuring my quinoa sprouts thrive and develop into nutritious additions to my meals.
Signs of Healthy Sprouts
After monitoring moisture levels and growth patterns, I can easily identify the signs of healthy quinoa sprouts. Recognizing these indicators helps ensure I’m on the right track.
Here are the key signs I look for:
- Vibrant Green Color: Healthy sprouts should display a bright green hue, indicating they’re thriving.
- Strong, Straight Stems: Look for sturdy stems that hold the sprouts upright; weak ones can signal stress.
- Well-Developed Leaves: The leaves should be fully formed, showing they’re ready for photosynthesis.
- Consistent Growth Rate: Healthy sprouts grow steadily, not too fast or slow, which reflects balanced conditions.
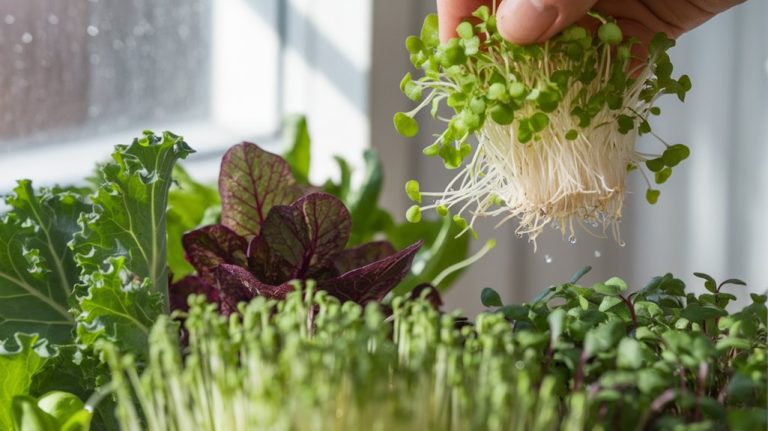
How to Store Sprouted Quinoa
Since keeping sprouted quinoa fresh is essential for maintaining its nutritional benefits, I recommend storing it properly to extend its shelf life.
After sprouting, I rinse the quinoa thoroughly and drain it well. I then transfer it to an airtight container and store it in the refrigerator. This method keeps my sprouted quinoa fresh for about 3 to 5 days.
If I want to store it for longer, I consider freezing it. I spread the sprouted quinoa on a baking sheet to freeze individually, then transfer it to a freezer-safe bag once frozen. This way, I can enjoy its nutritional goodness even weeks later.
Always remember to label the container or bag with the date for easy tracking!
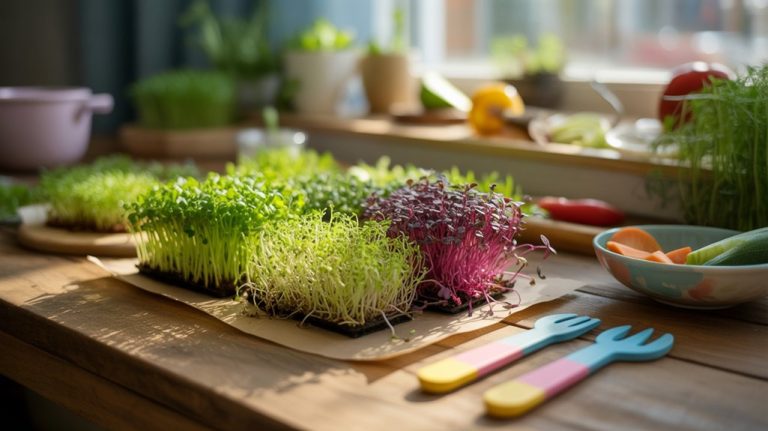
Creative Ways to Use Sprouted Quinoa in Meals
I’ve found sprouted quinoa to be incredibly versatile in my meals.
It adds a nutty flavor and a delightful crunch to salads and grain bowls, while also boosting the nutrition of smoothies and breakfast bowls.
Plus, it makes a great addition to stir-fries and sautéed dishes, enhancing both texture and taste.
Salads and Grain Bowls
Sprouted quinoa can elevate your salads and grain bowls in just a few simple ways. I love incorporating it for its unique texture and nutritional boost. Here’s how I do it:
- Crunchy texture: Sprouted quinoa adds a delightful crunch that contrasts beautifully with leafy greens.
- Nutty flavor: The sprouting process enhances its natural nuttiness, enriching the overall taste of my dishes.
- Nutrient-rich: Packed with protein, fiber, and vitamins, it turns any salad or bowl into a wholesome meal.
- Versatile base: I use it as a foundation, layering it with roasted veggies, fresh herbs, and a zingy dressing.
Smoothies and Breakfast Bowls
When looking to boost the nutritional profile of my smoothies and breakfast bowls, adding sprouted quinoa makes a significant difference. Sprouted quinoa is rich in protein, fiber, and essential amino acids, providing a wholesome base for my meals.
I often blend it into my morning smoothies, where its slightly nutty flavor complements fruits like bananas and berries beautifully. It thickens the texture while enhancing satiety, keeping me full longer.
For breakfast bowls, I sprinkle sprouted quinoa atop yogurt or oatmeal. It adds a delightful crunch and elevates the dish’s nutrient content.
Plus, the sprouting process increases the bioavailability of nutrients, making it easier for my body to absorb them. Incorporating sprouted quinoa into these meals has truly transformed my morning routine.
Stir-Fries and Sautéed Dishes
Incorporating sprouted quinoa into stir-fries and sautéed dishes can elevate not only the flavor but also the nutritional value of your meals. When I add sprouted quinoa, I notice a delightful crunch and a nutty taste that complements my favorite ingredients.
Here are some creative ways I use it:
- Toss it with vibrant bell peppers and snap peas for a pop of color.
- Mix in garlic and ginger for an aromatic kick that enhances the dish.
- Combine it with leafy greens like spinach or kale for added nutrients.
- Drizzle with soy sauce or a homemade dressing to tie all the flavors together.
Using sprouted quinoa in this way not only boosts fiber and protein but also transforms my meals into satisfying, wholesome experiences.
Tips for Successful Sprouting Every Time
To ensure successful sprouting of white quinoa every time, I recommend paying close attention to the rinsing process. Start by rinsing the quinoa thoroughly to remove the saponins, which can impart a bitter taste. I usually rinse it under cold water for about two minutes, gently rubbing the grains with my fingers.
After rinsing, soak the quinoa for about 4 to 8 hours, then drain and rinse again. Place the soaked quinoa in a sprouting jar or a mesh strainer, ensuring good airflow. I find that rinsing every few hours keeps the grains moist and prevents mold.
Finally, be patient; sprouting typically takes 1 to 3 days. You’ll know they’re ready when you see small tails emerging. Enjoy!
Frequently Asked Questions
Conclusion
In conclusion, sprouting white quinoa is a simple and rewarding process that enhances its nutritional profile and adds a delightful crunch to your meals. By following the steps outlined, you can easily create your own sprouted quinoa at home. Not only does it offer health benefits, but it also opens up a world of culinary possibilities. With a little practice and the right approach, you’ll be enjoying fresh, nutrient-rich sprouts in no time!