Microgreens for Starters: Simple Steps to Grow a Tiny Garden on Your Windowsill
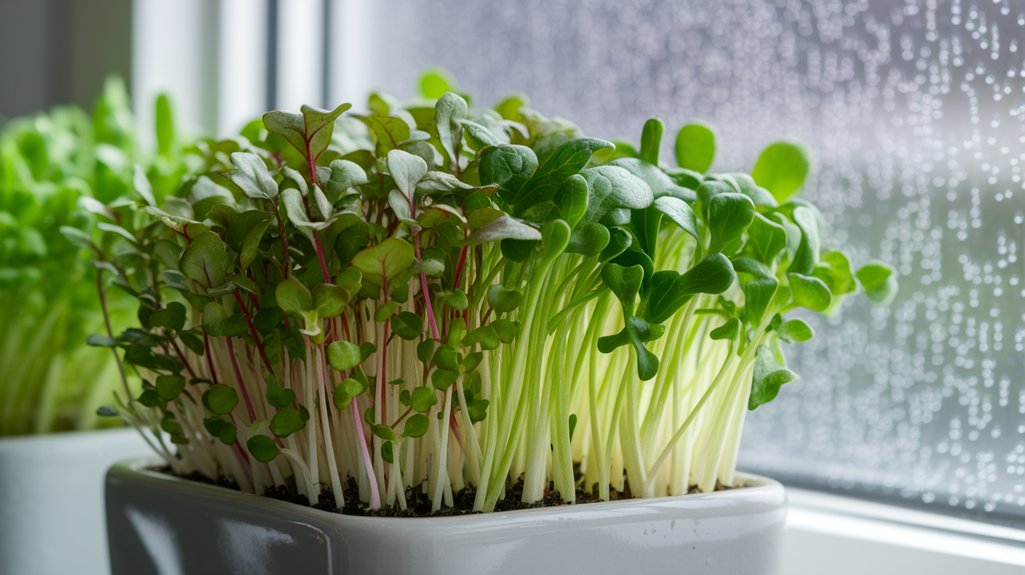
Microgreens are tiny, nutrient-dense seedlings that thrive on windowsills, making them perfect for small spaces. I love growing popular varieties like radish, arugula, and basil, as they sprout quickly in just 7 to 21 days. Just use shallow trays with drainage holes, a lightweight potting mix, and ensure they get 4 to 6 hours of sunlight daily. With proper care in watering and temperature, I’ve found they add vibrant flavors to salads and sandwiches. There’s so much more to explore in this fun gardening journey!
Key Takeaways
- Choose easy-to-grow microgreens like radish, arugula, or basil that suit your culinary preferences.
- Use shallow, well-draining trays with drainage holes and lightweight potting mix for optimal growth.
- Place your trays in a south-facing window for 4 to 6 hours of direct sunlight daily.
- Keep the soil consistently moist, avoiding overwatering, and ensure good air circulation to prevent mold.
- Harvest microgreens when they are 1-3 inches tall, rinsing them briefly before use in salads, sandwiches, or smoothies.
Understanding Microgreens: What Are They and Why Grow Them?
Microgreens are tiny, nutrient-packed seedlings of vegetables and herbs that pack a punch in flavor and health benefits. I’ve discovered that they’re not just delicious; they’re incredibly easy to grow, even in small spaces like my windowsill.
These little greens typically sprout within 7 to 21 days, meaning you can enjoy fresh produce in no time. They’re rich in vitamins, minerals, and antioxidants, making them a great addition to salads, sandwiches, and smoothies.
Plus, growing microgreens is a fun and rewarding hobby that allows you to connect with your food. With minimal supplies and a bit of sunlight, you can cultivate your own tiny garden.
Trust me, once you try growing them, you’ll wonder why you didn’t start sooner!
Choosing the Right Microgreens for Your Garden
After you’ve decided to grow your own microgreens, the next step is figuring out which varieties best suit your taste and growing conditions.
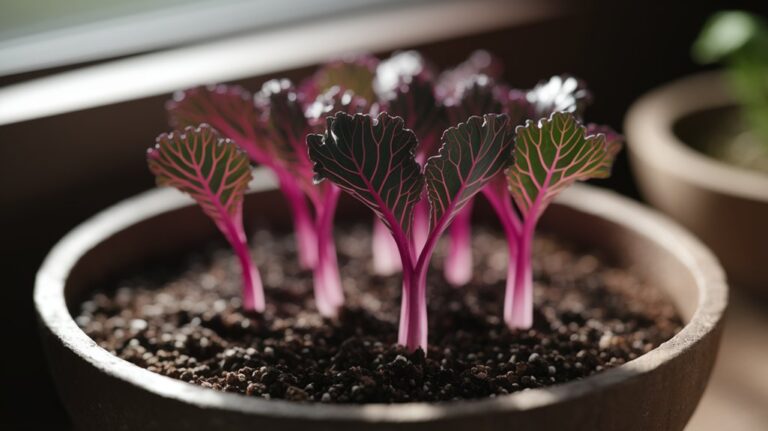
I recommend starting with popular options like radish, arugula, and basil. These aren’t only flavorful but also easy to grow.
Think about your culinary preferences; if you love salads, go for greens like mustard or kale.
Consider the light and temperature in your space, too. Some microgreens thrive in low light, while others need more sunlight.
You can even experiment with blends for diverse flavors.
Remember, it’s all about what you enjoy eating and what fits your environment.
Essential Supplies for Growing Microgreens Indoors
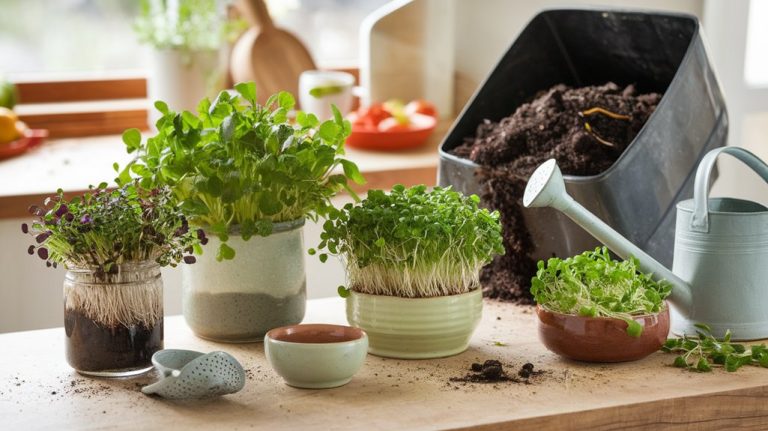
To get started with growing microgreens indoors, you’ll need a few essential supplies.
I recommend having the right containers and trays, along with quality soil and seeds, to ensure your plants thrive.
Let’s explore what you really need to set up a successful indoor microgreen garden!
Required Containers and Trays
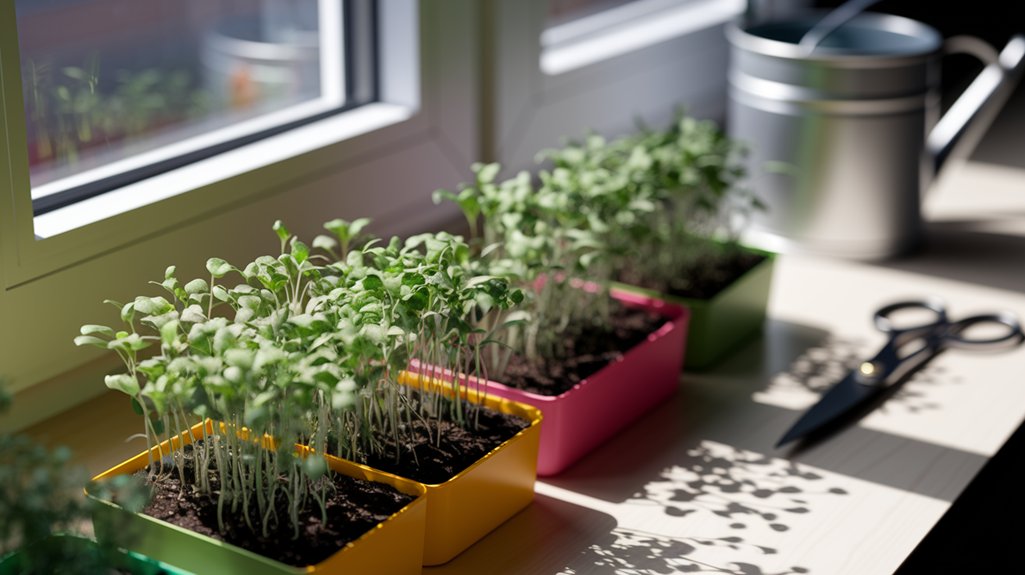
When I first started growing microgreens indoors, I quickly discovered that the right containers and trays can make all the difference in achieving a successful harvest.
I recommend shallow trays, about 1-2 inches deep, which allow for proper drainage and root growth. Look for containers with drainage holes; this prevents water from pooling and keeps the roots healthy.
I often use repurposed containers, like takeout trays or seedling flats, which work perfectly. Make sure they’re clean to avoid any contamination.
If you want to get fancy, you can invest in specialized microgreen trays, but it’s not necessary. Just ensure your chosen containers can accommodate your microgreens while providing adequate airflow and moisture retention.
Happy growing!
Soil and Seeds Needed
Choosing the right soil and seeds is just as important as selecting the right containers for growing microgreens indoors.
I recommend using a lightweight, well-draining potting mix specifically designed for seedlings. This type of soil retains moisture without becoming soggy, which is crucial for healthy microgreens.
When it comes to seeds, look for varieties that are suitable for microgreens, like radish, kale, or basil.
I often choose organic seeds to ensure the best flavor and quality. Make sure to check the seed packet for germination times, as they can vary.
Step-by-Step Guide to Planting Microgreens
Although planting microgreens may seem daunting at first, I’ve found it to be a straightforward and rewarding process.
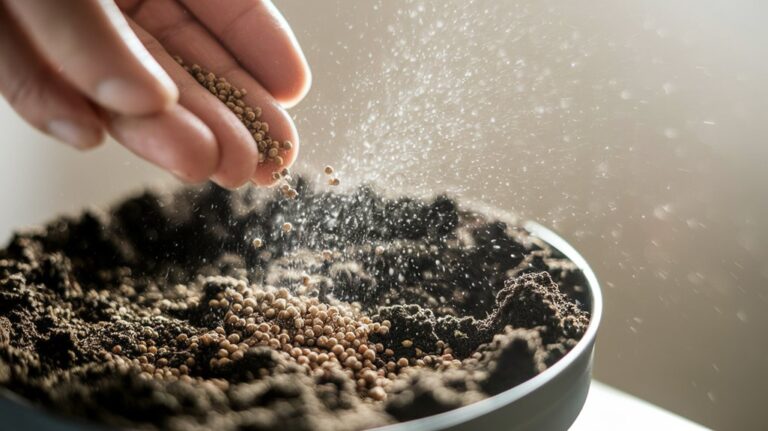
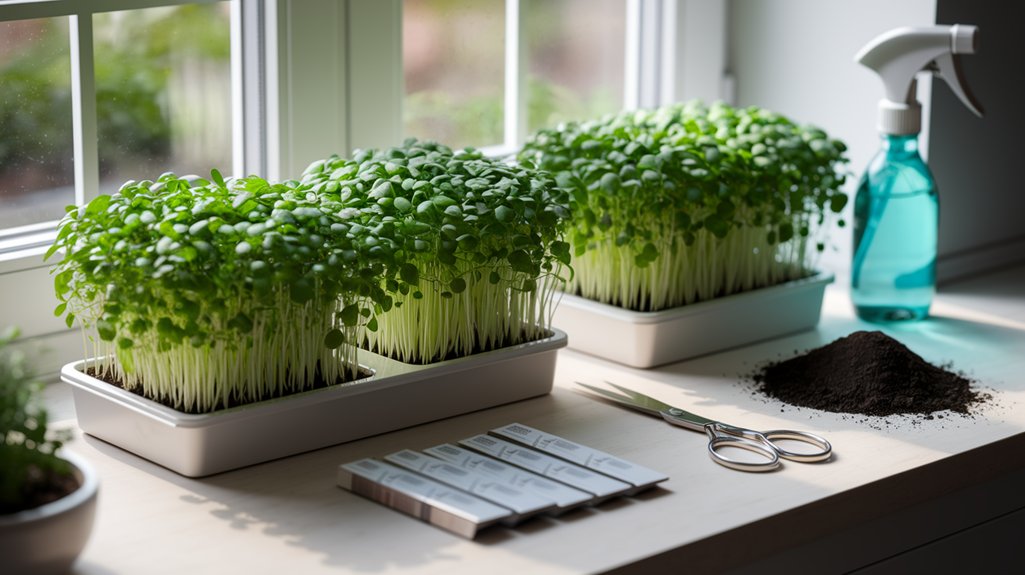
First, I gather my supplies: a shallow container, quality soil, and my chosen seeds. I fill the container with soil, leaving about an inch of space at the top. Then, I gently moisten the soil with water, ensuring it’s damp but not soggy.
Next, I sprinkle the seeds evenly across the surface, covering them lightly with a thin layer of soil. I mist the top layer again to keep it moist.
Finally, I place the container in a bright, indirect light area and keep the soil consistently damp. In just a week or two, I can enjoy my homegrown microgreens!
Optimal Conditions for Growing Microgreens on Your Windowsill
To grow vibrant microgreens on your windowsill, I’ve found that understanding their optimal conditions is key.
They thrive with plenty of light, a comfortable temperature, and the right soil.
Let’s explore how to create the perfect environment for your little greens!
Light Requirements
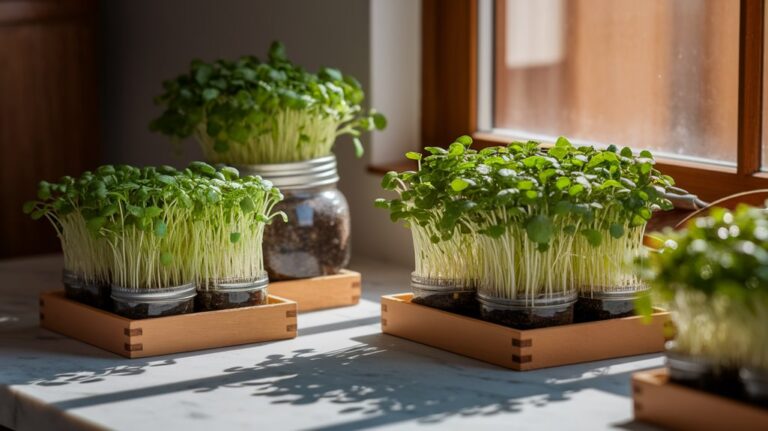
Light is essential for growing vibrant microgreens on your windowsill. I’ve found that placing my trays where they receive at least 4 to 6 hours of direct sunlight each day works wonders.
A south-facing window is ideal, but if you don’t have that, a west-facing one can do the trick too. If natural light is limited, consider using grow lights—these can supplement your plants’ needs effectively.
Position the lights about 2 to 4 inches above the microgreens and keep them on for 12 to 16 hours daily. I’ve noticed that the right light not only promotes healthy growth but also enhances the flavor of my microgreens.
Temperature Preferences
When it comes to growing microgreens, temperature plays a crucial role in their success. I’ve found that maintaining the right temperature can significantly boost growth and flavor.
Generally, most microgreens thrive in a range between 60°F to 75°F (15°C to 24°C). Here are some practical tips to keep in mind:
- Ideal Range: Aim for temperatures around 70°F (21°C) for optimal growth.
- Avoid Extremes: Don’t let temperatures drop below 50°F (10°C) or rise above 80°F (27°C).
- Monitor Changes: Keep an eye on temperature fluctuations, especially in changing seasons.
- Use Heat Mats: Consider using heat mats if your windowsill gets too chilly.
Soil Selection
Getting the temperature just right is only part of the equation for growing healthy microgreens; soil selection is equally important. I’ve found that the right soil can make a huge difference in germination and growth. Here’s a simple breakdown of soil options:
| Soil Type | Benefits |
|---|---|
| Seed Starting Mix | Lightweight, retains moisture well |
| Potting Soil | Nutrient-rich, good for varieties |
| Coco Coir | Sustainable, promotes drainage |
Choosing a high-quality soil mix helps ensure your microgreens thrive. I prefer seed starting mix for its moisture retention, but potting soil works well too. Just remember to avoid heavy garden soil—it can lead to dampening off and other issues. Happy planting!
Watering and Maintenance Tips for Healthy Microgreens
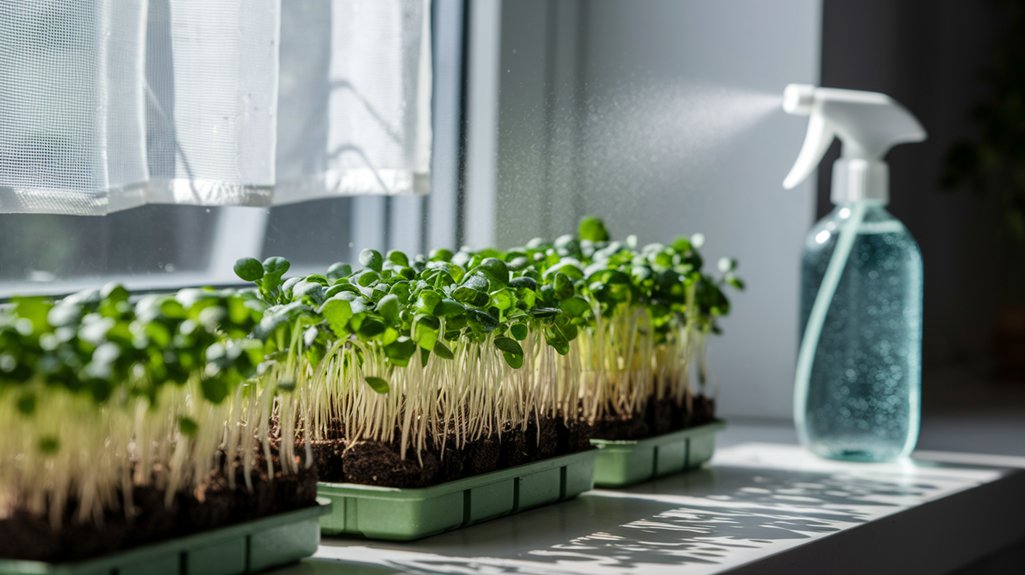
How can I ensure my microgreens thrive? It’s all about proper watering and maintenance. Here are my top tips to keep them healthy:
- Watering: Use a spray bottle for gentle misting. Keep the soil moist but not soggy.
- Light: Place them in a bright spot, ideally with 12-16 hours of light daily. A grow light works wonders if natural light is limited.
- Air Circulation: Ensure good air flow to prevent mold. I often rotate my trays for even exposure.
- Temperature: Maintain a warm environment, ideally between 60-70°F (15-21°C). Avoid extreme temperatures.
Harvesting Your Microgreens: When and How to Do It
After you’ve nurtured your microgreens with proper watering, light, and care, it’s time to enjoy the fruits of your labor.
Generally, I find that microgreens are ready to harvest when they’re about 1 to 3 inches tall, usually around 7 to 21 days after germination. Look for vibrant colors and fresh leaves—those are good indicators of readiness.
To harvest, I simply use clean scissors or a sharp knife, cutting just above the soil line. Be gentle to avoid bruising the delicate greens.
It’s best to harvest in the morning when they’re most hydrated. After that, I rinse them briefly, pat them dry, and they’re ready to be enjoyed!
Happy harvesting!
Culinary Uses for Your Homegrown Microgreens
Microgreens are a versatile addition to my kitchen, elevating dishes with their vibrant flavors and textures. I love incorporating them into my meals, and here are some easy ways to use my homegrown microgreens:
- Salads: Toss a handful of microgreens into your salads for an instant flavor boost.
- Sandwiches: Layer them in sandwiches or wraps to add crunch and nutrition.
- Smoothies: Blend microgreens into smoothies for an extra nutrient kick without altering the taste much.
- Garnishes: Use them as a finishing touch on soups, omelets, or grain bowls to impress guests and enhance presentation.
With these simple applications, my microgreens not only taste great but also add a pop of color to my dishes.
Troubleshooting Common Issues in Microgreen Gardening
While growing microgreens can be a rewarding experience, I’ve faced my fair share of challenges along the way.
One common issue is damping off, a fungal disease that can kill seedlings. I’ve tackled this by ensuring good airflow and avoiding overwatering.
If your microgreens are leggy, it usually means they’re searching for light. I’ve found that placing them near a sunny window or using grow lights can help.
Yellowing leaves often indicate nutrient deficiency, so I recommend using a balanced fertilizer.
Lastly, if your greens taste bitter, it might be due to stress from lack of water or too much heat. Keeping a close eye on these factors has made my microgreen gardening much more enjoyable!
Frequently Asked Questions
How Long Do Microgreens Typically Take to Grow?
Microgreens typically take about 7 to 21 days to grow, depending on the variety.
I’ve found that things like radish or mustard greens sprout quickly, while others, like basil, can take a bit longer.
It’s exciting to watch them progress each day!
Just make sure you give them the right light and water, and you’ll be amazed at how fast they can grow.
Trust me, it’s worth the wait!
Can I Use Regular Soil for Growing Microgreens?
Absolutely, you can use regular soil for growing microgreens!
I’ve found that a good quality potting mix works best, as it provides essential nutrients and drainage. Just make sure it’s free from chemicals and fertilizers, since microgreens are delicate.
I usually moisten the soil before planting the seeds to help them germinate faster. It’s simple and effective, and I love watching them thrive in just a few days!
Do Microgreens Require Direct Sunlight?
Yes, microgreens do require some sunlight, but they don’t need direct sunlight all day.
I’ve found that placing them in a bright, indirect light spot works best. If you can’t provide enough natural light, consider using grow lights for about 12-16 hours a day.
This ensures they get the energy they need to thrive. Just remember, too much direct sunlight can actually wilt them, so balance is key!
Are There Any Pests That Commonly Affect Microgreens?
Absolutely, pests can affect microgreens, and I’ve encountered a few common ones myself.
Aphids and fungus gnats are the usual suspects, often sneaking in when conditions are just right.
To keep them at bay, I’ve found that maintaining good air circulation and proper watering helps a lot.
If I spot any pests, I act quickly with a gentle soap solution.
Staying vigilant really makes a difference in keeping my microgreens healthy!
Can I Grow Microgreens Without a Garden?
Absolutely, you can grow microgreens without a garden! I’ve done it right on my windowsill.
All you need are some shallow containers, potting soil, and seeds. Just sprinkle the seeds on the soil, water them lightly, and place them in a sunny spot.
In just a week or two, you’ll have fresh greens to harvest. It’s a fun and easy way to bring a bit of nature indoors, even in a small space!
Conclusion
Growing microgreens on your windowsill is a rewarding and straightforward way to bring fresh flavors into your kitchen. With just a few supplies and some simple steps, you can enjoy a tiny garden right at home. Remember to monitor their growth and enjoy the process—it’s all part of the fun! So go ahead, get your hands dirty, and start experimenting with different varieties. You’ll be amazed at how easy it is to cultivate your own delicious greens!