From Seed to Table: A Complete Timeline for Growing Microgreens
Growing microgreens is a rewarding journey that takes just 1 to 2 weeks from seed to table. I start by choosing high-quality, organic seeds and preparing a nutrient-rich soil in shallow trays. After sowing, I ensure proper watering and light conditions to promote healthy growth. Once they’re ready to harvest, usually 7-14 days later, I enjoy them fresh in salads, sandwiches, and smoothies. Stick around, and I’ll share tips on choosing the best varieties and maximizing your yield!
Key Takeaways
- Select high-quality, organic seeds specifically labeled for microgreens for optimal growth and nutrition.
- Prepare suitable containers with drainage holes and use a nutrient-rich potting mix for planting.
- Sow seeds in well-prepared soil, ensuring they are lightly misted for moisture retention before covering.
- Maintain consistent temperature and provide 12-16 hours of light daily for healthy growth.
- Harvest microgreens 7-14 days after germination, using clean scissors for minimal plant damage.
Choosing the Right Seeds for Microgreens
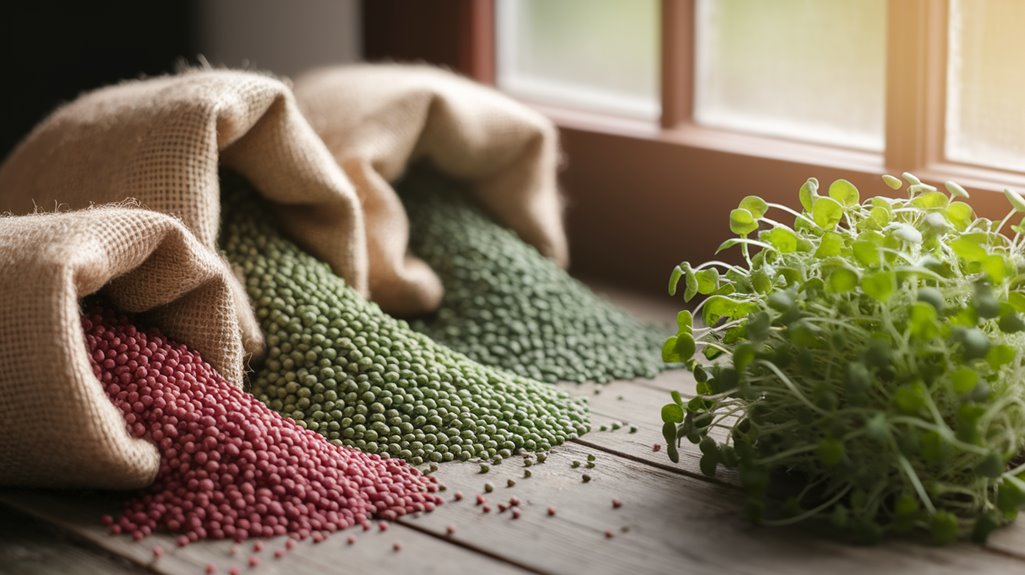
When it comes to choosing the right seeds for microgreens, how do you know which ones will thrive? I’ve found that selecting high-quality seeds is crucial.
Look for varieties specifically labeled for microgreens; they’re bred for quick growth and flavor. Popular choices include radish, broccoli, and pea shoots, each offering unique tastes and textures.
I always check for organic seeds to ensure I’m growing pesticide-free greens. Another tip is to consider the germination rate—higher rates mean more successful growth.
Lastly, don’t forget to think about the nutrient profile of each variety; some microgreens pack more vitamins than others. By choosing wisely, you’ll set yourself up for a bountiful harvest that’s both delicious and nutritious.
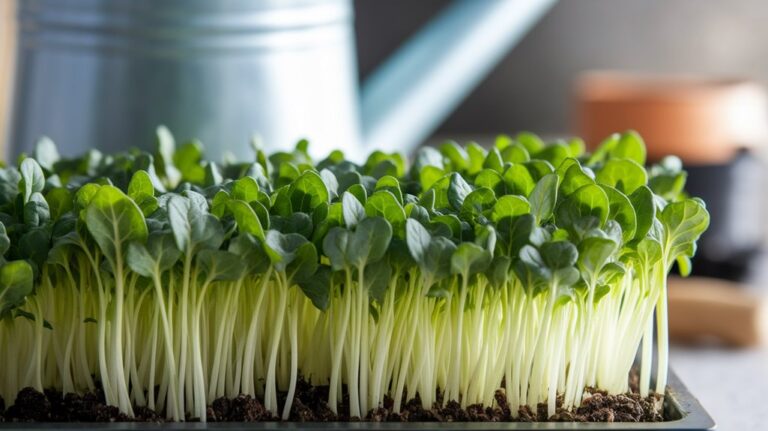
Preparing Your Growing Environment
After selecting the right seeds, the next step is to prepare your growing environment to ensure those microgreens flourish.
First, choose a suitable container; shallow trays or seedling flats work best. Make sure they’ve drainage holes to prevent waterlogging.
Next, I recommend using a high-quality potting mix that’s rich in nutrients. Fill your containers, leaving some space at the top for watering.
Lighting is crucial, so find a bright, sunny spot or consider using grow lights. Ensure your space stays at a consistent temperature, ideally between 60-75°F.
Lastly, maintain humidity by covering your trays with a clear lid or plastic wrap until the seeds sprout.
With these steps, you’ll create an ideal environment for your microgreens to thrive!
Sowing the Seeds
Now that we’ve set up the perfect environment, it’s time to get our hands dirty with sowing the seeds.
I’ll guide you through choosing the right seeds, preparing the soil, and creating those ideal conditions for growth.
Let’s ensure your microgreens have the best possible start!
Choosing the Right Seeds
How do I choose the right seeds for my microgreens? It’s essential to pick seeds that not only grow well but also suit my taste preferences.
I’ve found that a few key factors help in making the right choice:
- Flavor: Consider what tastes I want, like spicy radishes or sweet peas.
- Growth Rate: Some seeds sprout faster than others; I often prefer quick-growing varieties.
- Nutritional Value: I look for seeds packed with nutrients, like kale or broccoli.
- Variety: Experimenting with different types can make my dishes visually appealing and flavorful.
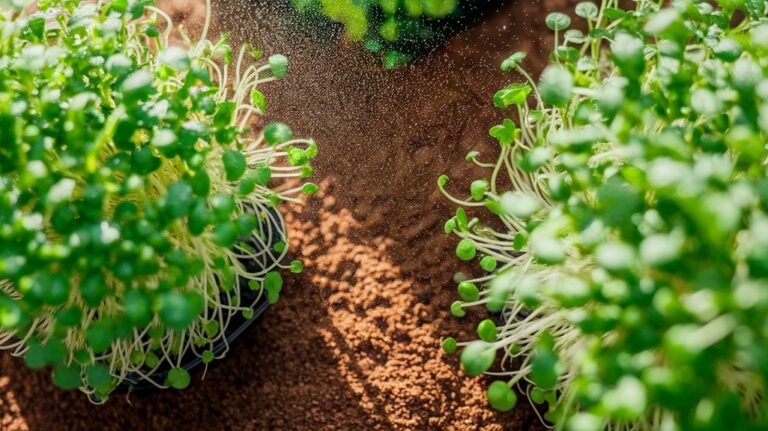
Soil Preparation Techniques
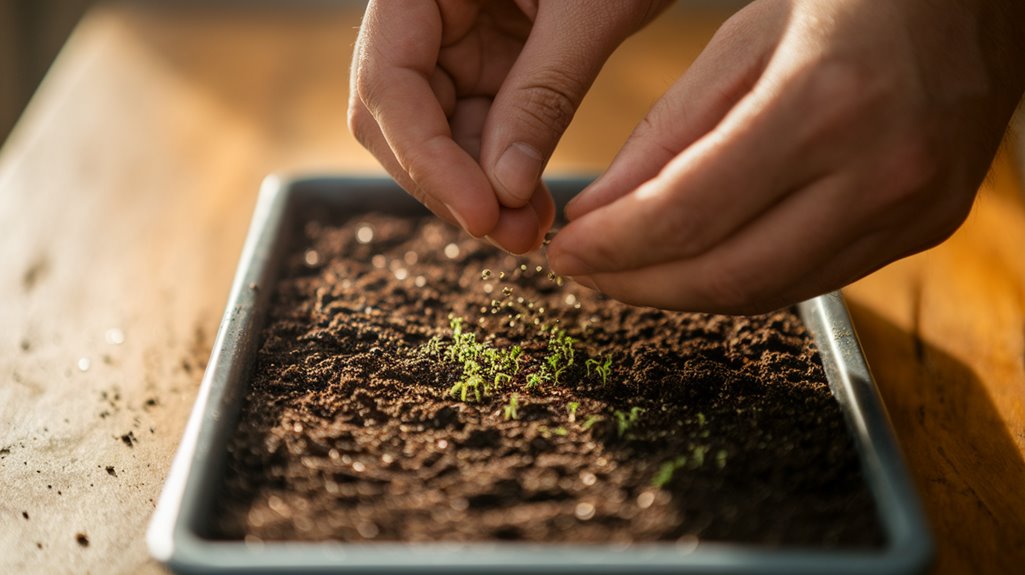
Once I’ve chosen the right seeds for my microgreens, the next step is preparing the soil for sowing. I always opt for a high-quality, organic potting mix that drains well and retains moisture.
First, I loosen the soil in my trays, ensuring it’s crumbly and aerated. Then, I spread the potting mix evenly, filling the trays to about an inch deep. I gently compact the soil using my fingers to create a firm yet soft surface.
After that, I lightly mist the soil with water to ensure it’s damp but not soggy. This preparation creates the perfect foundation for my seeds, giving them the best chance to germinate and thrive.
With the soil ready, I’m one step closer to growing delicious microgreens!
Ideal Sowing Conditions
To ensure my microgreens flourish, I pay close attention to the ideal sowing conditions. The right environment can make all the difference in achieving vibrant, healthy greens.
Here’s what I focus on:
- Temperature: A consistent range of 65-75°F works best for most microgreens.
- Light: I provide 12-16 hours of light daily, either from natural sunlight or grow lights.
- Humidity: Keeping the humidity around 40-60% helps promote germination and prevents drying out.
- Soil moisture: I ensure the soil is evenly moist but not waterlogged, as excess water can lead to mold.
Caring for Your Microgreens
Caring for my microgreens is essential to their growth and flavor.
I’ve found that proper watering techniques and the right light conditions make all the difference in nurturing these delicate plants.
Let’s explore how to keep them thriving with just a few simple steps.
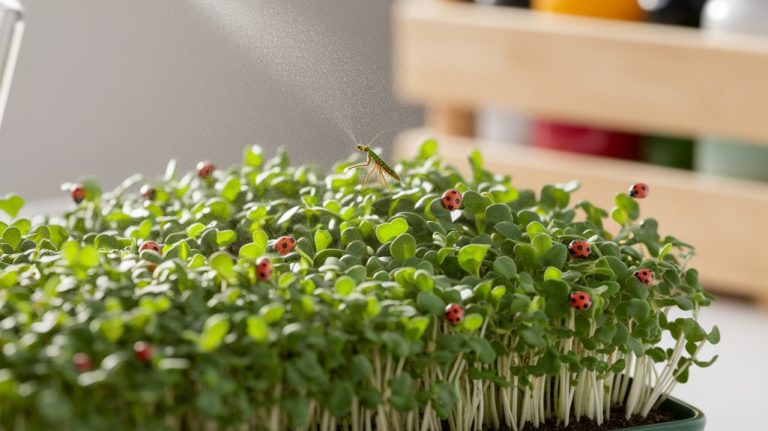
Watering Techniques
While I’ve found that proper watering techniques can make all the difference in growing healthy microgreens, it’s essential to strike the right balance. Overwatering can lead to mold, while underwatering can stunt growth.
Here are some techniques I’ve learned that work wonders:
- Use a spray bottle: It allows for gentle, even moisture without flooding the seeds.
- Water from below: Place your trays in a shallow water bath for about 10-15 minutes to absorb moisture.
- Check soil moisture: Stick a finger in the soil; if it feels dry an inch down, it’s time to water.
- Water frequently but lightly: Aim for consistent moisture, especially in the early stages.
With these tips, you’ll nurture thriving microgreens in no time!
Light Requirements
After ensuring your microgreens have the right amount of water, you’ll want to focus on their light needs for optimal growth.
Microgreens thrive best with about 12 to 16 hours of light daily. I often use a grow light to ensure they get the right intensity, especially if I can’t provide enough natural sunlight.
Position the light just a few inches above the seedlings to prevent them from stretching too much. Keep an eye on the color; vibrant greens indicate they’re happy and healthy. If they start leaning towards the light, it’s a sign they need more.
Harvesting Your Microgreens
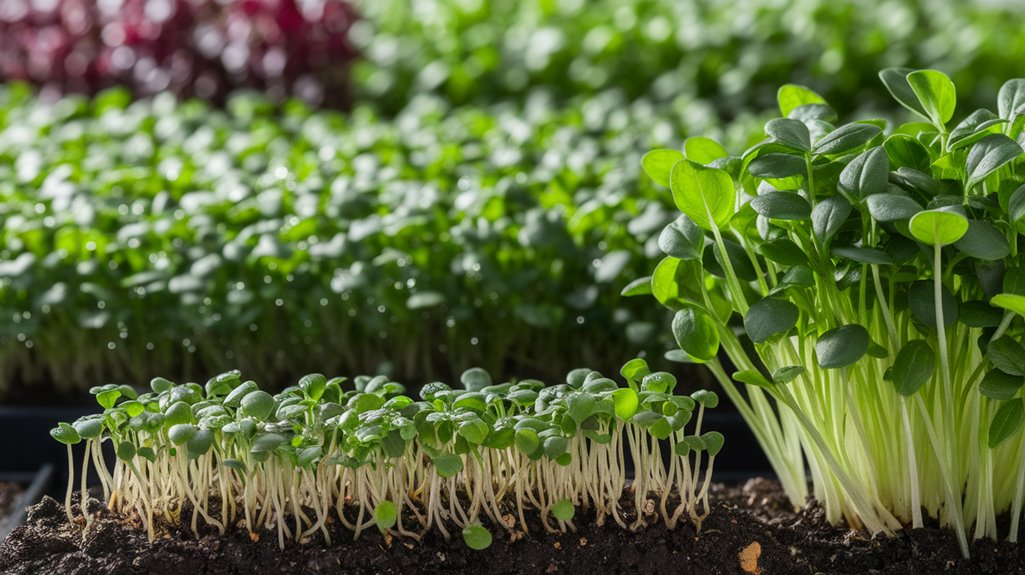
As you eagerly anticipate the moment to harvest your microgreens, knowing when to cut them is crucial for achieving the best flavor and texture.
Typically, I find that harvesting between 7 to 14 days after germination yields the most delicious results. Here are some tips to ensure a successful harvest:
- Look for leaves that are vibrant and fully developed.
- Check for a height of about 2 to 4 inches.
- Use clean, sharp scissors to avoid damaging the remaining plants.
- Harvest in the morning when the plants are most hydrated.
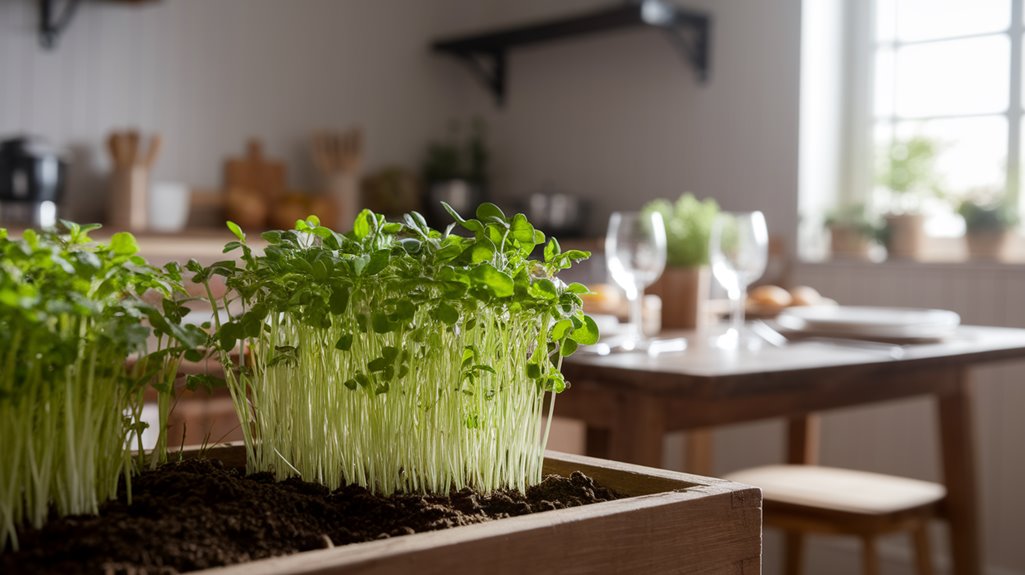
Enjoying Your Fresh Produce
Once you’ve harvested your microgreens, the real fun begins—enjoying the fresh flavors they bring to your meals.
I love tossing a handful of these vibrant greens into salads for a burst of color and taste. They elevate simple dishes like sandwiches and wraps, adding a delightful crunch and a punch of nutrients.
You can also sprinkle them on soups or stir-fries just before serving for a fresh finish. Experimenting with different varieties, like radish or basil microgreens, can really change the flavor profile of your dishes.
I often blend them into smoothies for an extra health boost. The possibilities are endless, and with each bite, I’m reminded of the journey from seed to table, savoring my homegrown success.
Frequently Asked Questions
Conclusion
Growing microgreens has been an exciting journey from seed to table. With the right seeds, a prepared environment, and a little care, I’ve seen these tiny greens flourish in just days. Harvesting them was a rewarding experience, and now I can enjoy their vibrant flavors in my meals. Whether you’re a seasoned gardener or just starting out, I encourage you to try growing microgreens. It’s a simple way to bring fresh, nutritious greens right into your kitchen!