How to Grow Broccoli Microgreens
To grow broccoli microgreens, I start with high-quality seeds and a light, well-draining growing medium like seed starting mix and coconut coir. I sow the seeds evenly in a shallow tray, mist them gently, and cover with a humidity dome. Once germination occurs, I ensure they get enough light and maintain consistent moisture, being careful not to overwater. When they reach 2-3 inches, I harvest them using sharp scissors. There’s so much more to explore about their culinary uses and benefits!
Key Takeaways
- Choose high-quality, organic broccoli seeds specifically labeled for microgreens to ensure better germination and flavor.
- Prepare a light, well-draining growing medium, mixing seed starting mix, coconut coir, perlite, and vermiculite.
- Maintain consistent moisture by gently misting the growing medium and using a humidity dome during germination.
- Harvest microgreens when they reach 2 to 3 inches in height, cutting just above the soil line for optimal flavor.
- Store harvested microgreens in a breathable container in the fridge, ensuring proper ventilation for freshness.
Choosing the Right Seeds
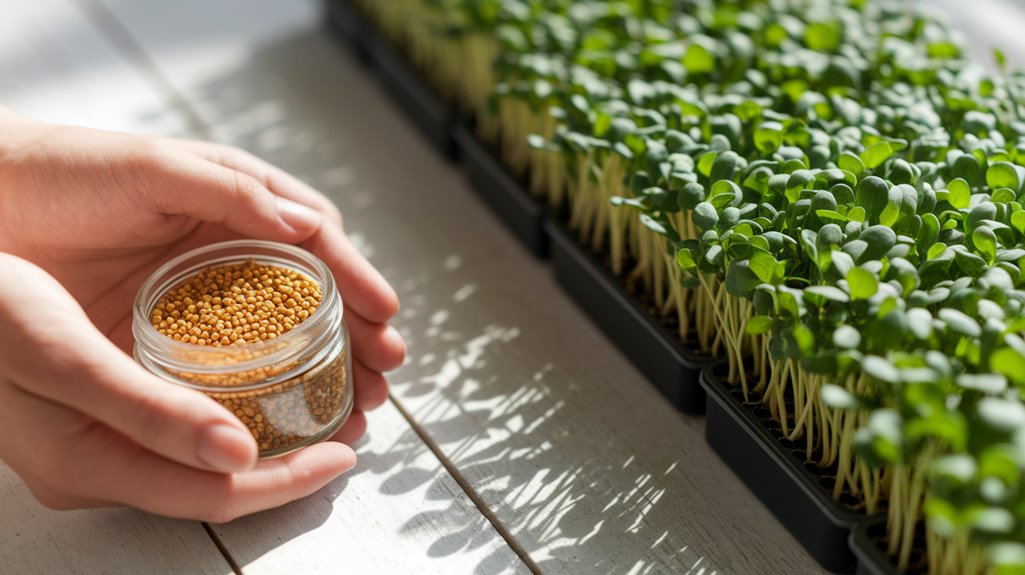
When it comes to choosing the right seeds for growing broccoli microgreens, I recommend starting with high-quality, organic seeds.
These seeds ensure that your microgreens aren’t only nutritious but also free from harmful chemicals. Look for seeds specifically labeled for microgreens, as they tend to have a higher germination rate.
I’ve found that reputable seed suppliers often provide details about the seed variety and growing conditions, which can be incredibly helpful.
It’s also wise to check for any certifications, like organic or non-GMO.
By selecting the right seeds, you set the foundation for a successful microgreen crop.
Essential Supplies for Growing Microgreens
To successfully grow broccoli microgreens, you’ll need a few essential supplies.
I recommend focusing on the right growing medium, ensuring you have adequate lighting, and selecting quality seeds.
Let’s explore these key components to set you up for success.
Growing Medium Options
Choosing the right growing medium is crucial for the success of your broccoli microgreens. I’ve found that options like soil, coconut coir, and hydroponic mats all have their benefits.
Soil provides essential nutrients, but it can be heavy and messy. Coconut coir is lightweight, retains moisture well, and promotes healthy root growth, making it a personal favorite.
Hydroponic mats, on the other hand, offer a clean and easy-to-manage alternative, allowing for excellent drainage and aeration. When selecting a medium, ensure it’s sterile to prevent mold and pests.
Whichever option you choose, make sure it supports good drainage and moisture retention. This way, your broccoli microgreens will thrive and deliver delicious, nutritious results!
Lighting Requirements
After setting up your growing medium, the next step focuses on lighting requirements for your broccoli microgreens.
Light is crucial for healthy growth, so I recommend using either fluorescent or LED grow lights. These options provide the right spectrum of light without overheating your microgreens.
Aim for about 12-16 hours of light daily to mimic natural sunlight. If you’re using natural light, place your trays near a south-facing window, but be prepared to supplement with artificial lights on cloudy days.
Keep the lights about 2-4 inches above the seedlings and adjust as they grow. This way, you’ll ensure your microgreens get enough light to thrive and develop that vibrant green color we all love.
Seed Selection Tips
When it comes to selecting seeds for your broccoli microgreens, quality matters. I always choose organic, non-GMO seeds to ensure I’m growing healthy plants.
Look for seeds specifically labeled for microgreens, as these are bred for quick growth and optimal flavor. I also pay attention to the seed’s germination rate; a higher rate means more successful growth.
It’s wise to purchase from reputable suppliers who provide fresh seeds, as older seeds mightn’t germinate well. Additionally, consider the variety; some broccoli microgreens are known for their crunchy texture and nutty flavor, which can enhance your dishes.
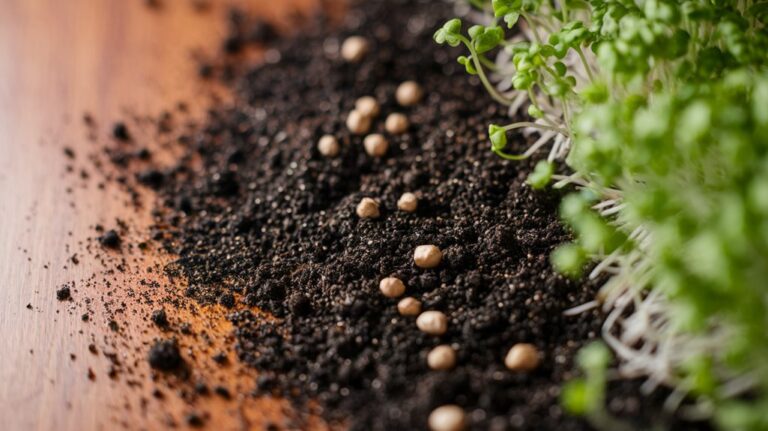
Preparing the Growing Medium
To successfully grow broccoli microgreens, preparing the right growing medium is essential. I prefer using a light, well-draining mix that promotes healthy growth.
Here’s what I typically use:
- Seed starting mix: This provides a sterile environment and retains moisture.
- Coconut coir: It’s sustainable and helps with drainage while keeping the mix light.
- Perlite: I often mix this in for added aeration and drainage.
- Vermiculite: This helps retain moisture without making the medium too heavy.
Once I’ve got my components ready, I combine them evenly in a shallow tray.
I make sure it’s moist but not soaked, creating the perfect foundation for my broccoli microgreens to thrive.
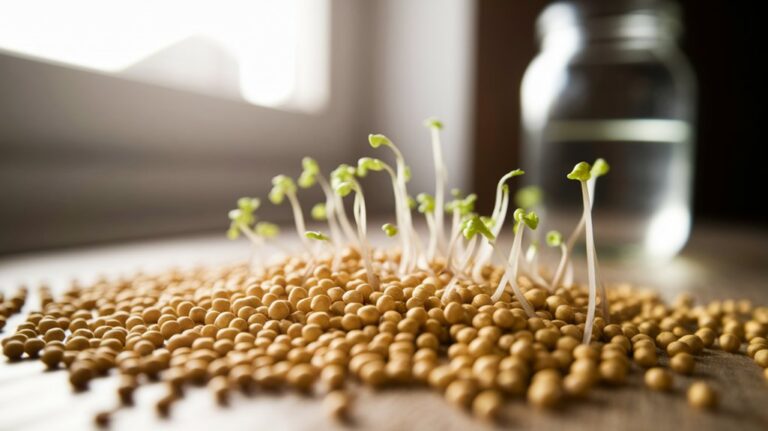
Sowing the Seeds
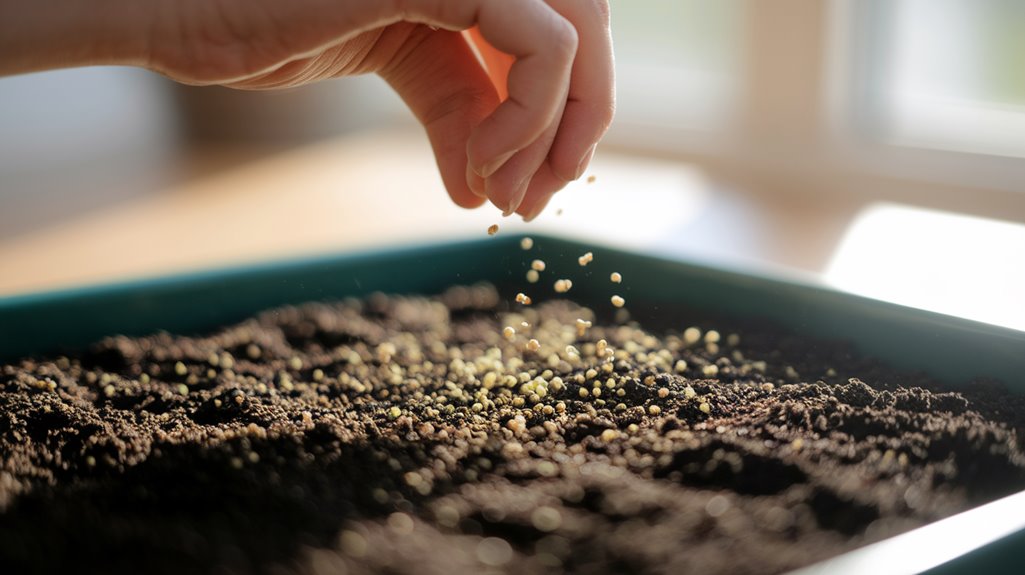
With the growing medium properly prepared, it’s time to focus on sowing the seeds.
I like to start by scattering the broccoli seeds evenly across the surface of the medium. You’ll want to use about one to two tablespoons of seeds for a standard tray.
Gently press the seeds into the soil, ensuring good contact without burying them too deeply—about 1/8 inch is perfect.
After that, I usually mist the area lightly to avoid displacing the seeds. It’s essential to maintain a consistent density, so check for any gaps.
Finally, I cover the tray with a humidity dome or a plastic wrap to create a warm, moist environment, giving those seeds the best chance to germinate.
Watering and Moisture Control
Although it may seem simple, proper watering and moisture control are crucial for successful broccoli microgreens. I’ve learned that finding the right balance can make a significant difference. Here’s what I keep in mind:
- Use a spray bottle: Misting gently prevents over-saturation and ensures even moisture distribution.
- Check soil moisture: I stick my finger about an inch into the soil; if it feels dry, it’s time to water.
- Avoid standing water: Drain excess moisture to prevent mold and root rot.
- Cover with a humidity dome: This helps retain moisture during the germination phase, keeping the environment ideal.
Providing Light for Optimal Growth
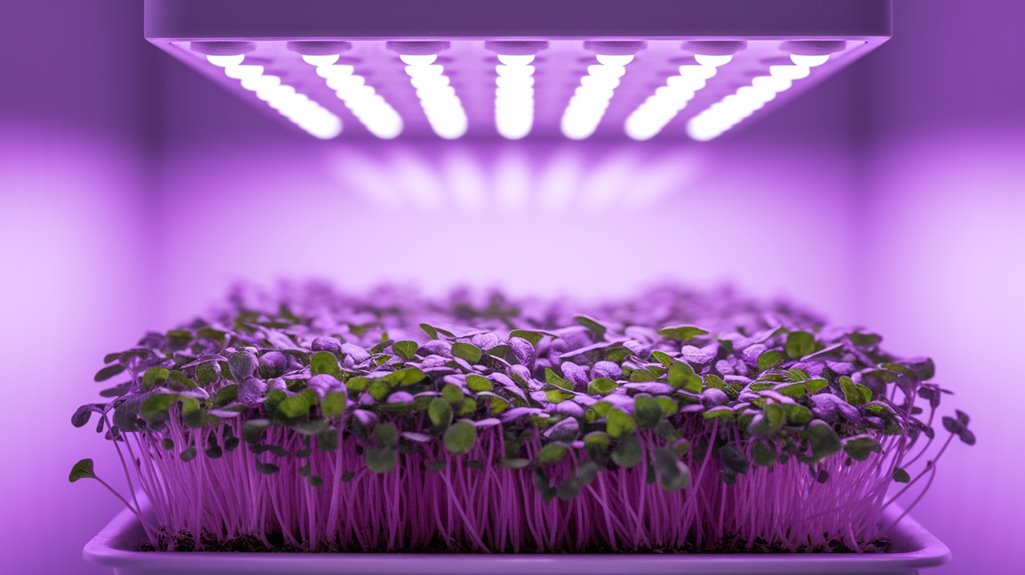
Providing adequate light is essential for the healthy growth of broccoli microgreens, as it directly impacts their development and flavor.
I recommend using either natural sunlight or grow lights for about 12 to 16 hours daily. If you’re using sunlight, place your trays near a south-facing window, but be mindful of any obstructions that might block light.
If you opt for grow lights, choose full-spectrum LED lights, which simulate sunlight effectively. Position the lights about 2 to 4 inches above the plants and adjust them as they grow.
Keeping the light consistent helps prevent leggy growth and ensures vibrant, flavorful microgreens. Remember, the right light is a key factor in achieving the best results!
Caring for Your Microgreens
To ensure your broccoli microgreens thrive, I find that paying close attention to their care routine is crucial.
Here’s what I do to keep them healthy and growing strong:
- Water regularly: I mist them daily to keep the soil consistently moist, but not soggy.
- Maintain temperature: I keep my microgreens in a warm spot, ideally around 70°F, to encourage growth.
- Air circulation: I gently fan them every few days to promote strong stems and prevent mold.
- Monitor for pests: I check daily for any signs of pests and take action immediately if I spot any.
With these simple steps, I’ve had great success in nurturing my broccoli microgreens, and I’m sure you’ll too!
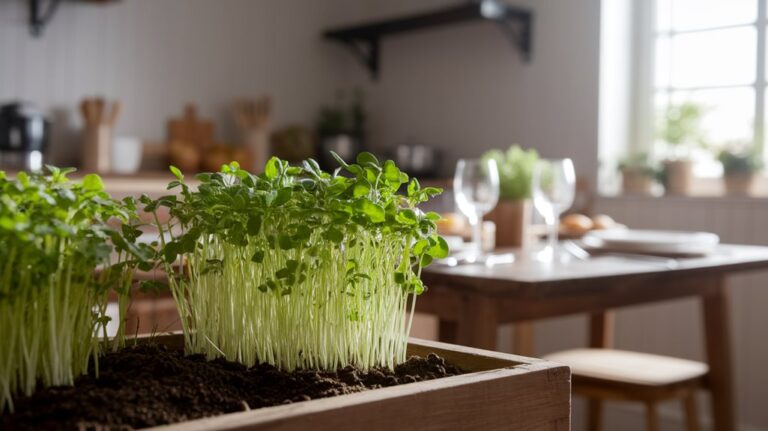
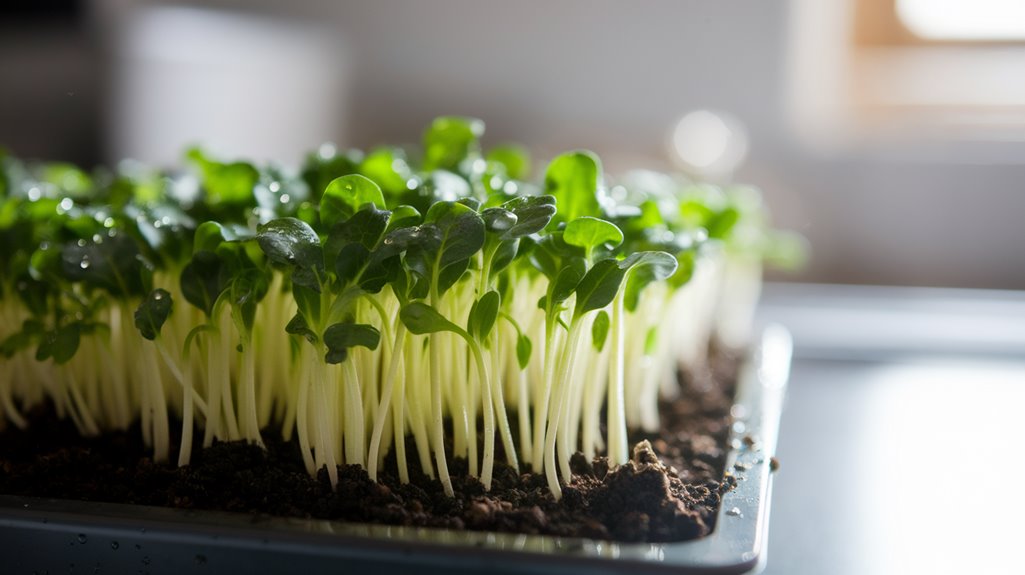
Harvesting Your Broccoli Microgreens
Once your broccoli microgreens reach about 2 to 3 inches in height, it’s time to harvest them for the best flavor and nutrition.
I usually check them daily as they grow, looking for that perfect height. To harvest, I gently grasp the base of the stems with one hand and use sharp scissors in the other to snip just above the soil line.
This method ensures I get a clean cut and promotes regrowth if you plan to do a second harvest. I like to harvest in the morning when they’re crisp and full of moisture.
After cutting, I rinse them lightly to remove any soil residue. This simple process guarantees fresh, delicious microgreens for my meals!
Storing and Using Your Microgreens
After harvesting my broccoli microgreens, storing them properly is key to maintaining their freshness and flavor.
I usually place them in a breathable container, like a paper bag or a container lined with a damp paper towel. This helps to keep them hydrated without promoting mold. I store them in the fridge, where they typically last about 5 to 7 days.
Here are a few ways I love to use my microgreens:
- Toss them into salads for a nutrient boost
- Use them as a garnish on soups or sandwiches
- Blend them into smoothies for added health benefits
- Incorporate them into omelets or scrambled eggs for extra flavor
With these tips, I’m always ready to enjoy my delicious microgreens!
Frequently Asked Questions
Conclusion
Growing broccoli microgreens is a rewarding and straightforward process. With the right seeds, supplies, and care, you can enjoy fresh, nutritious greens right from your home. Remember to keep an eye on moisture levels and provide adequate light for optimal growth. Once harvested, these microgreens can enhance your meals with flavor and health benefits. I hope you find joy in cultivating your broccoli microgreens and incorporating them into your dishes!