How to Grow Microgreens at Home: A Beginner’s Guide
To grow microgreens at home, I start by choosing the right seeds based on light conditions and flavor. I prepare a sterile growing medium by mixing coconut coir and vermiculite, ensuring it’s moist but not soggy. I set up my growing space with adequate light and ventilation, keeping the temperature between 65°F and 75°F. I gently water my microgreens, checking moisture daily. When they reach 1-3 inches, I harvest them for a fresh taste. There’s much more to discover about this rewarding process.
Key Takeaways
- Choose suitable seeds based on light conditions, germination time, and flavor preferences, ensuring they are organic and untreated.
- Prepare a sterile growing medium by mixing coconut coir and vermiculite, and moisten it before planting.
- Set up your growing space in a well-lit area with good ventilation and a consistent temperature between 65°F and 75°F.
- Water microgreens gently to keep the soil consistently moist while ensuring good airflow and avoiding overcrowding.
- Harvest microgreens when they reach 1-3 inches, cutting above the soil level, and store them in a breathable container for freshness.
Choosing the Right Seeds for Microgreens
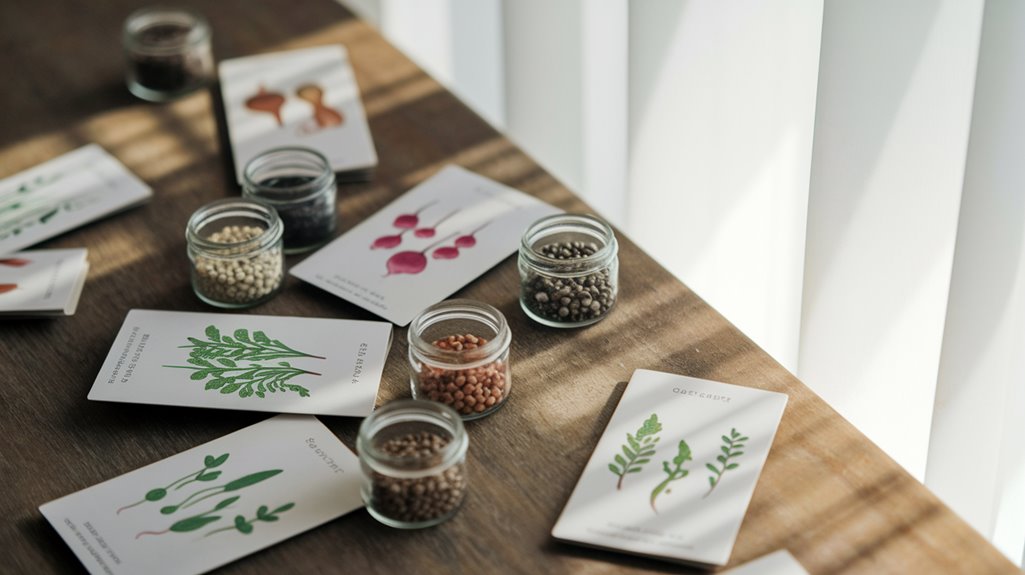
When selecting seeds for microgreens, how do you determine which varieties will thrive in your home environment?
First, I consider the light conditions available—some seeds, like sunflowers, need more sunlight, while others, such as arugula, can tolerate lower light levels.
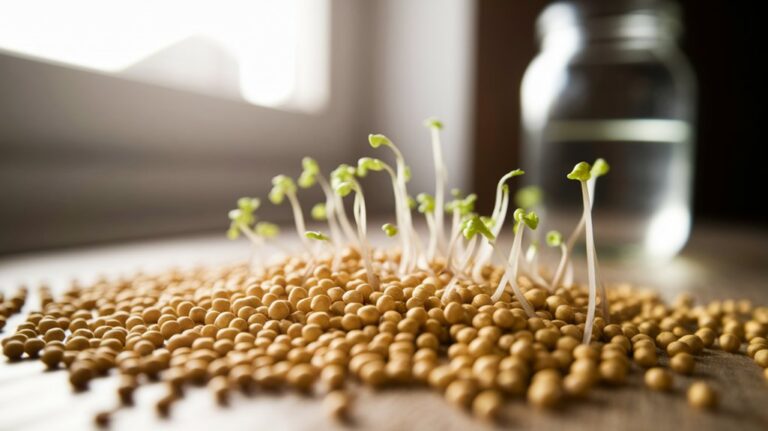
Next, I evaluate the germination time; quick-growing varieties, like radishes, can be ready in just a week, perfect for beginners.
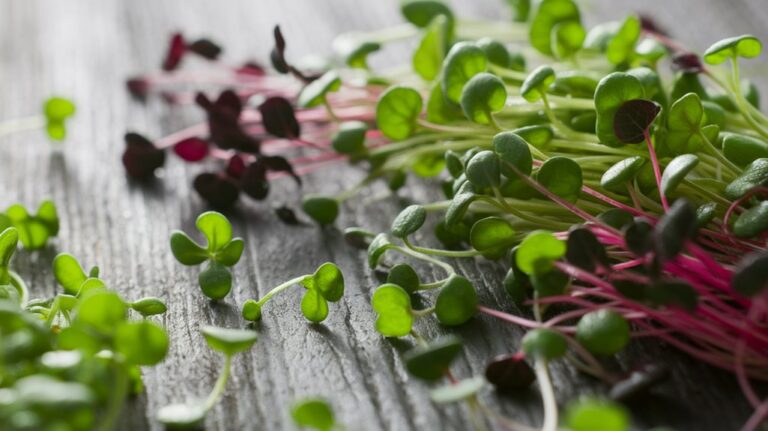
I also check the flavor profile and nutritional value; for instance, mustard greens pack a spicy punch and are nutrient-dense.
Lastly, I ensure the seeds are organic and untreated to avoid chemicals.
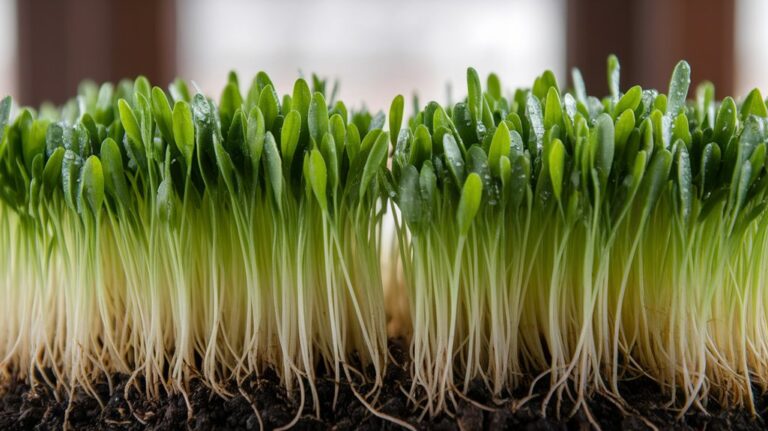
Preparing Your Growing Medium
Preparing your growing medium is crucial for the success of your microgreens, and I typically recommend using a sterile, lightweight substrate.
I often use a mix of coconut coir and vermiculite, which provides excellent drainage and aeration. Start by measuring equal parts of both materials and mixing them thoroughly.
It’s vital to moisten the substrate before planting; I usually add water gradually until it feels damp but not soggy. This helps ensure that the seeds have enough moisture to germinate.
You can also sterilize the medium by heating it in the oven at 180°F for about 30 minutes, killing any potential pathogens.
This preparation sets the stage for healthy, vibrant microgreens that thrive right in your home.
Setting Up Your Growing Space
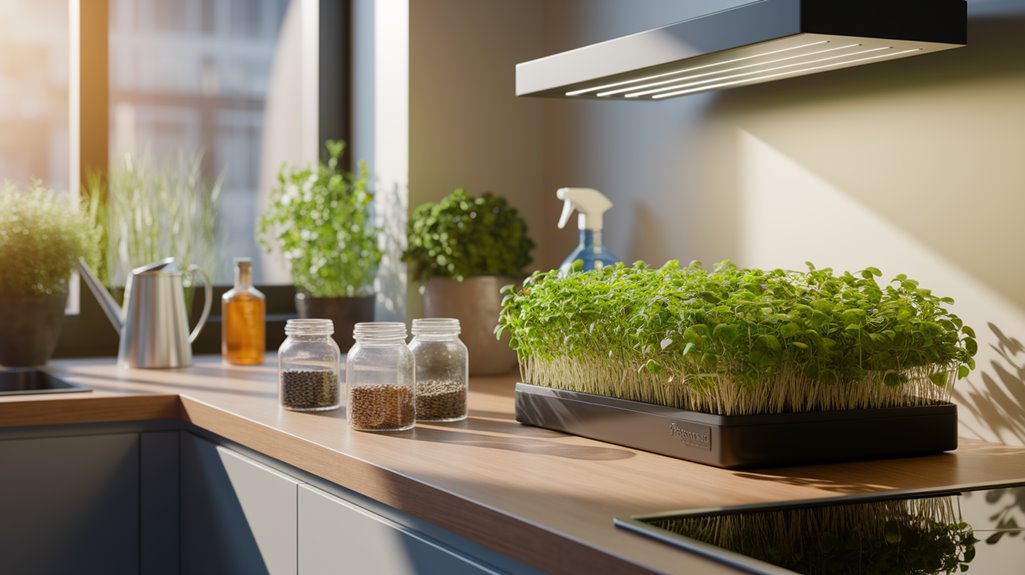
To create an ideal environment for your microgreens, I recommend choosing a spot that receives ample light and maintains a consistent temperature.
Ideally, a temperature range of 65°F to 75°F works best. Here are a few key factors to consider when setting up your growing space:
- Lighting: Natural sunlight is great, but if that’s not available, consider using grow lights to provide the necessary spectrum.
- Airflow: Ensure good ventilation to prevent mold and promote healthy growth.
- Humidity: Maintain moderate humidity; too much can lead to fungal issues.
- Surface: Use trays or containers with drainage holes to prevent waterlogging.
Watering and Caring for Your Microgreens
After establishing a suitable growing environment, the next step involves understanding how to effectively water and care for your microgreens.
I usually water my microgreens gently to avoid displacing the seeds; a spray bottle works well for this. It’s essential to keep the soil consistently moist but not soggy. I check the moisture level daily, and if the top layer feels dry, I water again.
Additionally, I provide adequate airflow to prevent mold; this means not overcrowding my trays. I also monitor light exposure, ensuring they get around 12-16 hours of light daily, either from a grow light or natural sunlight.
Maintaining these conditions keeps my microgreens healthy and robust throughout their growing cycle.
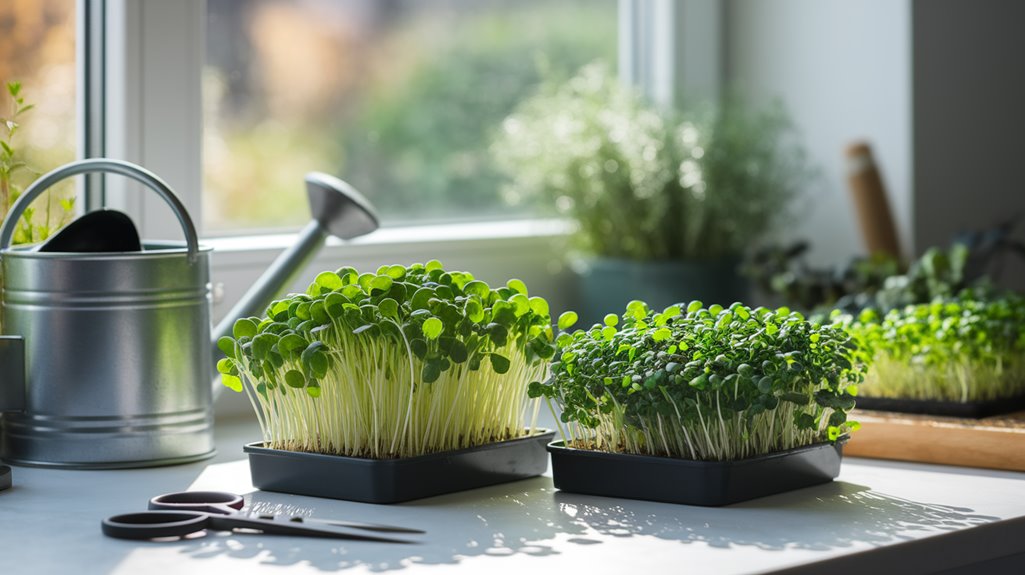
Harvesting and Enjoying Your Microgreens
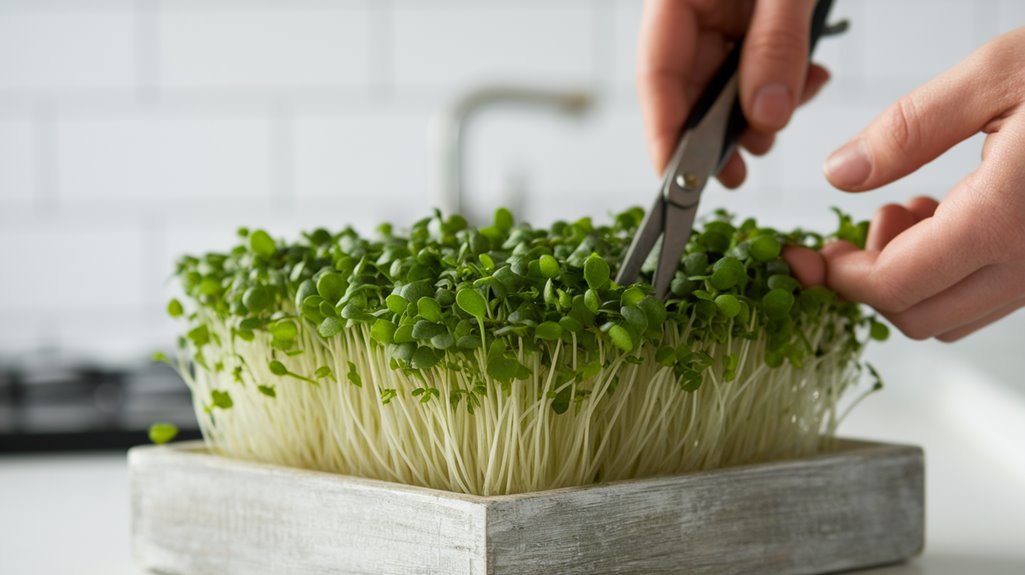
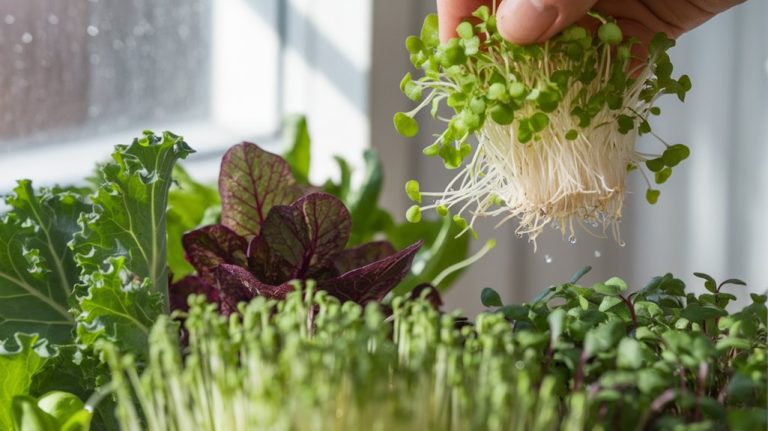
Once your microgreens reach a height of about 1-3 inches and display vibrant colors, it’s time to harvest them for maximum flavor and nutrition.
I carefully use scissors to snip the greens just above the soil level. This ensures I preserve the roots for potential regrowth. I recommend harvesting in the morning for the best taste, as the greens are fresher and more robust.
Here are some tips to enhance your microgreen experience:
- Rinse the harvested microgreens gently with cold water to remove any soil.
- Store them in a breathable container lined with a damp paper towel.
- Incorporate them into salads, sandwiches, or smoothies for added nutrition.
- Experiment with different varieties for diverse flavors and textures.
Frequently Asked Questions
Conclusion
Growing microgreens at home is a rewarding experience that requires minimal space and effort. By carefully selecting seeds, preparing the right growing medium, and maintaining optimal conditions, I’ve found that anyone can cultivate these nutritious greens. With proper watering and care, I’ve watched my microgreens flourish in just a few weeks. Once you harvest them, the satisfaction of enjoying your homegrown microgreens in meals is truly unparalleled. So, why not give it a try? You won’t regret it!