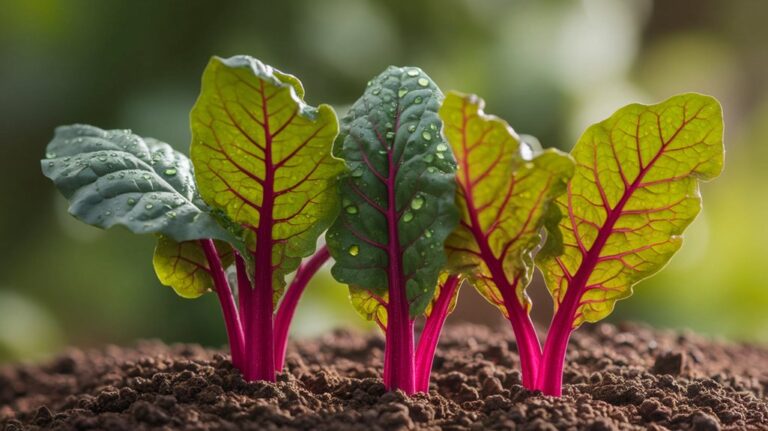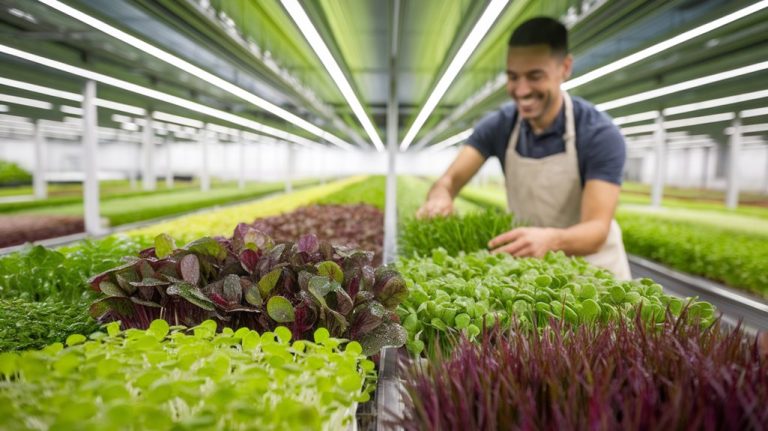
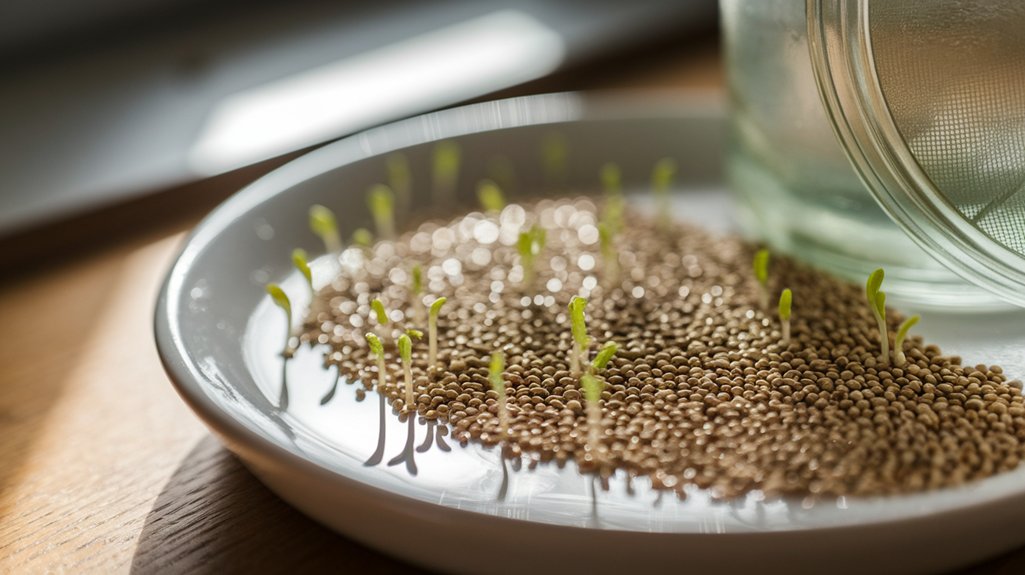
How to Sprout Quinoa
To sprout quinoa, start by rinsing high-quality seeds to remove saponins, then soak them for 4-6 hours. After draining, place them in a sprouting jar and keep in a warm, dark area. Rinse and drain the seeds every 8-12 hours until tiny tails appear, typically within 24 to 48 hours. Once sprouted, you can store them in the fridge for up to five days. There are many delicious ways to use sprouted quinoa, which I’ll share next.
Key Takeaways
- Rinse quinoa to remove saponins and soak for 4-8 hours to hydrate seeds before sprouting.
- Use a sprouting jar with a mesh lid and keep it in a warm, dark place.
- Rinse and drain quinoa seeds every 8-12 hours until sprouts appear, usually within 24-48 hours.
- Monitor growth for sprouts reaching about one inch and ensure consistent dampness without over-soaking.
- Store sprouted quinoa in an airtight container in the refrigerator for up to five days.
What Is Quinoa and Why Sprout It?
Quinoa, often hailed as a superfood, is a nutrient-dense seed that belongs to the Chenopodium family. I find it fascinating that quinoa is a complete protein, containing all nine essential amino acids. This makes it an excellent choice for those on plant-based diets.
Beyond its protein content, quinoa is rich in vitamins, minerals, and antioxidants, which contribute to its health benefits. Sprouting quinoa enhances its nutritional profile even further. When I sprout quinoa, it increases the bioavailability of nutrients, making them easier for my body to absorb.
Additionally, sprouting reduces the saponin content, which can impart a bitter taste. Overall, sprouting not only boosts quinoa’s nutritional value but also adds a crunchy texture and unique flavor to my dishes.
Choosing the Right Quinoa
Choosing the right quinoa can significantly impact your sprouting experience and the overall flavor of your dishes. I’ve found that different varieties of quinoa can offer unique textures and tastes. Here’s a quick comparison of three common types:
| Quinoa Type | Flavor Profile |
|---|---|
| White Quinoa | Mild, fluffy, versatile |
| Red Quinoa | Earthy, chewy, nutty |
| Black Quinoa | Sweet, crunchy, bold |
When selecting quinoa, I recommend looking for organic options, as they’re often free from pesticides. Additionally, check for sprouting quality; some brands specifically label their quinoa for sprouting. By choosing wisely, you can enhance both the nutritional value and the flavor of your meals.
Preparing Quinoa for Sprouting
When preparing quinoa for sprouting, I focus on selecting high-quality seeds and ensuring they’re free of impurities.
Rinsing and soaking the quinoa not only removes saponins but also activates the germination process.
This careful preparation sets the foundation for successful sprouting.
Choosing Quality Quinoa
Selecting high-quality quinoa is essential for successful sprouting. When I choose quinoa, I look for organic or non-GMO labels, which often indicate better cultivation practices.
I also check for uniformity in size and color; high-quality quinoa typically features a pale, consistent hue without dark spots or debris. It’s important to avoid brands that include added preservatives or coatings, as these can hinder sprouting.
I prefer quinoa that’s packaged in clear, resealable bags, allowing me to inspect it easily. Additionally, I consider the source; locally sourced or reputable brands often ensure freshness.
Rinsing and Soaking
One key step in preparing quinoa for sprouting is rinsing and soaking it properly.
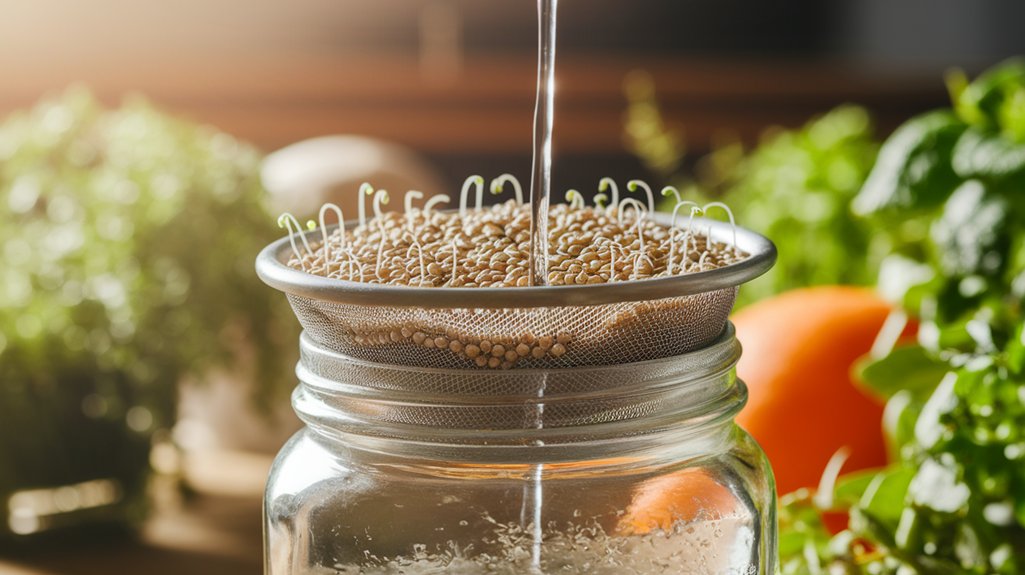
I always start by placing the quinoa in a fine-mesh strainer and rinsing it under cold water. This process removes the saponins, a natural coating that can impart a bitter taste.
After rinsing, I soak the quinoa in water for about 4 to 8 hours. This soaking period hydrates the seeds, activating enzymes crucial for sprouting. I find that changing the water midway helps ensure the quinoa is clean and fresh.
Once soaked, I drain and rinse it again before moving on to the sprouting phase. This careful preparation sets the stage for successful sprouting and enhances the nutritional value of the quinoa.
The Sprouting Process
To successfully sprout quinoa, I need to gather some essential equipment and follow a clear set of instructions.
I’ll outline the step-by-step process to ensure you achieve the best results. Plus, I’ll share tips that can enhance your sprouting experience and help you avoid common pitfalls.
Essential Equipment Needed
Sprouting quinoa requires specific equipment to ensure success in the process.
First, I recommend using a sprouting jar, which has a mesh lid that allows for proper airflow while keeping moisture in. This setup helps prevent mold and promotes healthy growth.
You’ll also need clean water for soaking and rinsing the quinoa seeds, as hydration is crucial for sprouting. A bowl or container for soaking is essential, as it gives the seeds ample room to expand.
Additionally, a dark, warm place is ideal for the sprouting process, so a cupboard or pantry works well.
Finally, a clean kitchen towel can help cover the jar and maintain moisture levels.
With these tools, I’m set up for a successful sprouting experience.
Step-by-Step Instructions
With the right equipment in place, you’re ready to start the sprouting process for quinoa.
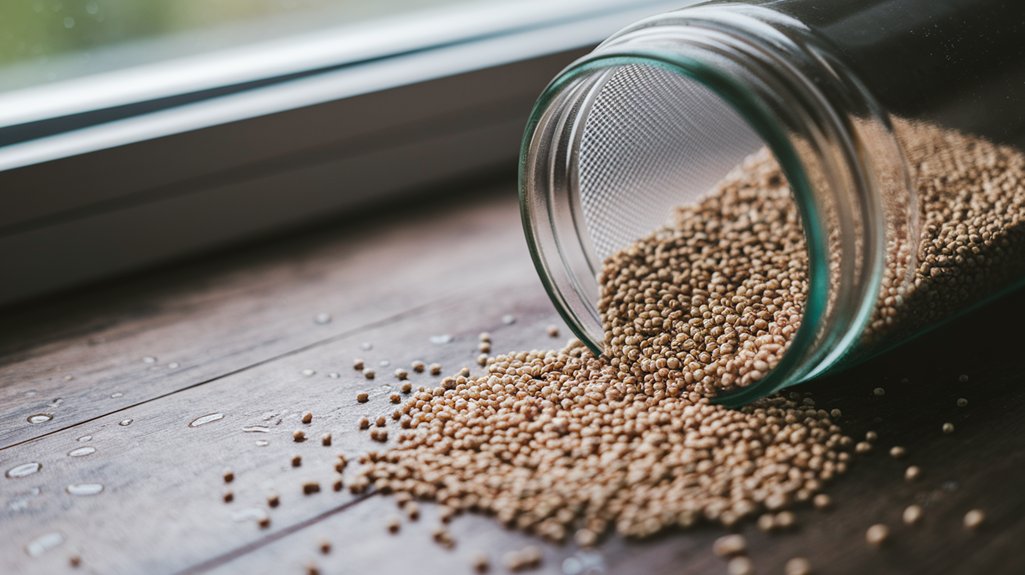
First, measure out about half a cup of quinoa and rinse it thoroughly under cold water to remove any saponins, which can impart a bitter taste.
Next, place the rinsed quinoa in a sprouting jar or a fine mesh strainer. Add enough water to cover the quinoa and let it soak for about eight hours.
After soaking, drain the water and rinse the quinoa again. Now, place the jar at an angle to allow any excess water to drain out.
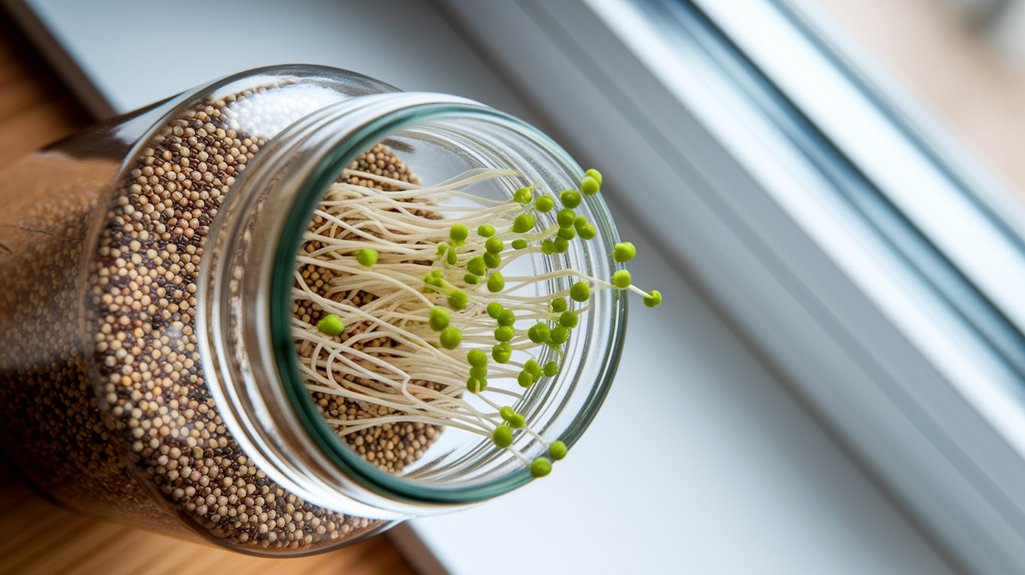
Rinse and drain the quinoa two to three times daily. Within 24 to 48 hours, you’ll notice tiny sprouts emerging, signaling successful sprouting.
Tips for Successful Sprouting
While sprouting quinoa can be a straightforward process, a few key tips can enhance your success. First, always rinse the quinoa thoroughly before soaking; this removes the saponins that can impart a bitter taste. I usually soak them for about 4-6 hours, then drain and rinse again.
During the sprouting phase, it’s crucial to keep the quinoa in a well-ventilated, dark place to encourage growth while preventing mold. I typically rinse the seeds every 8-12 hours, ensuring they remain moist but not soaked.
Once the tiny tails emerge, usually within 24-48 hours, they’re ready to enjoy. Lastly, store the sprouted quinoa in the refrigerator to maintain freshness and prevent spoilage. These simple steps have consistently yielded great results for me.
Rinsing and Draining Quinoa
Before I start the sprouting process, rinsing and draining quinoa is crucial to remove its natural coating called saponin, which can impart a bitter taste.
To do this, I place the quinoa in a fine mesh strainer and rinse it thoroughly under cold running water. I make sure to rub the grains gently with my fingers to ensure all the saponin is washed away.
After rinsing, I let the quinoa drain for a few minutes. It’s important to ensure that excess water is removed, as too much moisture can hinder the sprouting process.
Once it’s drained, I’m ready to proceed with the soaking step, setting the stage for successful quinoa sprouts.
Optimal Conditions for Sprouting
To achieve successful sprouting of quinoa, I need to create optimal conditions that support germination.
First, I ensure the temperature is between 68°F and 75°F (20°C to 24°C), as this range promotes sprouting effectively.
Next, I focus on moisture; quinoa seeds require consistent dampness without being waterlogged. Using a fine mesh strainer, I rinse and drain the seeds thoroughly, then soak them for about 4-6 hours.
After soaking, I place them in a sprouting jar or tray, covering them with a breathable cloth to maintain humidity while allowing air circulation.
I also make sure to keep them in a dark environment during the initial sprouting phase, as this encourages faster germination.
These conditions set the stage for healthy sprouts.
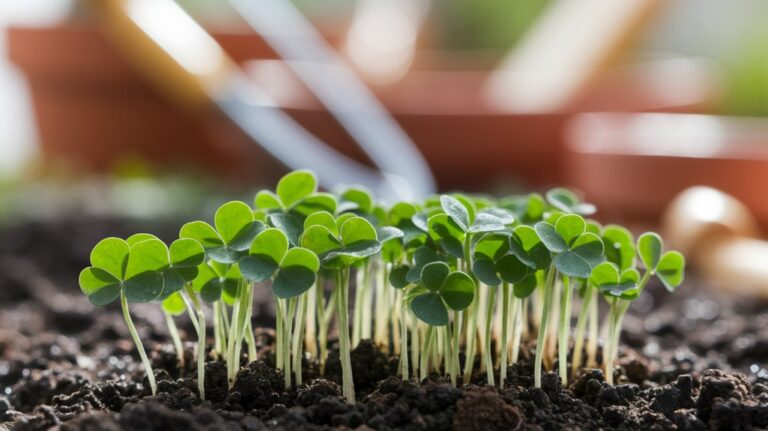
Monitoring Growth
How can I effectively monitor the growth of my quinoa sprouts? First, I check the sprouts daily for signs of germination, typically within 24 to 48 hours. I look for tiny tails emerging from the seeds, indicating that they’re ready to grow.
Next, I observe their growth rate. Ideally, sprouts should reach around one inch long within a few days. I also ensure they’re receiving adequate moisture; the sprouts should remain damp but not waterlogged. If they appear yellow or limp, I may need to adjust their light exposure or hydration levels.
Lastly, I keep an eye on their overall health, noting any signs of mold or unusual discoloration, and I address these issues promptly to ensure successful growth.
How to Store Sprouted Quinoa
After monitoring the growth of my quinoa sprouts, storing them properly becomes the next important step.
I find that the best way to store sprouted quinoa is in an airtight container. First, I rinse the sprouts gently to remove any residual bitterness, then I pat them dry with a clean towel to prevent excess moisture.
Once dry, I transfer them into the container, ensuring it’s sealed tightly to maintain freshness. I typically store them in the refrigerator, where they can last up to five days.
If I want to extend their shelf life, I can also freeze them in portions. This way, I can enjoy the nutritional benefits of sprouted quinoa whenever I need it!
Delicious Ways to Use Sprouted Quinoa
There are countless delicious ways to incorporate sprouted quinoa into meals, making it a versatile ingredient in my kitchen. I often use it in salads, stir-fries, and even breakfast bowls. Here’s a quick overview of some of my favorite uses:
| Meal Type | Preparation Method | Flavor Pairings |
|---|---|---|
| Salad | Tossed with greens | Lemon, avocado, nuts |
| Stir-Fry | Sautéed with veggies | Soy sauce, garlic, ginger |
| Breakfast Bowl | Mixed with yogurt or oatmeal | Berries, honey, nuts |
| Soup | Added for thickness | Herbs, spices, veggies |
| Snack | Made into energy bars | Peanut butter, chocolate |
Each option enhances the nutritional profile while adding a delightful crunch, making sprouted quinoa a staple I can’t live without!
Frequently Asked Questions
Conclusion
In conclusion, sprouting quinoa is a simple yet rewarding process that enhances its nutritional profile and adds a delightful crunch to your meals. By selecting the right quinoa and following the steps for rinsing, draining, and maintaining optimal conditions, you can easily cultivate these nutritious sprouts at home. Once sprouted, you can enjoy them in various dishes, making your meals not only healthier but also more versatile. Embrace the benefits of sprouted quinoa and elevate your culinary creations!