How to Sprout Red Amaranth
To sprout red amaranth, I start by selecting quality seeds and soaking them in water for about 4-6 hours. Then, I rinse the seeds thoroughly and place them in a glass jar with a mesh cover for airflow. I keep the jar in a warm, dark spot and rinse the seeds every 8-12 hours. After a few days, I harvest the sprouts when they reach 2-4 inches. You’ll discover more about enhancing their growth and uses beyond this basic guide.
Key Takeaways
- Rinse red amaranth seeds for 30 seconds, then drain and place in a glass jar with a fine mesh cover for airflow.
- Keep the jar in a dark, warm spot with temperatures between 65°F to 75°F for optimal germination.
- Rinse the seeds every 8-12 hours, shaking off excess water to maintain moisture without causing mold.
- Harvest the sprouts when they reach 2-4 inches tall using clean scissors, avoiding damage to the roots.
- Store harvested sprouts in the fridge in a breathable container to maintain freshness and prevent spoilage.
What Is Red Amaranth?
Red amaranth, a vibrant and versatile plant, belongs to the Amaranthaceae family and is known for its striking reddish-purple leaves and nutritious seeds.
I find it fascinating that this plant thrives in various climates, making it a popular choice in many gardens. Its leaves aren’t only visually appealing but also packed with vitamins and minerals.
The seeds, tiny yet powerful, contain high-quality protein and essential amino acids. I’ve learned that red amaranth can serve as a leafy green in salads or cooked dishes, offering a unique flavor profile.
Additionally, its rapid growth and adaptability make it an excellent option for home gardeners looking to diversify their crops. Understanding its characteristics is crucial for successful cultivation and use.
Benefits of Sprouting Red Amaranth
When I sprout red amaranth, I notice a significant boost in its nutritional value, making it a powerhouse of vitamins and minerals.
The sprouting process also enhances digestibility, allowing my body to absorb its nutrients more efficiently.
Plus, with its unique flavor and texture, I find that red amaranth sprouts add incredible culinary versatility to my dishes.
Nutritional Value Boost
Sprouting red amaranth significantly enhances its nutritional profile, making it a powerhouse of vitamins and minerals.
When I sprout this vibrant grain, I notice a remarkable boost in its health benefits, which include:
- Increased Vitamin Content: Sprouting elevates levels of vitamins A, C, and E, which are essential for immune function and skin health.
- Enhanced Mineral Absorption: Minerals like iron, calcium, and magnesium become more bioavailable, aiding in better nutrient uptake.
- Higher Antioxidant Levels: The sprouting process increases antioxidants, helping to combat oxidative stress in the body.
- Improved Protein Quality: Sprouting enhances the amino acid profile, making the protein more complete and beneficial for muscle repair.
These enhancements make sprouted red amaranth an excellent addition to any diet.
Enhanced Digestibility
Although many grains can be tough on the digestive system, the process of sprouting red amaranth transforms its structure, making it far easier to digest. Sprouting reduces antinutrients like phytic acid, enhancing nutrient absorption. This means our bodies can access vitamins and minerals more efficiently. Additionally, the sprouting process breaks down complex carbohydrates, making them simpler sugars that are less taxing on digestion.
Here’s a quick overview of the benefits:
| Benefit | Before Sprouting | After Sprouting |
|---|---|---|
| Antinutrient Levels | High | Low |
| Complex Carbohydrates | Present | Reduced |
| Nutrient Absorption Efficiency | Low | High |
Embracing sprouted red amaranth can significantly improve digestive comfort and nutrient availability.
Culinary Versatility
The culinary versatility of sprouted red amaranth opens up a world of possibilities in the kitchen.
I love incorporating these vibrant sprouts into various dishes, enhancing both flavor and nutrition.
Here are some ways I utilize them:
- Salads: Their crunchy texture adds a delightful contrast to leafy greens, making salads more interesting.
- Sandwiches: I sprinkle them on sandwiches or wraps for an extra nutrient boost and a pop of color.
- Smoothies: Blending them into smoothies enriches the drink with vitamins and minerals without altering the taste significantly.
- Stir-fries: I toss sprouted amaranth into stir-fries for a nutrient-dense addition that pairs well with various proteins and vegetables.
Embracing these sprouted greens truly elevates my culinary creations!
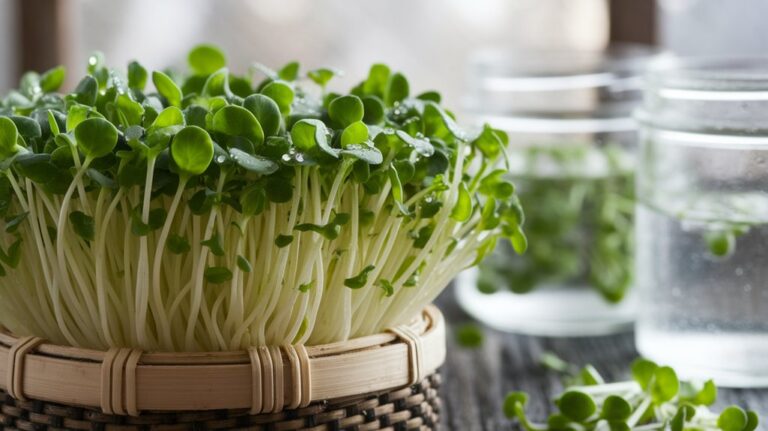
Equipment Needed for Sprouting
To successfully sprout red amaranth, you’ll need a few essential pieces of equipment. First, a glass jar with a wide mouth is ideal for rinsing and draining the seeds. Next, a fine mesh screen or cheesecloth will help keep the seeds contained while allowing air circulation. A bowl or tray is useful for positioning the jar at an angle to facilitate drainage. Lastly, a dark, warm spot is crucial for optimal sprouting conditions.
Here’s a quick overview of the equipment:
| Equipment | Purpose | Notes |
|---|---|---|
| Glass jar | Seed rinsing/draining | Wide mouth for easy use |
| Fine mesh screen | Air circulation | Prevents seed escape |
| Bowl/Tray | Holds jar at an angle | Ensures proper drainage |
| Dark spot | Provides optimal conditions | Keeps seeds warm |
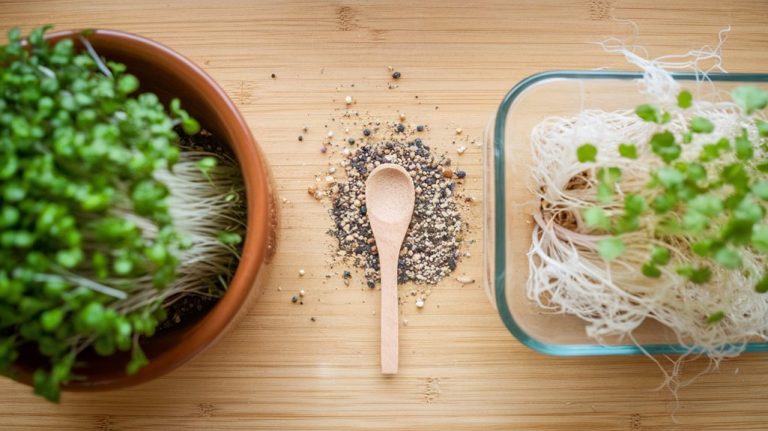
Selecting Quality Seeds
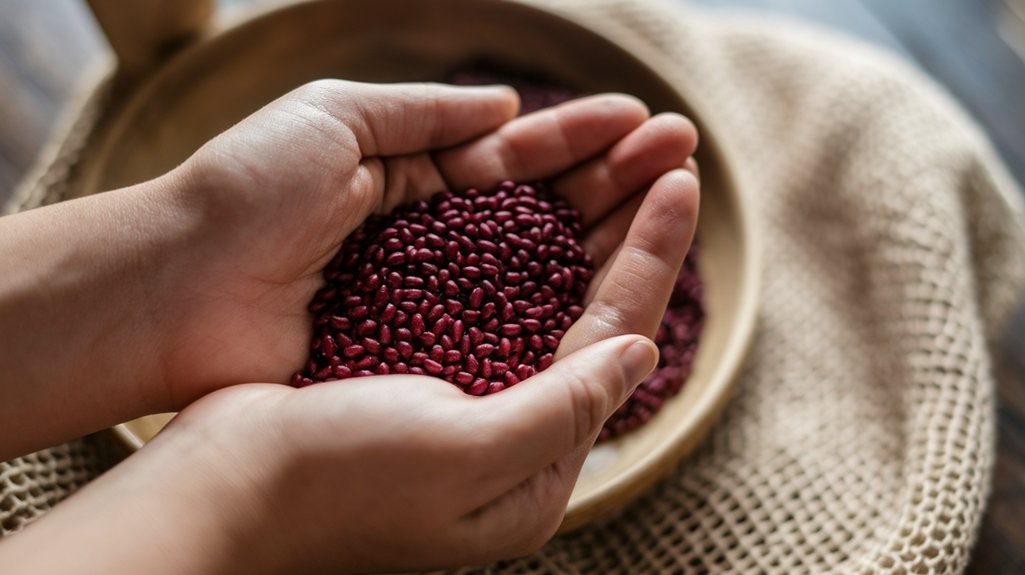
When selecting seeds for sprouting red amaranth, I always prioritize organic options to ensure I’m avoiding harmful pesticides.
It’s crucial to choose a reliable seed source, as this impacts germination rates and the overall health of the plants.
Organic vs. Non-Organic
While selecting seeds for sprouting red amaranth, I find that the choice between organic and non-organic varieties can significantly impact both growth and flavor.
I’ve noticed several key differences that can guide my decision:
- Pesticide Residue: Organic seeds are grown without synthetic pesticides, ensuring a cleaner sprouting process.
- Flavor Profile: Many gardeners, myself included, claim that organic amaranth has a richer, more robust flavor.
- Nutrient Density: Studies suggest that organic crops often contain higher levels of nutrients, which may benefit overall health.
- Environmental Impact: Choosing organic supports sustainable farming practices, promoting biodiversity and healthier ecosystems.
In my experience, opting for organic seeds tends to yield superior results, both in taste and health benefits.
Seed Source Reliability
Since the success of sprouting red amaranth hinges on the quality of the seeds, I always prioritize sourcing them from reliable suppliers.
I look for reputable seed companies that specialize in organic seeds, ensuring they’re non-GMO and untreated. Checking for certifications like USDA Organic is essential.
I also read customer reviews and seek recommendations from fellow gardeners to gauge the supplier’s reliability.
Once I find a trustworthy source, I examine the seed packet for freshness, checking the harvest date and germination rate; anything above 85% is ideal.
Finally, I store the seeds in a cool, dark place to maintain their viability.
These steps help guarantee that I start with the best seeds possible for successful sprouting.
Soaking the Seeds
Soaking the seeds of red amaranth is a crucial step in the sprouting process that significantly enhances germination rates.
I usually follow these steps to ensure optimal soaking:
- Measure Seeds: I take about 1-2 tablespoons of red amaranth seeds for soaking.
- Prepare Water: I fill a bowl with enough clean, room-temperature water to fully submerge the seeds.
- Soak Duration: I let the seeds soak for approximately 4-6 hours. This allows them to absorb moisture, which kickstarts the germination process.
- Drain: After soaking, I gently drain the seeds using a fine mesh strainer, readying them for the next stage of rinsing.
This soaking technique helps ensure that my seeds are primed for successful sprouting!
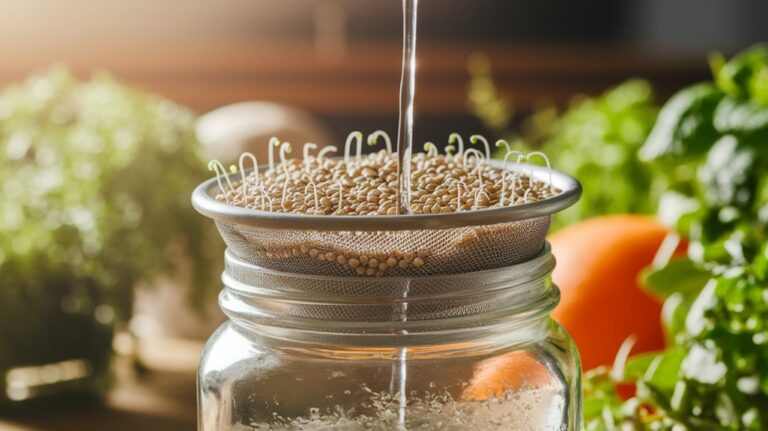
Rinsing and Draining
After soaking, it’s time to rinse and drain the red amaranth seeds to further promote germination. This process helps remove any leftover debris and ensures the seeds receive adequate moisture without becoming waterlogged. I typically use a fine mesh strainer for effective draining.
Here’s a quick overview of the rinsing and draining process:
| Step | Action | Duration |
|---|---|---|
| 1 | Rinse seeds under water | 30 seconds |
| 2 | Shake to remove excess | 10 seconds |
| 3 | Place in a draining setup | 3-4 hours |
| 4 | Repeat every 8-12 hours | Ongoing |
Make sure to rinse every 8-12 hours for optimal sprouting conditions. Keeping the seeds moist is crucial to their successful growth.
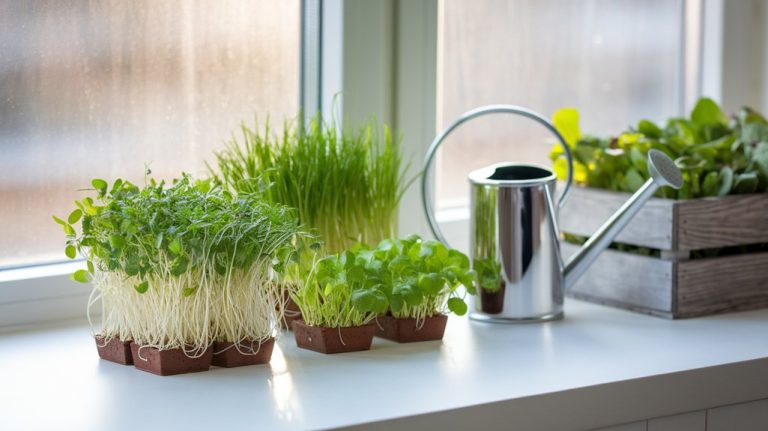
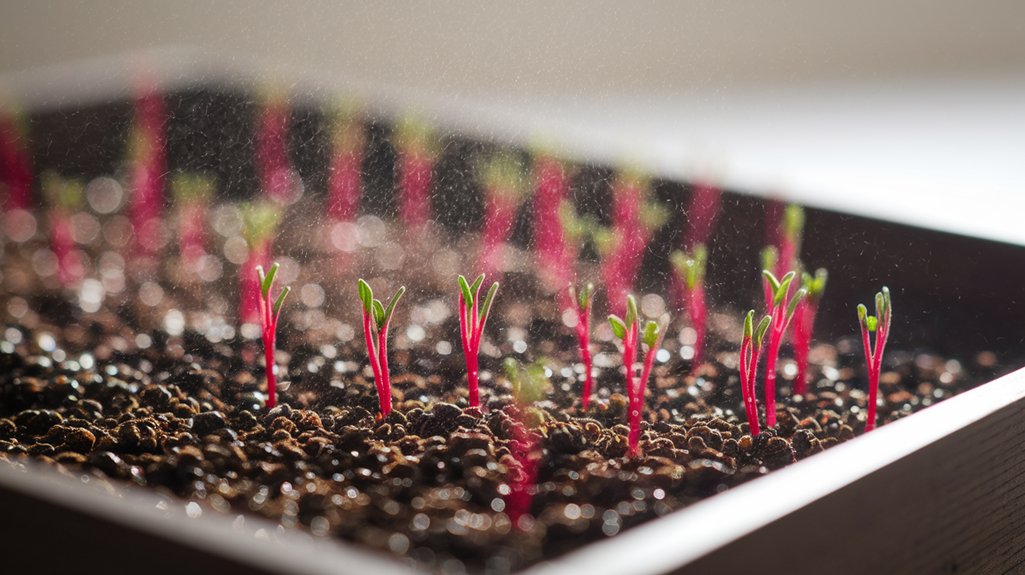
Growing Conditions for Sprouts
To achieve healthy red amaranth sprouts, I pay close attention to their growing conditions, as these factors significantly influence their development. Here’s what I focus on:
- Temperature: I keep the environment between 65°F to 75°F (18°C to 24°C) for optimal germination.
- Light: Once the seeds sprout, I provide indirect sunlight or fluorescent light for about 12-14 hours daily to promote healthy growth.
- Humidity: I maintain high humidity levels, ideally around 70-80%, by misting the sprouts regularly or covering them with a damp cloth.
- Airflow: Good ventilation is essential; I ensure air circulation to prevent mold growth, allowing my sprouts to thrive without issues.
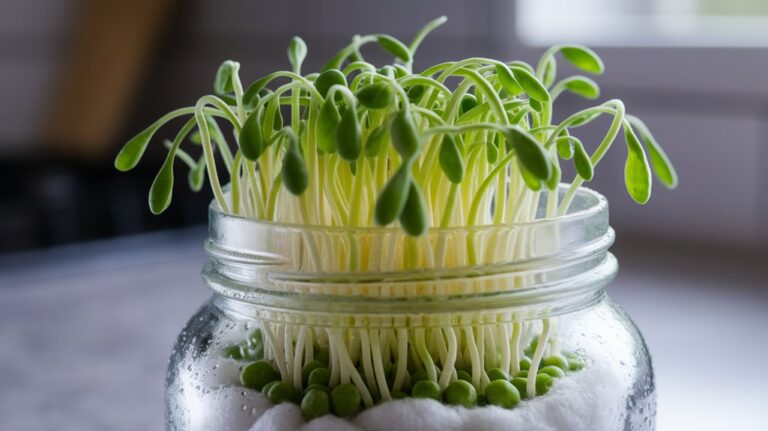
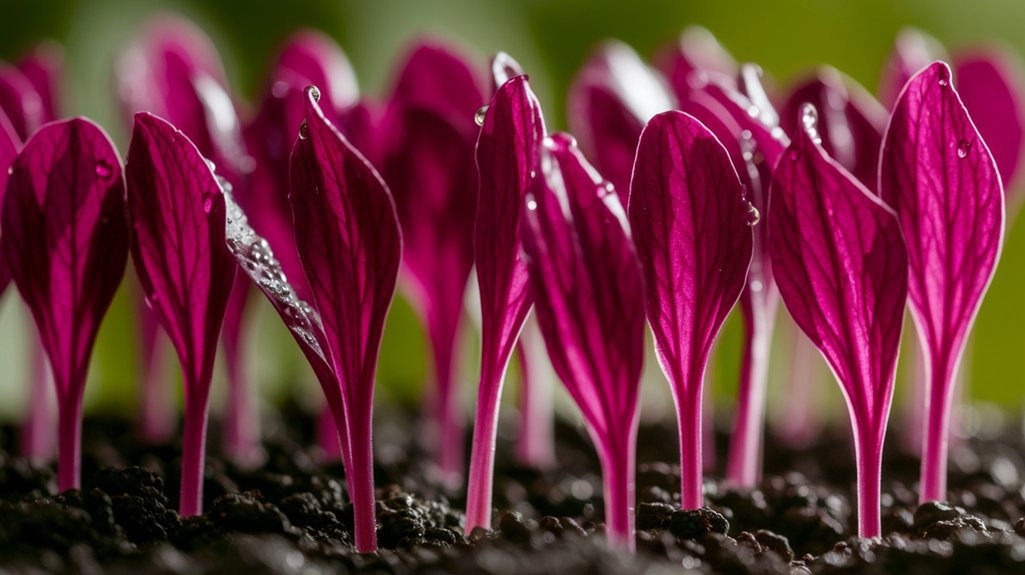
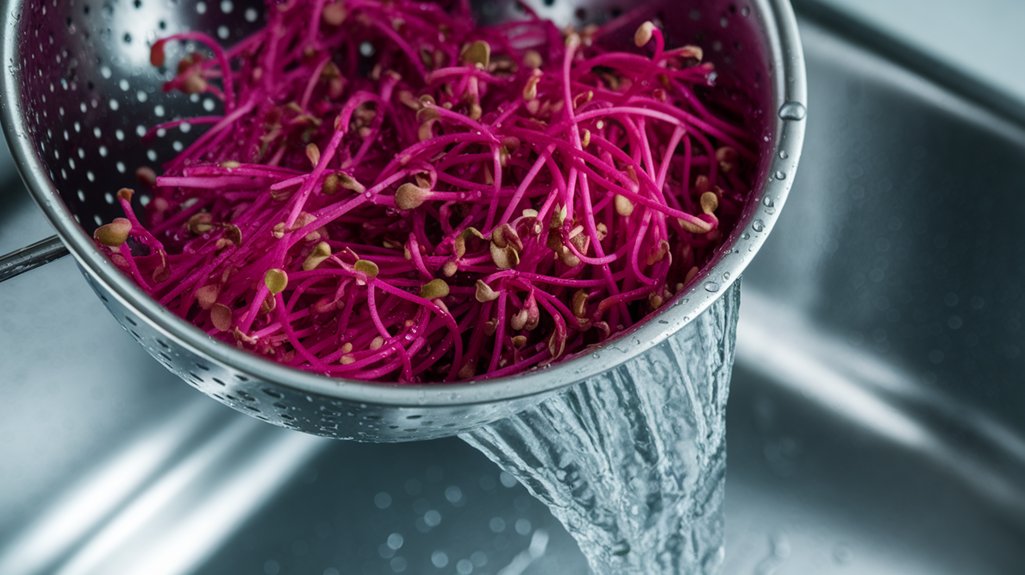
Harvesting and Using Your Sprouts
When it’s time to harvest my red amaranth sprouts, I carefully monitor their growth to ensure they reach the ideal height of about 2-4 inches.
I use clean, sharp scissors to snip the sprouts just above the soil line, taking care not to damage the roots. This method preserves the plant’s energy for possible future harvests.
After harvesting, I rinse the sprouts gently under cool water to remove any debris or soil. I love using them fresh in salads, sandwiches, or as a colorful garnish for various dishes.
They’re packed with nutrients, including vitamins A, C, and K, making them a healthy addition to my meals.
Storing the sprouts in the fridge in a breathable container keeps them fresh longer.
Frequently Asked Questions
Conclusion
In conclusion, sprouting red amaranth is a rewarding process that enhances the nutritional value of this vibrant plant. By following the steps outlined, from selecting quality seeds to creating optimal growing conditions, you can easily cultivate your own sprouts at home. Not only do these sprouts add a delightful crunch to your meals, but they also pack a powerful punch of vitamins and minerals. I encourage you to give it a try and enjoy the benefits firsthand!