Microgreens Magic: How to Grow Your Own Superfood Factory
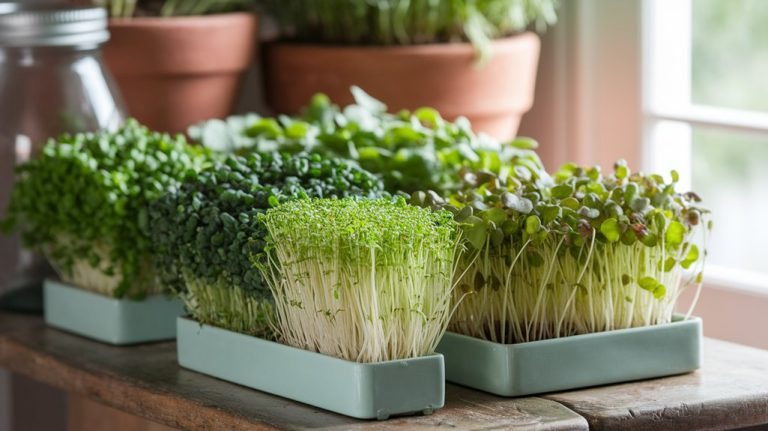
Growing microgreens is like having my own superfood factory at home. I choose nutrient-rich seeds like broccoli and sunflower, use a quality growing medium, and provide enough light with LED grow lights. After sowing the seeds and keeping them moist, I wait about two weeks for them to sprout. The result is a fresh supply of vitamins and flavors! By following these steps, I can easily incorporate them into meals for a delightful health boost. There’s so much more to explore!
Key Takeaways
- Choose fast-growing microgreens like arugula and radish for quick harvests, typically within 7-14 days.
- Select a suitable growing medium, such as potting mix or coconut coir, to retain moisture without becoming waterlogged.
- Use LED grow lights positioned 2 to 12 inches above the plants to ensure optimal growth conditions.
- Harvest microgreens when they reach 2-3 inches tall for maximum flavor and nutritional benefits.
- Incorporate microgreens into meals and smoothies for a nutrient boost and enhanced flavors.
What Are Microgreens and Why Are They Superfoods?
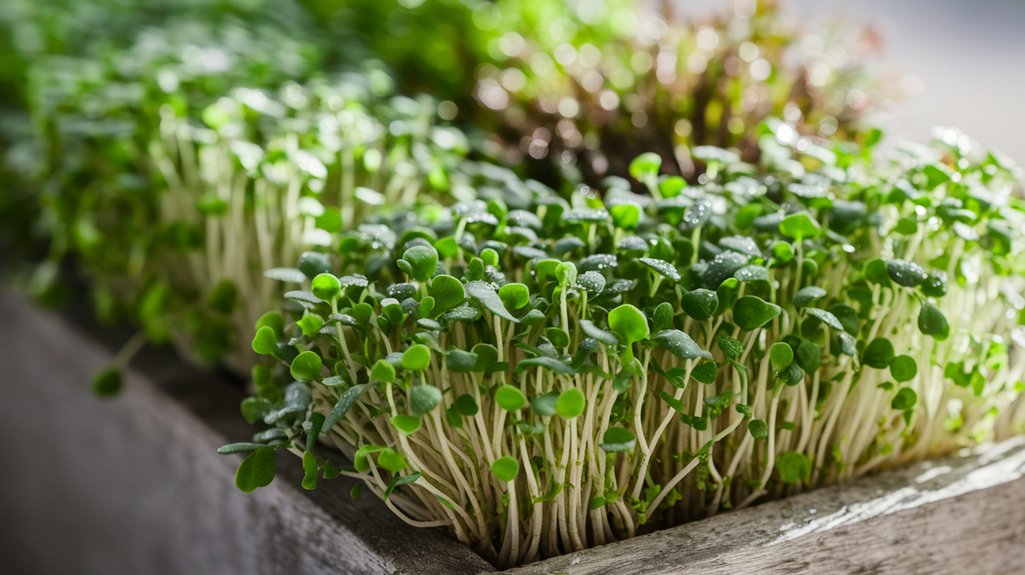
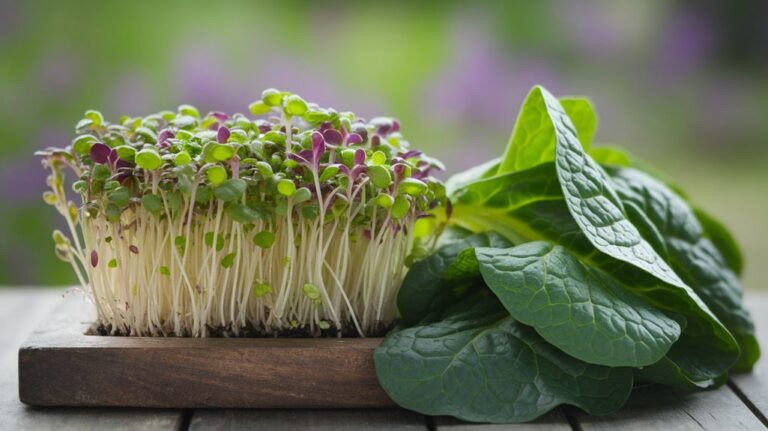
Microgreens, those vibrant little greens that pack a flavorful punch, are young plants harvested just after the first true leaves develop.
They’re typically 1-3 inches tall and come from various plant species, including broccoli, radish, and basil.
What makes them superfoods is their concentrated nutrient profile; studies show they can contain up to 40 times more vitamins and minerals than their mature counterparts.
For instance, microgreens like kale are rich in vitamins C, E, and K, essential for maintaining overall health.
Their small size doesn’t diminish their potential—these tiny greens can enhance salads, sandwiches, and smoothies.
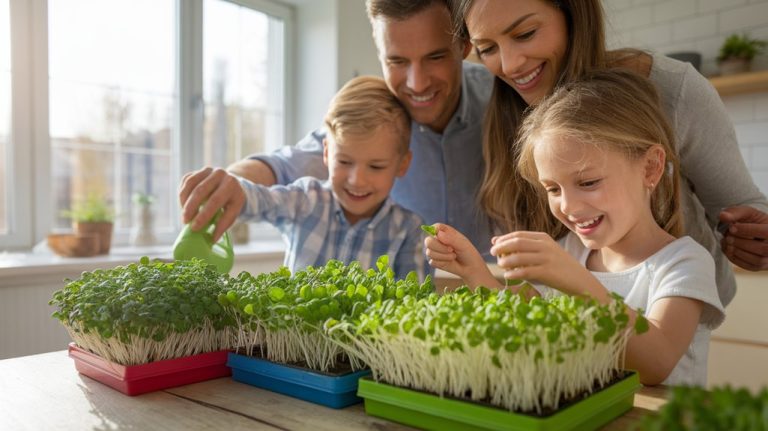
Plus, they’re easy to grow indoors, making them accessible for anyone eager to boost their nutrient intake.
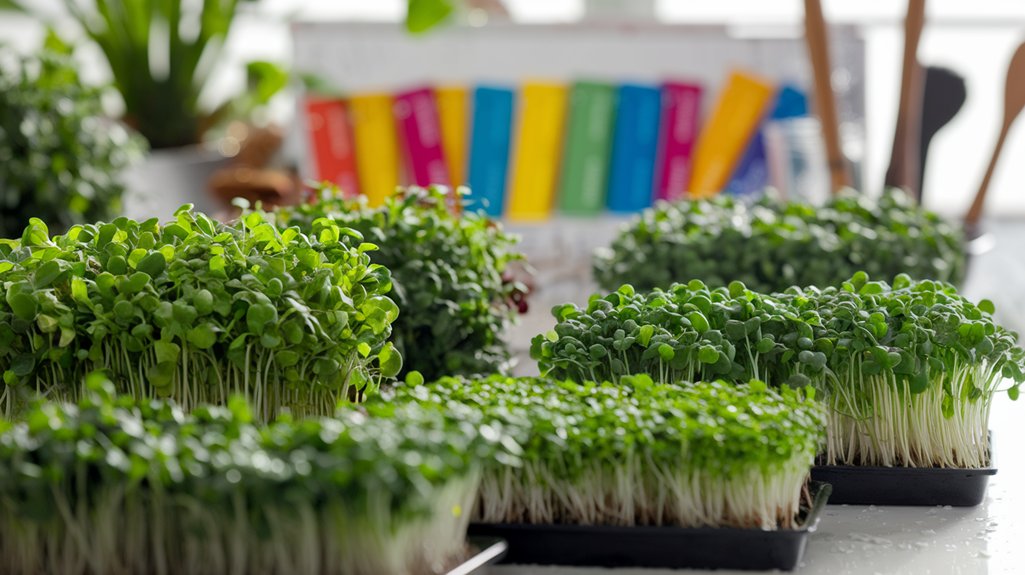
Choosing the Right Microgreens for Your Kitchen
When I consider what to grow in my kitchen garden, the variety of microgreens available can be both exciting and overwhelming.
To narrow down my choices, I focus on flavors, nutritional benefits, and growth cycles. For instance, I love arugula for its peppery taste and quick harvest time, usually ready in just 7-14 days.
Sunflower microgreens, on the other hand, offer a nutty flavor and are packed with protein. I also consider my culinary needs; basil microgreens are perfect for garnishing dishes, while radish microgreens add a zesty kick.
Lastly, I check the growing conditions—some prefer more light than others. By aligning my selections with taste preferences and growth habits, I ensure a thriving microgreen garden.
Essential Supplies for Growing Microgreens at Home
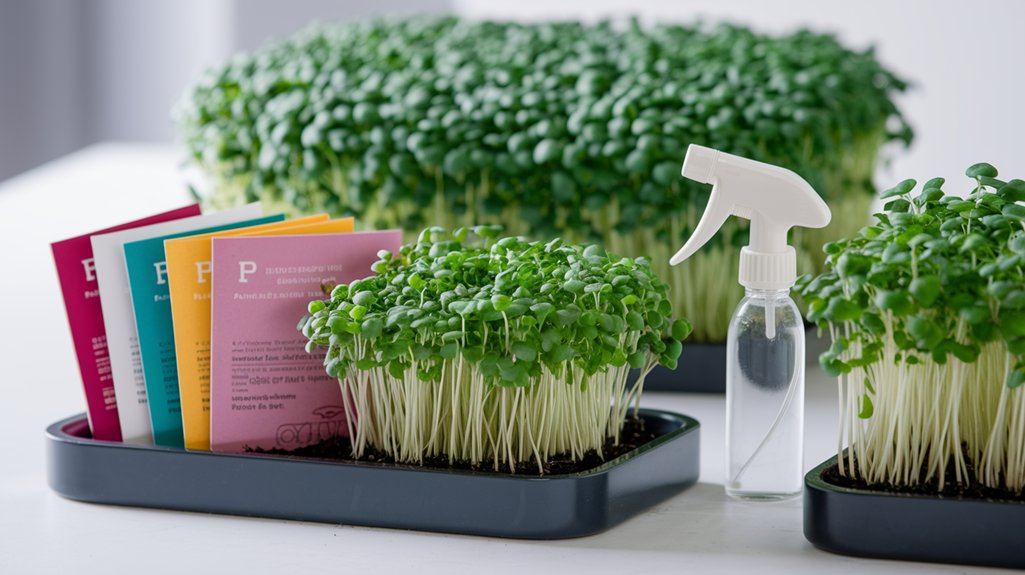
To successfully grow microgreens at home, I’ve found that selecting the right seeds and growing medium is crucial.
Additionally, understanding the lighting requirements will ensure your greens thrive.
Let’s explore these essential supplies to create the perfect environment for your microgreens.
Seed Selection Tips
Selecting the right seeds is crucial for successful microgreen cultivation, as the variety you choose can significantly impact flavor, nutrition, and growth rate. I recommend considering both taste preferences and nutritional benefits when selecting your seeds. Some popular options include:
| Seed Variety | Key Benefits |
|---|---|
| Radish | Spicy flavor, high in vitamin C |
| Broccoli | Rich in antioxidants and vitamins |
| Sunflower | Nutty taste, excellent protein source |
| Pea Shoots | Sweet flavor, high in fiber |
| Mustard | Peppery taste, boosts immune system |
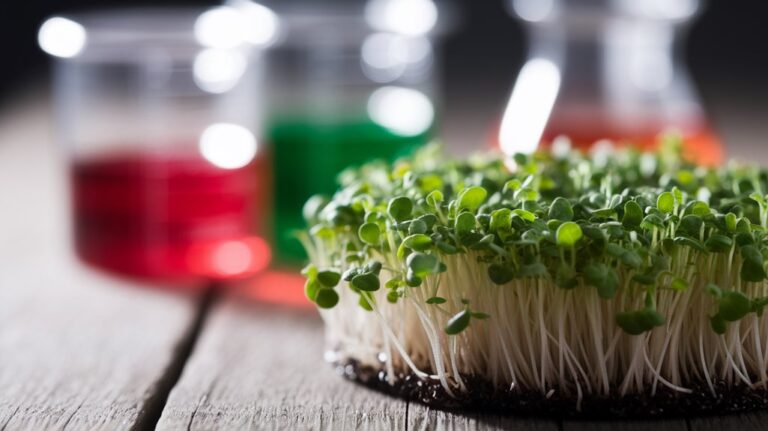
Growing Medium Choices
The choice of growing medium plays a vital role in the success of your microgreens. I’ve experimented with several options, and I can tell you that each has its pros and cons.
Soil is a classic choice, providing nutrients and good water retention, but it can invite pests. Coconut coir is another favorite; it’s lightweight, sustainable, and excellent for drainage.
If you’re looking for something more sterile, consider using a seed-starting mix or hydroponic mats, which eliminate soil-borne diseases. Peat moss is also popular but comes with environmental concerns.
Whichever medium you choose, ensure it retains moisture without becoming waterlogged. The right growing medium sets the foundation for healthy, vibrant microgreens that thrive.
Lighting Requirements Explained
How can you ensure your microgreens receive the right amount of light for optimal growth?
First, I recommend using LED grow lights, which provide the full spectrum of light needed for photosynthesis. Position them about 2 to 12 inches above your microgreens, adjusting as they grow.
Microgreens typically require 12 to 16 hours of light daily, so using a timer can simplify this process. It’s also crucial to monitor light intensity; too much can cause wilting, while too little may lead to leggy plants.
Lastly, consider the color temperature; a cooler light (around 5000K to 6500K) mimics natural sunlight, promoting healthy growth.
Step-by-Step Guide to Growing Microgreens
Growing microgreens can be a rewarding and straightforward process, and I’ll guide you through each step to ensure your success.
First, select your seeds—popular choices include radish, broccoli, or basil.
Next, gather your supplies: shallow trays, potting mix, and water. Fill the trays with a moist, well-draining potting mix, then scatter the seeds evenly on top, lightly pressing them into the soil. Mist the surface with water, then cover the trays with a lid or plastic wrap to maintain humidity.
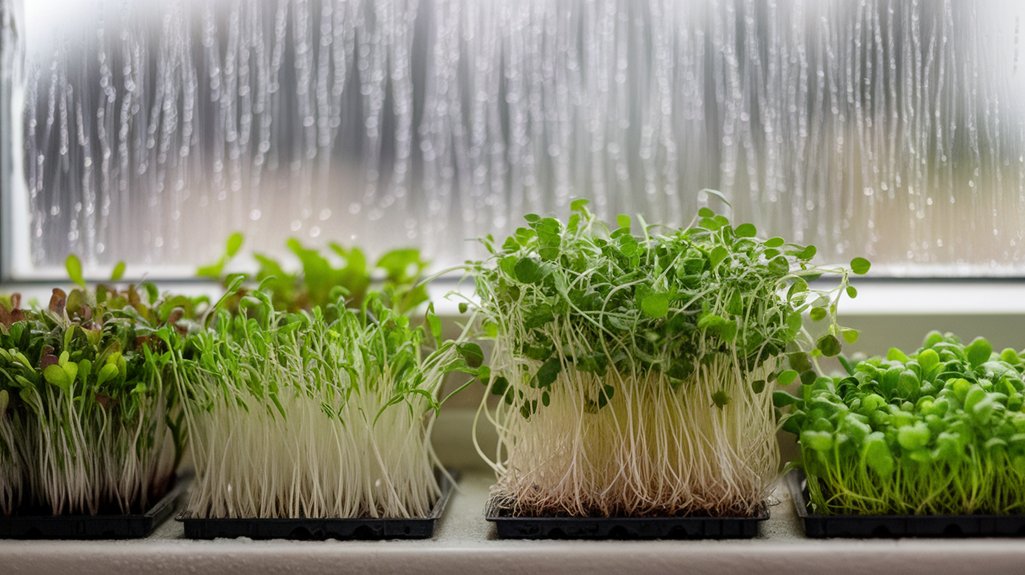
Place them in a bright area with indirect light. After 3-10 days, once they’ve sprouted, remove the cover. Continue to water gently, ensuring the soil remains damp but not soggy.
Your microgreens will be ready for harvesting in about two weeks!
Harvesting and Storing Your Microgreens
When it’s time to harvest your microgreens, you’ll want to act promptly to enjoy their peak flavor and nutritional benefits. I usually wait until they reach about 2-3 inches tall. Using clean scissors, I snip them just above the soil line.
Here’s a simple guide to help you understand the best practices for harvesting and storing:
| Microgreen Type | Harvesting Time | Storage Method |
|---|---|---|
| Arugula | 10-14 days | Refrigerate in a damp paper towel |
| Radish | 7-10 days | Store in a sealed container |
| Sunflower | 10-14 days | Place in a plastic bag |
| Pea Shoots | 12-21 days | Wrap in a damp cloth |
After harvesting, store them properly to maintain their freshness and nutrients.
Delicious Ways to Incorporate Microgreens Into Your Meals
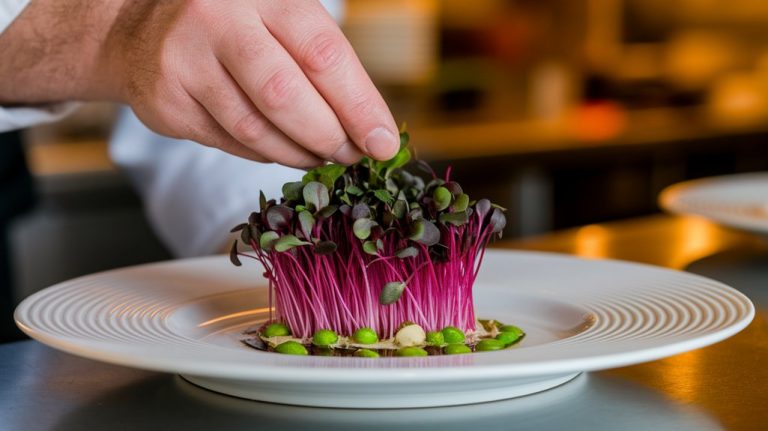
When I think about incorporating microgreens into my meals, I see them as versatile ingredients that can elevate any dish.
For instance, adding them to salads enhances flavor and nutrition, while using them as sandwich toppings provides a fresh crunch.
I also love blending microgreens into smoothies for an easy nutrient boost without altering the taste significantly.
Salad Enhancements
Incorporating microgreens into my salads not only elevates the flavor but also boosts the nutritional profile, making each bite more satisfying.
These tiny powerhouses are packed with vitamins, minerals, and antioxidants, enhancing my meals in delightful ways.
Here are some of my favorite microgreens to sprinkle on salads:
- Arugula: Adds a peppery kick that’ll awaken my taste buds.
- Radish: Offers a crisp texture and a zesty bite.
- Sunflower: Lends a nutty flavor while providing healthy fats.
- Pea shoots: Brings a sweet, fresh taste reminiscent of spring.
- Basil: Infuses a fragrant aroma, making my salads feel gourmet.
Each variety not only enhances flavor but also transforms my salads into vibrant, health-packed dishes.
Sandwich Toppings
Microgreens can transform a simple sandwich into a culinary delight, as their vibrant flavors and textures add depth and complexity to every bite.
I love using pea shoots for their sweet crunch, which pairs perfectly with turkey or ham. Radish microgreens bring a peppery kick that elevates classic egg salad sandwiches.
For a refreshing twist, I often sprinkle basil microgreens over a Caprese sandwich, enhancing the tomato and mozzarella with their aromatic essence.
If I’m looking for a zesty contrast, I’ll add mustard microgreens to a roast beef sandwich.
These tiny greens not only pack a nutritional punch but also create visual appeal, making my sandwiches not just tasty but also Instagram-worthy.
Give them a try; you won’t regret it!
Smoothie Boosters
Many people don’t realize how easily microgreens can enhance the nutritional profile and flavor of a smoothie.
I’ve discovered that adding just a handful of these tiny greens transforms an ordinary drink into a powerhouse of nutrients.
Here are some of my favorite microgreens to incorporate:
- Broccoli: Packed with sulforaphane for detoxification.
- Pea Shoots: Sweet and crunchy, they add a fresh burst.
- Radish Greens: Offer a spicy kick and rich in vitamins.
- Sunflower: Nutty flavor and high in protein.
- Basil: Aromatic and anti-inflammatory properties.
Frequently Asked Questions
How Long Do Microgreens Typically Take to Grow?
Microgreens typically take about 7 to 21 days to grow, depending on the variety.
I’ve found that faster-growing types, like radish and mustard, can be ready in just a week, while slower varieties, such as peas, might take closer to two weeks.
I recommend checking daily for optimal growth, as light, temperature, and moisture all play crucial roles in their development.
Harvesting them at the right time ensures maximum flavor and nutritional value.
Can I Grow Microgreens Indoors Without Sunlight?
Yes, you can grow microgreens indoors without sunlight. I’ve had great success using grow lights instead.
They provide the right spectrum of light for photosynthesis. I set my lights about 2-4 inches above the microgreens and keep them on for 12-16 hours a day.
It’s crucial to monitor the temperature and humidity levels, too. With the right care, my indoor microgreens thrive even without natural sunlight.
Are There Any Pests That Affect Microgreens?
Yes, pests can affect microgreens, just like any other plant.
I’ve encountered aphids, fungus gnats, and spider mites while growing mine. These pests can cause damage by sucking sap or spreading diseases.
To prevent infestations, I maintain cleanliness, use sterile soil, and monitor for any signs of trouble.
If I spot pests, I often use insecticidal soap or neem oil as an effective treatment.
Staying vigilant is key to a successful microgreen garden!
What Soil Is Best for Growing Microgreens?
When I grow microgreens, I always choose a light, well-draining soil mix. A blend of peat moss, compost, and perlite works wonders for drainage while retaining moisture.
I find that this combination promotes healthy root development and prevents disease. It’s crucial to avoid heavy soils since they can suffocate the delicate roots.
How Often Should I Water My Microgreens?
When I grow my microgreens, I water them about once a day, but I adjust based on their needs.
I check the soil moisture; it should feel damp but not soggy. If the top layer dries out, it’s time to water.
I often mist them lightly to maintain humidity, especially in the early stages.
Overwatering can lead to mold, so I always keep a close eye on them.
Happy growing!
Conclusion
In conclusion, growing microgreens at home is an easy and rewarding way to boost your nutrition. By choosing the right varieties and following the step-by-step guide, you can create your own superfood factory right in your kitchen. Remember to harvest and store them properly to maintain freshness, and get creative with incorporating these vibrant greens into your meals. With a little effort, you’ll enjoy the health benefits and culinary delights of microgreens in no time.