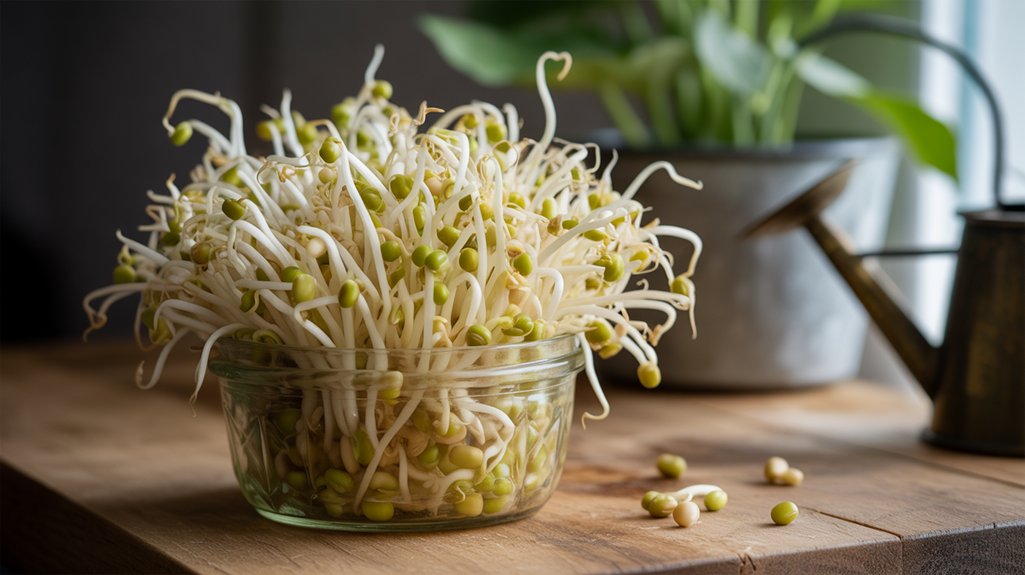
How to Grow Mung Bean Sprouts at Home (Ready in 4 Days)
How do you grow mung bean sprouts at home?
Soak dried mung beans in water for 8 to 12 hours, then drain and rinse them twice daily in a jar covered with mesh or cheesecloth. Keep the jar in a warm, dark spot and they will be ready to eat in 4 to 5 days. No soil, no grow lights, no special equipment – just a jar, water, and a handful of seeds.
You already know these sprouts. They are the crisp, pale bean sprouts in your stir-fry, your pad thai, your Vietnamese pho, your spring rolls. They have been in your kitchen – just not grown there.
Most people buy mung bean sprouts in plastic bags from the supermarket, where they arrive a few days old, often slightly slimy, and at a price that adds up over time.
Here is the thing: mung beans are one of the easiest and fastest sprouts you can grow at home. Four days from dry seed to crisp, fresh sprout – using nothing but a glass jar, a piece of mesh, and tap water. The taste difference compared to store-bought is immediate and significant, and the nutrition story that unfolds inside that jar over four days is one of the most interesting things in sprouting.
This guide covers everything: the method, the science, the eating, and how to troubleshoot if something goes wrong.
What happens inside the jar: the 4-day nutritional transformation
Before the how-to, it is worth understanding what sprouting actually does to a mung bean — because the change is more dramatic than most home growers expect.
Vitamin C appears from almost nothing. Dry mung beans contain very little vitamin C. Once you add water and begin germination, the plant starts synthesising ascorbic acid (vitamin C) as part of its growth machinery. Research published in the Journal of Agricultural and Food Chemistry found that germination dramatically increased vitamin C content in mung bean sprouts in a time-dependent manner, with levels rising to many times the concentration found in the dry seed. By day 4 to 5, a food that started with almost no vitamin C has become a meaningful source of it.
Antinutrients drop. Raw dried mung beans contain phytic acid — the same compound we encountered in sunflower seeds — which binds to minerals like zinc, iron, and calcium and reduces how much your body absorbs. During sprouting, the plant uses and breaks down phytic acid to fuel its own growth, which means the minerals in the sprout are significantly more bioavailable than in the dry bean.
Starch converts to simpler sugars. The complex carbohydrates stored in the seed begin converting during germination. This makes mung bean sprouts easier to digest than cooked dried beans, and it is why they taste slightly sweet and fresh rather than dense and starchy.
Protein becomes more accessible. The protein content stays broadly similar between dry beans and sprouts, but the digestibility increases as proteins are partially broken down during germination. The result is that your body can use more of what you eat.
Antioxidant activity increases significantly. The same Journal of Agricultural and Food Chemistry study found total phenolic compounds rose up to 4.5 times and total flavonoids up to 6.8 times their original concentration during germination. The sprout stage is genuinely more antioxidant-rich than the seed it grew from.
All of this happens in your jar, with nothing but water, in four days.
What you need
The equipment list is shorter than you might think.
Seeds: Whole, raw, dried mung beans – the green-skinned variety sold in health food shops, Asian grocery stores, and online. Do not use split mung beans (yellow dhal), which will not sprout. Look for seeds labelled for sprouting or human consumption. A 500g bag yields many batches.
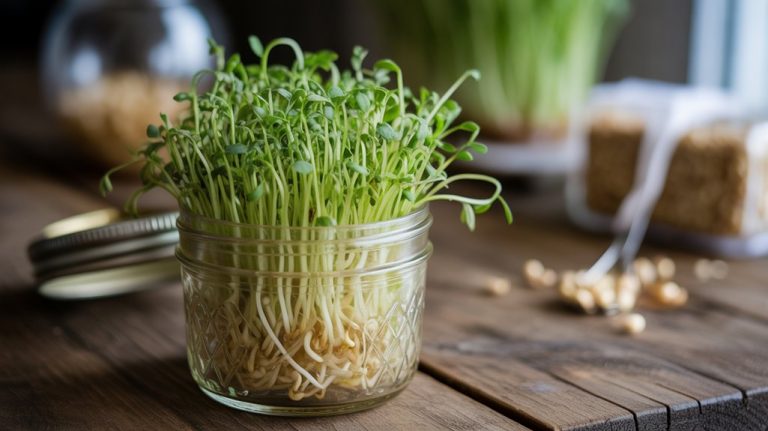
A jar: Any clean glass jar works. A wide-mouth 1-litre (quart) jar is ideal — wide enough to rinse easily and tall enough to give the sprouts room to grow. You will only fill it one-quarter full with dry seeds, so they have space to expand.
A mesh lid or cover: A piece of fine mesh, cheesecloth, or a purpose-made sprouting lid secured with a rubber band or jar ring. This lets water drain freely while keeping the seeds in the jar. Sprouting lids are inexpensive and make the daily rinse much easier – worth the small investment.
Water: Tap water at room temperature works well. If your tap water is heavily chlorinated, let it sit in an open jug for a few minutes before using, or use filtered water.
That is genuinely everything.
Step-by-step: how to grow mung bean sprouts
Day 0 – The soak
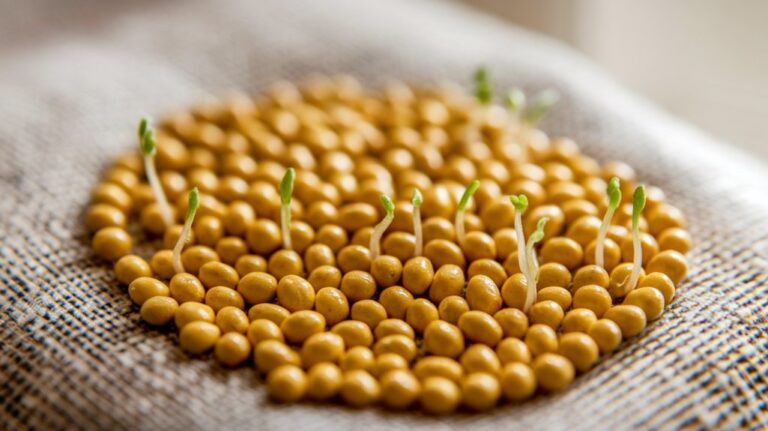
Measure out 3 to 4 tablespoons of dry mung beans. This sounds like very little, but the seeds expand to three or four times their size during sprouting and will fill a 1-litre jar comfortably at harvest.
Rinse the dry beans once in cold water to remove any dust, then place them in your jar and cover with plenty of cool water — at least three times the volume of the seeds. Leave them to soak for 8 to 12 hours (overnight works well).
After soaking, the beans will have swelled noticeably. Drain off all the soaking water through your mesh lid, give them a quick rinse with fresh water, and drain again.
Days 1 to 4 – The rinse routine
This is all you do: rinse and drain twice a day, morning and evening.
Each time:
- Run cool water into the jar through the mesh lid, swirl gently to rinse all the beans, then drain completely.
- Tilt the jar upside down at a 45-degree angle so any remaining water runs out and air can circulate freely. A dish rack, a bowl, or a pot works as a stand.
Keep the jar in a warm spot out of direct sunlight — a kitchen cupboard, the top of the refrigerator, or a counter away from the window. A temperature of around 18 to 24°C (65 to 75°F) is ideal.
What you will see, day by day:
| Day | What is happening |
|---|---|
| Day 0 (after soak) | Beans have swelled to twice their size, skins may be wrinkling |
| Day 1 | Tiny white root tails appearing from each bean |
| Day 2 | Roots clearly visible, 1–2 cm long; sprouts beginning to cluster |
| Day 3 | Sprouts 3–5 cm long; the characteristic mung bean sprout shape emerging |
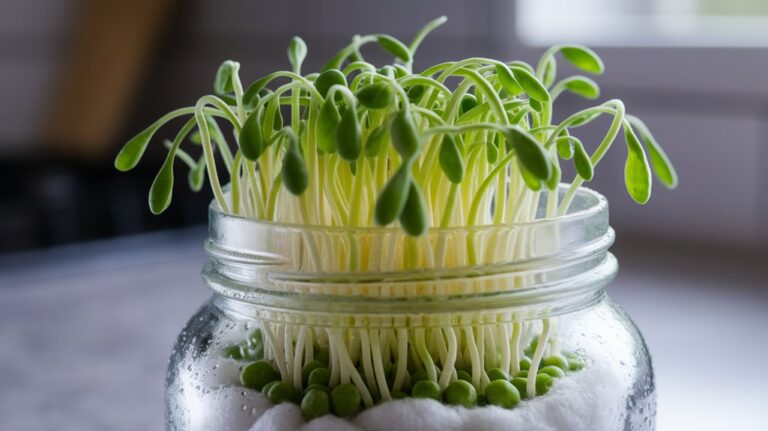
| Day 4 | Sprouts 5–7 cm long, crisp and fresh-smelling — ready to harvest |
| Day 5 | Sprouts continuing to grow; small pale yellow leaves may appear at the tips |
Harvest
At day 4 or 5, drain the sprouts thoroughly and rinse one final time. They are ready to eat immediately or store.
To store: keep in an airtight container or sealed bag in the refrigerator. They will stay crisp for 3 to 4 days. Rinse before using each time. Unlike store-bought sprouts (which arrive already days old), your home-grown sprouts are at peak freshness on harvest day.
How to know when they are ready — and when something is wrong
Signs they are ready:
- Sprouts are 4 to 7 cm long with white, firm roots
- Fresh, clean smell — slightly sweet, faintly earthy
- Crisp texture when you bite one
Signs something has gone wrong:
- Slimy feel or slimy coating on the jar walls — usually caused by inadequate drainage. Rinse immediately with cold water, drain completely, and ensure the jar is tilting properly between rinses.
- Sour or unpleasant smell – increase rinse frequency to three times a day. A mild earthy smell after rinsing is normal; anything stronger suggests bacterial build-up.
- No root tails by day 2 – the seeds may be old or heat-damaged. Try a fresh batch from a new source.
- White fuzz around the roots — this is almost always root hairs (a normal part of healthy germination), not mould. Root hairs disappear when sprayed with water; mould does not.
For a full troubleshooting guide covering every sprout problem, see why are my sprouts slimy, smelly, or not growing?
The nutrition you are growing
| Nutrient | Mung bean sprouts (per 100g raw) | Notes |
|---|---|---|
| Calories | ~30 kcal | Very low — high volume, low calorie |
| Protein | ~3g | Good for a non-legume form; digestibility higher than dry bean |
| Carbohydrates | ~6g | Mostly simple sugars formed during sprouting |
| Dietary fibre | ~2g | Supports digestive health |
| Vitamin C | Significant – dramatically higher than dry seed | Increases many times over from the dry bean during germination |
| Folate (B9) | High — higher than most foods | Essential for cell division, DNA synthesis; particularly important in pregnancy |
| Iron | ~0.9mg per 100g | Better absorbed than from dry beans due to reduced phytic acid |
| Potassium | ~149mg per 100g | Supports heart and muscle function |
| Copper | Present | Supports iron absorption and connective tissue health |
| Manganese | Present | Antioxidant enzyme function, bone metabolism |
Sources: USDA FoodData Central; Journal of Agricultural and Food Chemistry (2012) – germination effects on mung bean phytochemicals.
The standout nutrients are folate — where mung bean sprouts rank higher than the majority of whole foods — and the vitamin C that appears during germination from a starting point close to zero. For plant-based eaters, the improved iron bioavailability (due to phytate reduction) and the simultaneous vitamin C boost are a useful combination: vitamin C significantly enhances non-haem iron absorption, and sprouting delivers both in the same food at the same time.
How to eat mung bean sprouts
This is where mung bean sprouts have an advantage most microgreens do not: they are genuinely versatile between raw and lightly cooked, and the audience for them is enormous.
Raw – where nutrition is highest:
- Salads and grain bowls: add a large handful for crunch and freshness
- Spring rolls and rice paper wraps: the classic preparation — crisp and fresh
- Sandwiches and wraps: in place of or alongside lettuce
- Cold noodle dishes: soba, rice noodles, or udon with sesame dressing
- Smoothies: they work surprisingly well blended — mild flavour, good texture
Lightly cooked – where they are most familiar:
- Stir-fries: add in the last 60 to 90 seconds of cooking only – they need almost no heat and should retain some crunch
- Soups: added to pho, ramen, or any broth-based soup just before serving (or on the side, so the diner controls how much heat they get)
- Pad thai and other noodle dishes: toss in at the very end, off the heat
A note on heat: vitamin C and folate both degrade with prolonged cooking. For maximum nutritional benefit, eat them raw or add to hot dishes at the very last moment. A brief encounter with heat – 60 to 90 seconds in a wok, or added to a hot bowl at the table — retains much more than simmering them through.
How much to eat: there is no fixed dose. As a vegetable serving, a generous handful (80 to 100g) eaten most days is a practical and nutritionally meaningful amount. At 30 kcal per 100g, volume is not the constraint.
Home-grown vs. supermarket: the real difference
Store-bought mung bean sprouts have one consistent problem: by the time they reach you, they are typically 3 to 5 days old and stored in damp packaging. The sliminess that puts people off bean sprouts is almost entirely a storage and age issue — not a quality of the sprout itself.
Fresh mung bean sprouts, eaten the day they are harvested, are a different food. The texture is firm and crisp. The smell is clean. There is no slime. The flavour is noticeably sweeter and more delicate.
Cost: a 500g bag of sprouting mung beans costs a few dollars and yields dozens of batches. Per 100g of ready-to-eat sprout, home-grown mung bean sprouts are among the cheapest nutritious foods you can produce.
Freshness: you harvest on day 4 and eat that day. Peak vitamin C, peak antioxidant content, peak crunch — none of which a supermarket bag can offer after days of cold storage.
Control: no added chlorine rinses (commonly used commercially to extend shelf life), no damp packaging, no uncertainty about how old they are.
How mung bean sprouts fit into a sprouting rotation
If you are already growing one or two other sprouts — broccoli for sulforaphane, alfalfa for variety — mung bean sprouts are the natural next addition for a different reason: they are the most useful sprout in the kitchen.
Where broccoli sprouts are a health-focused specialist, mung bean sprouts are the everyday workhorse. They go in more dishes, disappear faster, and appeal to more people at the table (including those who are not interested in health claims).
A simple rotation that works well:
- Broccoli sprouts in a small jar – harvested early (days 3 to 5) for sulforaphane
- Mung bean sprouts in a larger jar – harvested at day 4 to 5 for cooking and salads
- Alfalfa or clover as a third jar for mild, versatile garnishing
Each takes under two minutes of daily attention. Together they give you a fresh, rotating supply of three nutritionally distinct sprouts with minimal effort.
Start your first jar this week
Mung bean sprouts are the sprout most first-timers should grow before anything else. Fast, forgiving, immediately useful in the kitchen, and dramatically better than what comes in a supermarket bag.
The first batch takes four days and two minutes of attention per day. By day three, the jar is already impressive. By day four, you will wonder why you spent money on the bagged version.
⟶ New to sprouting? The step-by-step guide to growing sprouts at home covers all the basics — equipment, water quality, and rinsing technique — before your first batch.
⟶ Want to add a specialist alongside your mung beans? The broccoli sprouts and sulforaphane guide explains why a dedicated broccoli sprout jar is worth keeping going at the same time.
⟶ Ready to explore more varieties? The seed library has notes on every sprout variety the site recommends — including which seeds produce the fastest and most forgiving harvests.