Basil Microgreens: How to Grow Them and Why They Break the Usual Rules
Most microgreens forgive you. Radish comes up in a few days, peas shrug off a missed watering, and sunflower almost grows itself.
Basil is different. It is slow, it is short, and the seed turns into a blob of jelly the moment it touches water.
That is exactly why so many first trays fail. Once you know the three quirks that make basil unusual, it becomes one of the most rewarding trays you can grow, because nothing else tastes like a pinch of micro basil on a hot slice of pizza.
How do you grow basil microgreens?
Scatter dry basil seed evenly over moist coco coir or potting mix. Do not soak it, because the seed forms its own gel. Keep it warm, ideally 75 to 85°F, under a humidity dome for 5 to 7 days, then move it to light. Harvest in 14 to 24 days, when the first true leaves appear.
Basil microgreens at a glance
| Detail | What to expect |
|---|---|
| Soak the seed? | No. Basil is mucilaginous and makes its own gel |
| Seed per 10×20 tray | 2 to 4 tablespoons (about 4 g is a common commercial rate) |
| Seed per 5×5 inch tray | 1 to 2 teaspoons |
| Best germination temperature | 75 to 85°F soil |
| Dome or cover time | 5 to 7 days |
| Days to harvest | 14 to 24 days |
| Height at harvest | Short. One of the shortest common microgreens |
| Difficulty | Moderate. Slower and fussier than radish or pea |
| Storage | Around 55°F if you can. Cold fridge spots blacken the leaves |
Seed rates come from Sproutpeople and Microgreen Manager. Germination temperature is from Utah State University Extension.
Why basil breaks the usual microgreen rules
The seed makes its own jelly
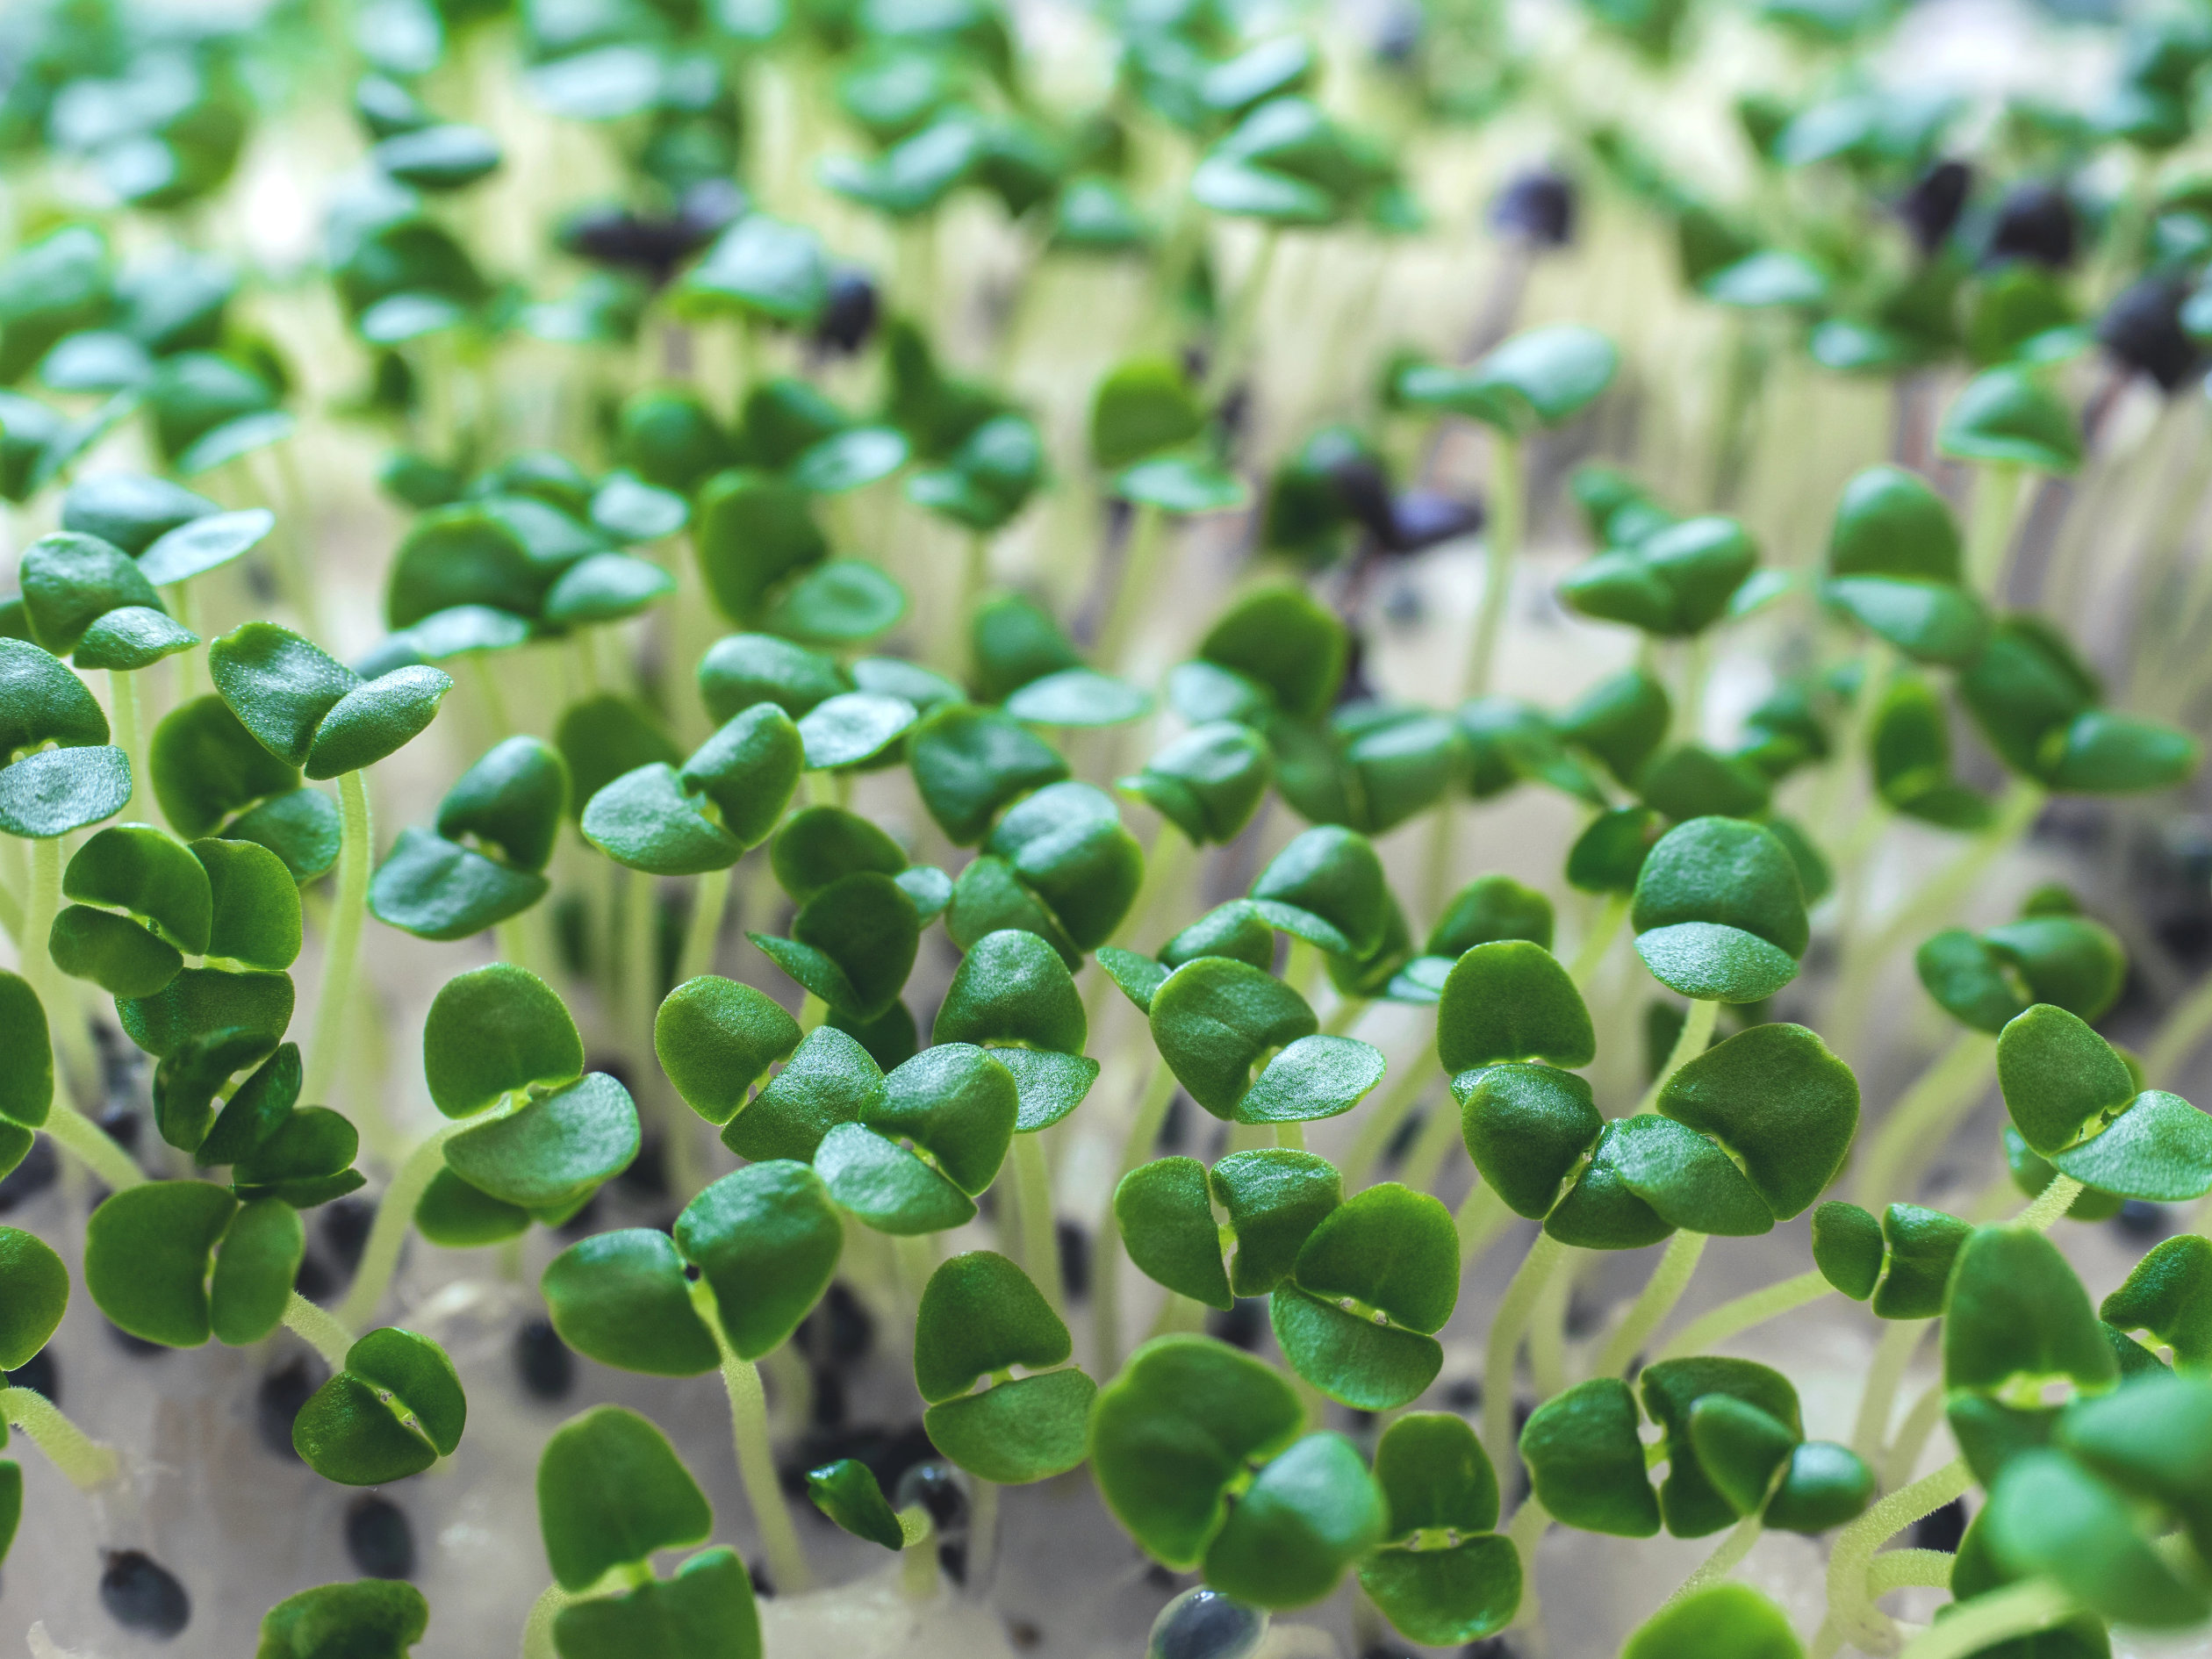
Basil is a mucilaginous seed. When it gets wet, the outer coat swells into a clear gel sack, the same thing you see in basil seed drinks.
That gel is the seed’s built-in water supply. If you soak basil in a jar the way you would soak peas or sunflower, you end up with one sticky clump that is impossible to spread evenly. Sproutpeople is blunt about it: do not soak basil unless you are running an experiment.
The gel also means you need very little watering for the first few days. Sproutpeople notes that the gel sacks can hold enough moisture for 2 to 5 days after planting.
It wants a warm room
Basil is a summer plant. Utah State University Extension says the seeds germinate best at a soil temperature of 75 to 85°F.
A typical kitchen in fall or winter sits well below that. If your first tray is patchy and slow, a cool room is the most likely reason. A cheap seedling heat mat under the tray fixes it.
It stays small and takes its time
Radish is ready in about 10 days. Basil takes two to three weeks or more. Microgreen Manager reports 24 days for Genovese on their farm, and describes basil as one of the shortest crops they grow.
Short plants are harder to cut cleanly, so a very sharp pair of scissors matters more here than with tall crops like pea shoots.
Which basil variety should you grow?
You can grow any culinary basil as a microgreen. These four are the easiest to find as microgreen seed.
| Variety | Color | Flavor | Best use |
|---|---|---|---|
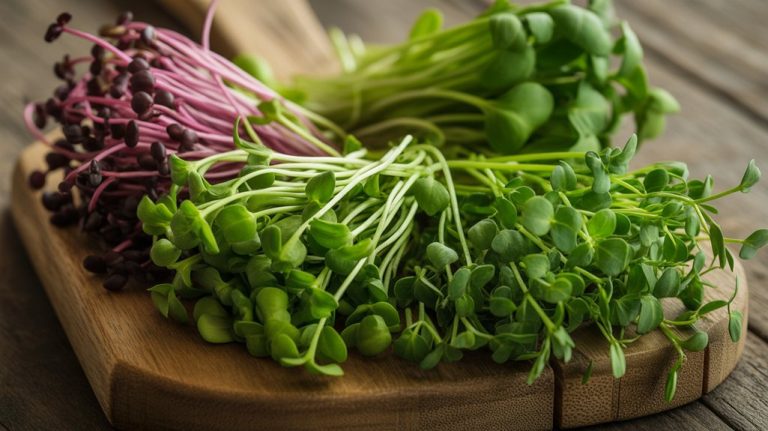
| Genovese | Bright green | Classic sweet basil | Pizza, pasta, caprese, pesto |
| Dark Opal (purple) | Deep purple | Sweet, slightly spicy | Garnish where color counts |
| Thai | Green with purple stems | Anise and licorice notes | Curries, noodle bowls, pho |
| Lemon | Medium green | Basil with a citrus lift | Fish, salads, dressings |
If you only grow one, start with Genovese. It is the most forgiving and the flavor everyone recognises.
Grow Dark Opal next. It is a little slower, but a sprinkle of purple on a plate does a lot of work, and the nutrition data below gives it an edge on vitamin C.
A budget tip: Vertical Veg points out that Asian grocery stores often sell basil seed as “tukmaria,” usually much cheaper than seed packets, and that 100 g can plant many trays. The flavor may not match a named variety like Genovese, so try a small tray first.
How to grow basil microgreens, step by step
- Prepare the tray. Fill a shallow tray with 1 to 1.5 inches of moist coco coir or fine potting mix. Press it flat. Basil also grows on a hemp or jute mat if you prefer a soil-free setup.
- Sow dry seed. Sprinkle the seed evenly across the surface. Basil is sown thin compared to most microgreens, so even spacing matters more than volume. A salt shaker with larger holes helps.
- Mist, do not pour. Mist the seed until it is damp. Within minutes you will see the gel forming. That is normal.
- Cover and keep warm. Place a humidity dome or an upside-down tray over the top. Do not stack weight on basil, because the gel smears. Keep the tray warm, ideally 75 to 85°F, for 5 to 7 days.
- Move to light. Once most seeds have sprouted and the seedlings are lifting their seed coats, remove the cover and give them light. A bright south-facing window works in summer. In fall and winter a simple LED grow light keeps them from stretching.
- Bottom water from here. Pour water into a second tray underneath and let the roots drink for 10 to 15 minutes, then drain. This keeps the tiny leaves dry and cuts down on mold.
- Harvest at the first true leaves. Basil tastes best once the first pair of true leaves shows above the seed leaves, usually between day 14 and day 24. Cut just above the soil line.
Are basil microgreens healthy? What the numbers show
The best data comes from the 2012 USDA and University of Maryland study that tested 25 microgreens, including green basil and opal basil (Xiao et al., Journal of Agricultural and Food Chemistry).
Here is how those results compare with USDA figures for mature fresh basil (USDA data via Nutrition and You).
| Nutrient (per 100 g) | Green basil microgreens | Opal basil microgreens | Mature fresh basil |
|---|---|---|---|
| Vitamin C | 71.0 mg | 90.8 mg | 18 mg |
| Vitamin E (alpha-tocopherol) | 19.9 mg | 24.0 mg | 0.8 mg |
| Beta-carotene | 8.4 mg | 6.1 mg | 3.1 mg |
| Vitamin K | 320 µg | 200 µg | 414.8 µg |
What this tells a home grower:
- Vitamin C is roughly 4 to 5 times higher in basil microgreens than in mature basil leaves. Opal basil came out on top.
- Vitamin E is where the gap is largest. The microgreen figures are about 25 to 30 times the USDA value for mature basil. The two numbers come from different labs and methods, so read that as a clear direction rather than an exact multiple.
- Beta-carotene is roughly double to almost triple in the microgreens.
- Mature basil wins on vitamin K. Not every nutrient goes up at the microgreen stage, and it is worth knowing which ones do not.
One honest caveat: nobody eats 100 g of basil in a sitting. Basil microgreens are a flavor ingredient first. Their real value is that a small handful carries more of certain vitamins than the same amount of full-grown leaves.
For the bigger picture across other crops, see our breakdown of microgreens vs. spinach and kale.
How to store basil microgreens (skip the coldest part of the fridge)
This is the mistake almost nobody warns you about.
Basil is sensitive to cold. Rutgers Cooperative Extension puts the ideal storage temperature for basil at 55°F and warns that it becomes susceptible to chilling injury below about 50°F. The signs are blackened leaves, discolored stems, and lost aroma.
Most home fridges run far colder than that. So:
- Harvest right before you eat. This is the best option by far. A living tray on the counter is your storage.
- If you must store it, wrap the cut greens loosely in a dry paper towel, put them in a container, and keep them in the warmest part of the fridge, usually the door or the top shelf.
- Use stored micro basil within a day or two. Do not expect the week-long shelf life you get from pea shoots.
Microgreen Manager notes the same issue from the farm side. They store basil in the low 50s°F rather than at normal cooler temperatures because of its very short shelf life.
Common basil microgreen problems and fixes
| Problem | Likely cause | Fix |
|---|---|---|
| Seeds clumped into a sticky mass | Seed was soaked or overwatered at sowing | Sow dry and mist lightly |
| Patchy or slow germination | Room too cool | Use a heat mat or move to a warmer spot |
| White fuzz at the base | Could be mold or healthy root hairs | Mist it. Root hairs collapse under water, mold stays |
| Long, pale, floppy stems | Not enough light | Add a grow light or move closer to a window |
| Leaves blackening after harvest | Chilling injury in the fridge | Store warmer or harvest to order |
| Yellowing before harvest | Tray running low on nutrients over the long grow | Use a richer mix, such as coir with some worm castings |
For more general fixes, our guide to why your microgreens aren’t growing covers the problems that affect every crop.
Basil microgreens FAQ
Do basil microgreens grow back after cutting?
Sometimes. Sproutpeople says basil can give additional cuttings if it is grown to the true leaf stage and cut above the lowest leaves. Expect the second cut to be smaller. Most home growers get better results by sowing a fresh tray every week or two.
Should you soak basil seeds before planting microgreens?
No. Basil seed forms a gel coating as soon as it gets wet, so soaking creates a sticky clump that will not spread evenly. Sow the seed dry and mist it after sowing.
Why are my basil microgreens so slow?
Basil is naturally one of the slowest common microgreens, taking 14 to 24 days. If yours are slower still, the room is probably too cool. Basil germinates best with a soil temperature of 75 to 85°F.
Can you grow basil microgreens on a windowsill?
Yes, in the warmer months a bright south-facing window works well. In fall and winter, short days and cool glass slow basil down, so a small grow light and a heat mat make a big difference. Our post on whether microgreens need grow lights explains when a light is worth it.
What do basil microgreens taste like?
Like basil, only more concentrated and a little more tender. Genovese tastes like classic sweet basil. Thai adds anise, lemon basil adds citrus, and Dark Opal is sweet with a mild spice.
Start your first tray this week
Basil asks for more patience than most microgreens, but the rules are simple. Sow dry, keep it warm, bottom water, and keep it out of the cold.
Start with a small tray of Genovese. Once that works, add a tray of Dark Opal for color and a tray of Thai for your next curry night.
When your first harvest is ready, try it in our microgreen pesto three ways, or scatter it over a homemade pizza straight from the tray.