
Arugula Microgreens: How to Grow Them and Why Light Matters
Arugula is one of the easiest microgreens you can grow. It sprouts in a day or two, it’s ready in about a week, and it brings that famous peppery, nutty bite to anything you put it on.
But arugula has two quirks most guides skip over. Its seed turns to slime if you soak it. And it’s a plant that loves to store nitrate when it’s short on light.
Get those two things right and you’ll grow trays that taste better than the clamshells at the store. Here’s exactly how.
How do you grow arugula microgreens?
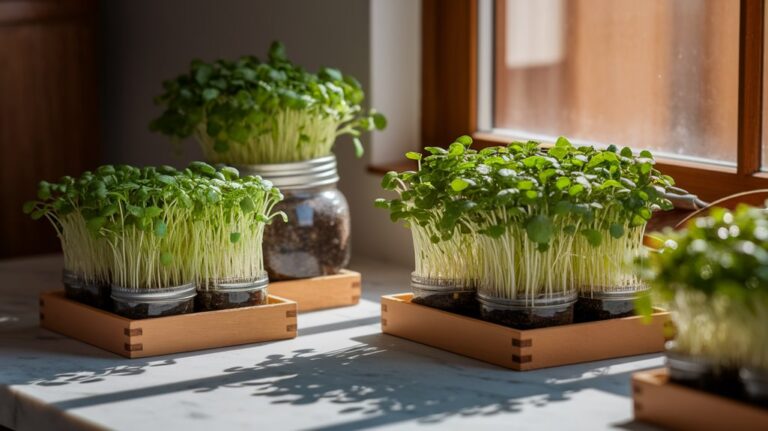
To grow arugula microgreens, scatter dry seed (never soaked, because it turns to gel) over moist coco coir or soil. Cover the tray for two to three days in a dark spot around 70°F, then move it into the strongest light you have. Water from below, keep the leaves dry, and harvest at 1 to 3 inches tall.
That’s the whole method. The rest of this guide covers the details that make the difference between a good tray and a great one.
Arugula microgreens at a glance
| Botanical name | Eruca sativa (also sold as Eruca vesicaria) |
| Plant family | Brassicaceae, the same family as broccoli, radish and mustard |
| Soak the seed? | No. Arugula seed is mucilaginous |
| Germination | About 24 to 48 hours |
| Blackout period | 2 to 3 days |
| Harvest window | Day 5 to 14 |
| Seed for a 10×20 tray | About 4 tablespoons |
| Flavor | Zesty, nutty, peppery, but milder than mature arugula |
| Difficulty | Easy |
Timings and seed rates come from Sproutpeople’s growing instructions. Your own times will shift with temperature and light.
Why arugula microgreens are worth growing
The obvious reason is flavor. A small pinch wakes up eggs, pizza, soup, and sandwiches in a way that milder greens like pea shoots can’t.
The less obvious reason is what’s happening inside those tiny leaves.
Arugula belongs to the brassica family, and like its cousins it’s rich in glucosinolates. These are the sulfur compounds behind the health interest in broccoli sprouts and sulforaphane.
A 2025 study in the journal Foods followed arugula from the microgreen stage all the way to flowering. The researchers found the highest glucosinolate content at the microgreen stage. Glucoraphanin (the same precursor broccoli is famous for) and glucoerucin were among the compounds that marked out the microgreens.
Here’s the interesting twist. The same study found that isothiocyanates, the compounds that give arugula its sharp, peppery kick, rose as the leaves matured.
In plain terms: arugula microgreens carry more of the healthy precursor compounds but less of the bite. That’s why so many people who find big arugula too harsh happily eat the micro version.
USDA researchers have also studied arugula as part of a group of 30 brassica microgreens. They found potassium was the most abundant mineral across all of them, followed by phosphorus, calcium, magnesium and sodium.
What you need
You don’t need special gear. A basic setup looks like this:
- Arugula microgreen seed.
Buy seed sold for sprouting or microgreens, not garden seed that may be treated. - A shallow tray with drainage holes, plus a solid tray underneath for bottom watering. A 10×20 tray is standard, but a takeout container works for a small batch.
- A growing medium.
Coco coir, a fine seed-starting mix, or a hemp or jute mat. Arugula does well on all of them. If you’d rather skip soil entirely, our guide to growing microgreens without soil compares the options. - A cover.
A second tray, a plate, or anything that blocks light and holds in moisture. - A spray bottle for the first couple of days.
- Light.
A bright south-facing window can work, but arugula really rewards a grow light. More on why below.
How to grow arugula microgreens, step by step
1. Moisten the medium first
Fill your tray with about an inch of coco coir or seed mix and water it until it’s evenly damp all the way through, like a wrung-out sponge. Press it flat.
With arugula, wetting the medium before you sow matters more than usual. Since you won’t be soaking the seed, the medium has to supply all the moisture for germination.
2. Sow the seed dry
Arugula is a mucilaginous seed. When it gets wet, it coats itself in a clear gel. Soak a jar of it and you’ll end up with one sticky clump that won’t spread, won’t drain, and invites mold.
So skip the soak and sprinkle the dry seed straight onto the damp surface. Sproutpeople suggests roughly:
- 2 teaspoons for a 5×5 inch tray
- 2 scant tablespoons for a 10×10 inch tray
- 4 tablespoons for a 10×20 inch tray
Aim for an even layer with a little space around each seed. Don’t cover the seed with soil. Mist the surface well once you’re done.
If you’ve grown our basil microgreens, this will feel familiar. Basil, chia, and cress are mucilaginous too.
3. Cover and keep them in the dark
Put a cover on the tray and set it somewhere at normal room temperature. Sproutpeople considers about 70°F ideal.
Mist once or twice a day so the seed never dries out. Arugula is fast: you’ll often see white root tips within 24 to 48 hours.
4. Uncover and move to light
After two to three days, once the seedlings are standing up and pushing against the cover, take it off for good. Move the tray into the brightest spot you have.
This is the stage where light starts doing real work, so don’t settle for a dim corner.
5. Water from below
From here on, pour water into the solid tray underneath and let the medium soak it up for 10 to 15 minutes. Then tip out what’s left.
Bottom watering keeps the leaves and stems dry. That’s the single best habit for preventing damping off and mold in dense brassica trays.
6. Harvest
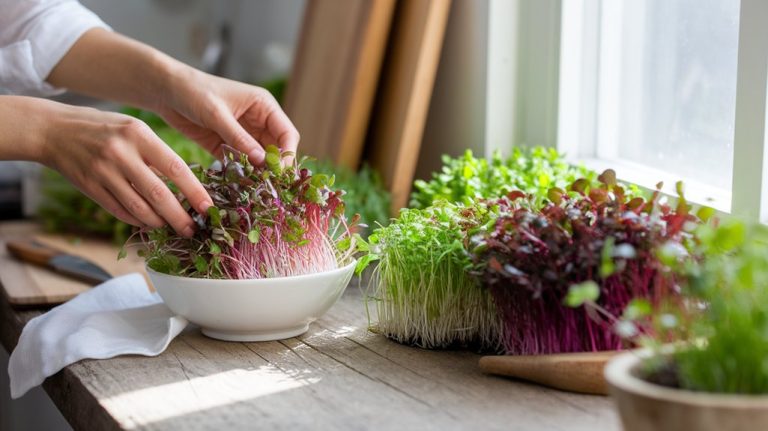
Arugula microgreens are ready once the first leaves (cotyledons) are fully open and green, usually when the plants are 1 to 3 inches tall. Depending on warmth and light, that’s anywhere from day 5 to day 14.
For the best shelf life, stop wetting the surface for the final 8 to 12 hours before you cut. Snip just above the medium with clean scissors and store the greens dry. Our guide on how to harvest and store microgreens covers storage in detail.
Want to taste the difference between stages? Cut a pinch on day 6, another on day 9, and another on day 12. You’ll notice the peppery bite building as the plants grow.
The light trick: why arugula wants your sunniest spot
This is the part almost no growing guide mentions, and it’s the main reason arugula deserves more light than most microgreens.
Arugula, also called rocket, is what plant scientists call a nitrate hyperaccumulator. It pulls nitrate from its growing medium and stores it in its leaves, more readily than most salad greens.
Nitrate itself isn’t a poison, and all leafy greens naturally contain some. But rocket stores so much that the EU gives it a higher legal ceiling than lettuce or spinach. EU rules cap nitrate in rocket at 6,000 mg/kg for summer harvests and 7,000 mg/kg for winter harvests, compared with 3,500 mg/kg for fresh spinach.
Light is the lever you control at home. The enzyme plants use to break down nitrate is activated by light, so low light leads to higher nitrate. A 2020 rocket study in Frontiers in Plant Science named nitrogen supply and light intensity as the two most important factors.
The research on microgreens specifically backs this up:
- More light hours lowered nitrate. In a 2023 study, arugula microgreens grown under continuous LED light had 40% less nitrate than those grown on a 16-hour day, the biggest drop of the four brassicas tested. Even just three days of round-the-clock LED light before harvest lowered nitrate in every species in the trial.
- Plain water before harvest helped too. A controlled study on lettuce, mustard and rocket microgreens found that withholding nutrients before harvest reduced nitrate, and the decline was steepest in rocket.
What that means for your tray
You don’t need a lab setup. Three simple habits cover it:
- Give arugula your best light.
A grow light a few inches above the tray beats a windowsill, especially in fall and winter. If you’re unsure whether you need one, see do microgreens need grow lights? - Skip the fertilizer.
The seed carries enough energy to reach the microgreen stage. Feeding arugula nitrogen-rich fertilizer is the fastest way to push nitrate up. - Consider longer light hours near the end.
If you use an LED, leaving it on longer for the last two or three days before harvest is an easy experiment based on the study above.
As a bonus, strong light also gives you shorter, sturdier, greener stems instead of pale, floppy ones.
Is that white fuzz on my arugula mold?
Probably not. Around day 3, brassicas like arugula grow tiny, fuzzy root hairs along their roots. They’re most visible just before watering, when the plants are at their driest.
Here’s how to tell them apart:
- Root hairs cling only to the roots, look even and fluffy, and disappear when you mist them.
- Mold spreads across the medium and up the stems, looks like cobweb or patches, often smells musty, and doesn’t vanish when wet.
If it disappears with a spritz, relax. If it doesn’t, check our microgreens troubleshooting guide.
Troubleshooting arugula microgreens
| Problem | Likely cause | Fix |
|---|---|---|
| Seeds clumped into a gel | Seed was soaked or sown too wet | Sow dry on a damp (not flooded) surface |
| Patchy germination | Seed dried out during blackout | Keep covered and mist daily until rooted |
| Tall, pale, floppy stems | Not enough light | Move closer to a grow light or brighter window |
| Stems collapsing at the base | Damping off from wet leaves and poor airflow | Bottom water, sow a little thinner, add a small fan |
| Very sharp, bitter flavor | Harvested late | Cut earlier, at the cotyledon stage |
| Greens go slimy in the fridge | Stored wet | Stop surface watering 8 to 12 hours before harvest |
Arugula microgreens vs. mature arugula
| Arugula microgreens | Mature arugula | |
|---|---|---|
| Time to harvest | About 1 to 2 weeks | Several weeks in the garden |
| Space needed | A windowsill or shelf | A garden bed or large container |
| Flavor | Nutty and gently peppery | Sharp and strongly peppery |
| Glucosinolates | Highest at this stage (2025 Foods study) | Lower |
| Pungent isothiocyanates | Lower | Higher |
| Year-round growing | Yes, indoors | Seasonal outdoors |
For reference, mature raw arugula provides 108.6 µg of vitamin K, 15 mg of vitamin C, 160 mg of calcium and 97 µg of folate per 100 g, according to USDA data.
Microgreens often pack more nutrients per gram than their grown-up versions, as we covered in microgreens vs. spinach and kale. But published vitamin figures for arugula microgreens vary a lot between studies, so we’ve kept to the numbers that are well documented.
How to use arugula microgreens
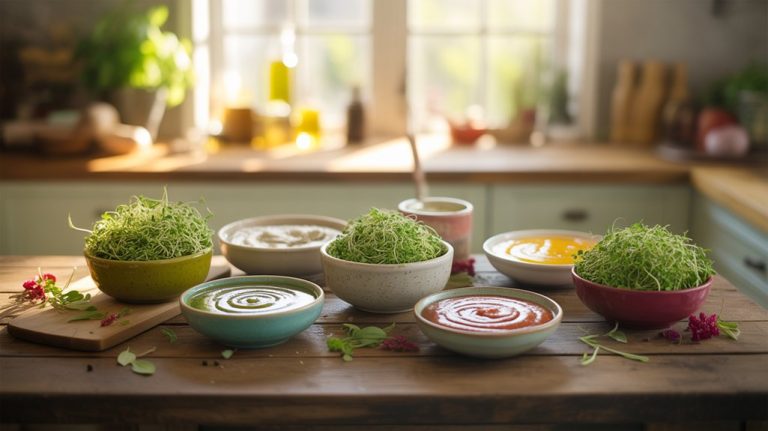
Arugula microgreens are at their best raw and added at the last second. Heat softens the flavor fast.
- Pizza and flatbreads. Pile a handful on straight out of the oven, with a drizzle of olive oil.
- Eggs. Scatter over scrambled eggs, omelets or a fried egg on toast.
- Pasta. Toss through warm pasta with lemon, parmesan and black pepper.
- Pesto. Swap them in for part of the basil, or try them alongside the greens in our microgreen pesto three ways.
- Sandwiches and wraps. They add crunch and pepper without making bread soggy.
- Mixed trays. Arugula’s nutty heat balances sweeter greens. Our guide to mixing microgreens has flavor pairings.
Who should be careful with arugula?
For most people, arugula microgreens are simply a healthy, flavorful food. One group should pay attention, though.
Arugula is a green leafy vegetable, and those are rich in vitamin K. If you take the blood thinner warfarin, the usual guidance is not to avoid greens but to keep your vitamin K intake consistent from day to day and week to week. Suddenly adding big daily handfuls of arugula microgreens could change how your medication works.
If that’s you, talk to your doctor or pharmacist before making arugula a daily habit. This article is general information, not medical advice.
Frequently asked questions
Are arugula microgreens healthy?
Yes. Arugula microgreens are a brassica, and research shows they hold their highest levels of glucosinolates, the compounds behind much of the health interest in this plant family, at the microgreen stage. They also supply minerals like potassium and calcium. Growing them in strong light helps keep their naturally high nitrate in check.
What’s the difference between arugula and arugula microgreens?
They’re the same plant harvested at different ages. Arugula microgreens are cut at 1 to 3 inches tall, usually within two weeks of sowing, while baby and mature arugula grow on for weeks longer. The microgreens are milder and nuttier, while mature leaves are sharper and more peppery.
Should I soak arugula seeds before planting?
No. Arugula seed is mucilaginous, which means it forms a sticky gel when wet. Soaked seed clumps together and is hard to spread evenly. Sow it dry on a well-moistened medium and mist the surface instead.
Do arugula microgreens taste like arugula?
Yes, but gentler. They have the same nutty, peppery character with less of the bite, because the compounds responsible for arugula’s sharpness build up as the leaves mature. If you want more kick, let them grow a few days longer.
Can you regrow arugula microgreens after cutting?
Not usefully. Once you cut below the first leaves, most microgreens don’t come back with a worthwhile second crop. Compost the spent medium and roots, and start a fresh tray every week or so for a steady supply.
The bottom line
Arugula is a fast, forgiving microgreen with a flavor that punches well above its size. Remember the two rules that set it apart: sow the seed dry, and give it more light than you think it needs.
Do that, skip the fertilizer, and harvest early for a tender, nutty crop. Then, once you’ve nailed your first tray, try it next to radish microgreens or mustard microgreens to build your own spicy salad mix.