Kale Microgreens: How to Grow Them and Which Variety to Choose
What are kale microgreens?
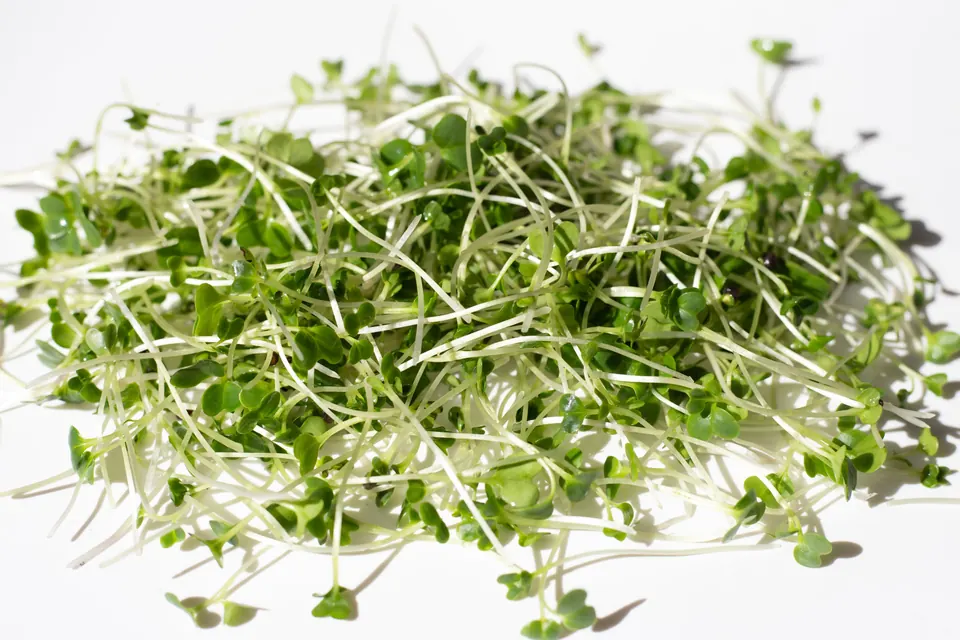
Kale microgreens are the young seedlings of kale plants, harvested 7 to 14 days after planting when the first pair of leaves is fully developed. They deliver exceptional levels of vitamins K, C, and A in a small daily portion, and they taste significantly milder and sweeter than mature kale. The variety you choose matters more with kale than with almost any other microgreen.
Most people who say they do not like kale have never tried the microgreen version.
Mature kale has a reputation for bitterness and toughness that puts many people off. But kale microgreens, especially the Red Russian variety, are a genuinely different eating experience: mild, slightly sweet, with tender leaves and colourful stems that look as good as they taste.
This post covers how to grow them, which variety to choose, and what the nutrition research actually shows. It is a longer timeline than fast-turnover varieties like radish, but the results and the nutritional payoff make kale one of the most worthwhile additions to a home growing setup.
The variety question: why it matters more with kale
Most microgreen guides treat all kale seeds as interchangeable. They are not. The variety you plant produces a noticeably different result in flavour, appearance, and growing behaviour.
Red Russian Kale is the variety worth starting with if you are new to kale microgreens, or if you have tried mature kale and found it too bitter.
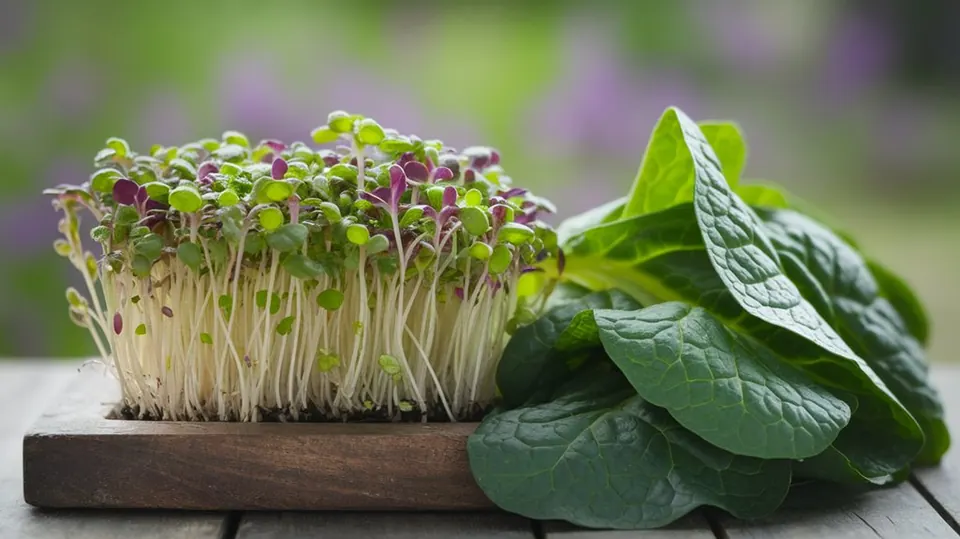
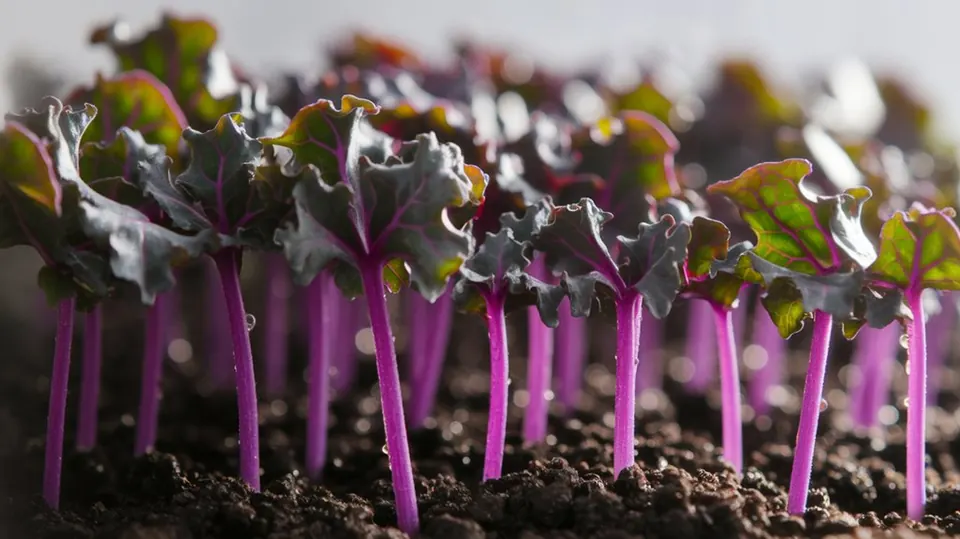
Red Russian Kale microgreens have pink to violet stems and light green, slightly frilly seed leaves. The flavour is mild and gently sweet, with none of the sharpness associated with mature kale. They are easy to eat in large quantities raw, which matters when you are trying to get the nutritional benefit into your daily meals rather than eating a token garnish.
Dwarf Blue Curled Kale (also called Scotch Kale) is the more common variety in seed packets. It produces white stems and tightly curled green leaves with a stronger, more distinctly kale-like flavour. It is not unpleasant, but it has more edge than Red Russian. It suits people who already enjoy mature kale or who want a bolder flavour for cooking.
Dwarf Siberian Kale falls between the two: milder than Dwarf Blue Curled but slightly more robust than Red Russian.
If you are growing for flavour and daily raw eating, Red Russian is the clear choice. If you are growing to add to cooked dishes or want a more intense green flavour, Dwarf Blue Curled works well. Both produce the same impressive nutritional profile.
The nutrition case for kale microgreens
The headline numbers for kale microgreens are among the strongest of any variety.
Per 100g of fresh kale microgreens:
- Vitamin K: approximately 325% of the recommended daily intake
- Vitamin C: approximately 103% of the recommended daily intake
- Vitamin A: approximately 102% of the recommended daily intake
These three vitamins in one food, at well above daily requirements, make kale microgreens a genuine nutritional standout. Vitamin K supports blood clotting and bone health. Vitamin C is essential for tissue repair, immune function, and iron absorption. Vitamin A (from beta-carotene) supports vision, immune response, and cell growth.
Kale microgreens also contain above-average levels of vitamins B2, B6, iron, calcium, magnesium, potassium, and manganese, plus a range of phytonutrients: polyphenols, glucosinolates, flavanol compounds, and carotenoid antioxidants. Glucosinolates are the same class of compounds that include sulforaphane in broccoli, and kale is one of the richest dietary sources of them.
A research note on growing conditions
A 2022 study published via ACS Food Science and Technology found something directly useful for home growers: kale microgreens grown on a windowsill and kale microgreens grown under artificial light both contain high levels of phytonutrients, but the specific compounds differ between the two environments.
Windowsill-grown kale had higher levels of three flavanol types that contribute to colour and taste.
Grow-light-raised kale had higher levels of glucosinolates, the antioxidant compounds that have drawn research interest for their potential anticancer properties.
The practical takeaway: growing kale microgreens in either environment is worthwhile. If you have grow lights, use them. If you only have a bright windowsill, that is still a good growing environment, just with a slightly different phytonutrient emphasis. Some is better than none.
What you need to grow kale microgreens
The equipment list is the same as for other small-seeded microgreens.
- Seeds: Kale seeds sold for microgreen growing or sprouting. Red Russian Kale, Dwarf Blue Curled Kale, or Dwarf Siberian Kale all work well. Do not use garden seeds treated with fungicide coatings.
- Tray: A standard shallow growing tray with drainage holes, placed inside a solid base tray for bottom watering.
- Growing medium: Potting soil, seed-starting mix, or coco coir. Kale grows well in all three. Aim for 2 to 3 cm depth.
- Humidity dome or cover: For the blackout phase during germination.
- Spray bottle: For misting during the germination phase.
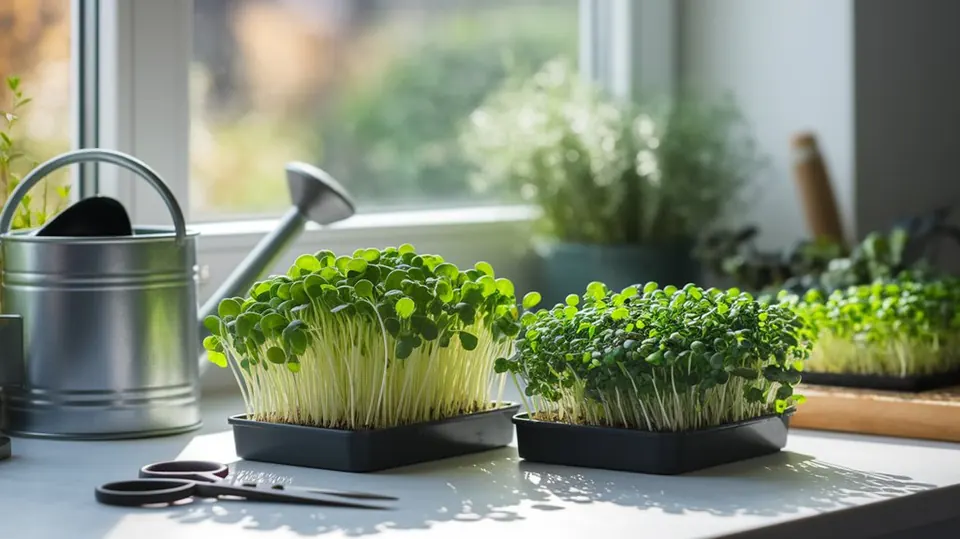
- Light: A bright windowsill or a grow light. A grow light positioned 10 to 15 cm above the tray gives better, more consistent results and produces more glucosinolates.
One thing you do not need: pre-soaking. Unlike peas or sunflowers, kale seeds germinate readily without an overnight soak. You can plant them dry.
Step-by-step: how to grow kale microgreens
Day 0 — Plant
Fill your growing tray with moist growing medium to about 2 to 3 cm depth. Level it gently.
Scatter kale seeds evenly across the surface. Aim for dense, even coverage with seeds touching but not piling on top of each other. Because kale seeds are small, this is less by eye than with large seeds like peas. A rough guide: about 15 to 25g of seeds for a standard 10×20 tray.
Mist the seeds lightly, then press them gently into the growing medium with a flat board or the back of a tray. This ensures seed-to-medium contact, which matters for even germination.
Cover with a humidity dome or an inverted second tray. Place in a warm spot at around 18 to 24C, out of direct light.
Days 1 to 3 — Germination under cover
Kale seeds germinate quickly. Most will crack open and show tiny white roots within 24 to 48 hours.
Check daily for moisture. Mist lightly if the surface looks dry. The cover traps humidity, so you may need very little additional water during this phase.
Do not rush to remove the cover. Keeping the dome on through day 3 or until the seedlings are clearly pressing upward produces stronger, straighter stems.
Day 3 or 4 — Move to light
Remove the cover once shoots are pressing against it and the majority of seeds have germinated. Move the tray into your brightest available light.
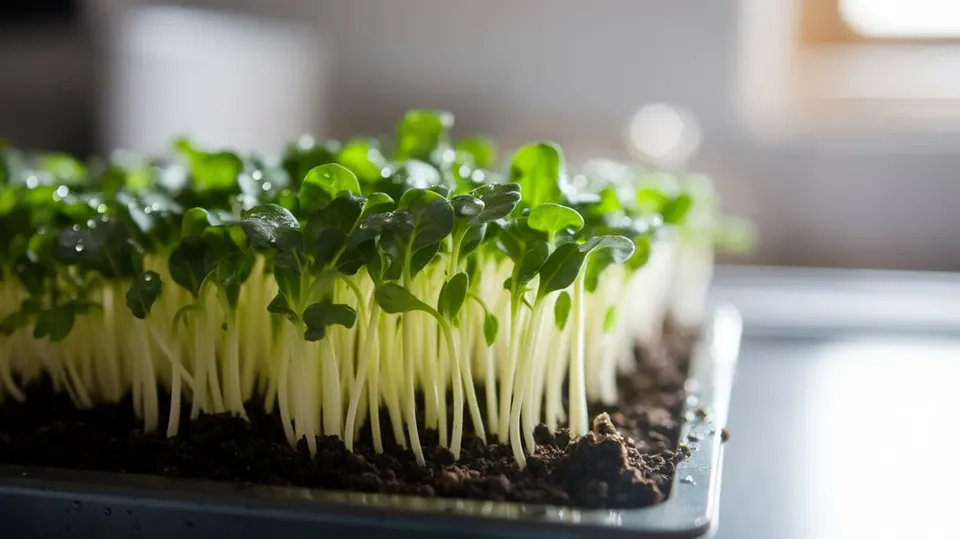
At this point, switch to bottom watering. Pour a small amount of water into the base tray so the growing medium draws moisture from below. Keep the leaf surface dry. This step is more important with kale and other Brassicas (the same plant family as broccoli, cabbage, and radish) than with other microgreens. Wet leaves on Brassicas create the conditions for damping off and mould. Bottom watering from here until harvest keeps the canopy dry and problems away.
Days 4 to 14 — Growth phase
Kale microgreens grow steadily but are not as fast as radish or broccoli. They need the time to develop their full flavour and colour.
Red Russian Kale will show pink to violet colouring in the stems as it approaches harvest. This is the visual signal that flavour and nutrition are fully developed.
Add water to the base tray whenever the growing medium feels dry an inch below the surface. Good airflow around the tray reduces the risk of mould on the medium surface.
Day-by-day reference:
| Day | What you should see |
|---|---|
| Day 0 | Seeds planted, covered |
| Day 1 to 2 | White roots emerging; pale shoots beginning under cover |
| Day 3 | Most seeds germinated; shoots pressing upward; cover removed, move to light |
| Day 4 to 5 | Shoots straightening, pale yellow-green leaves unfurling |
| Day 6 to 8 | Leaves turning darker green; stems colouring (violet on Red Russian) |
| Day 9 to 11 | Cotyledons fully open and vivid green; true leaves just beginning to show |
| Day 10 to 14 | Ready to harvest at cotyledon stage, or a day or two later for slightly more size |
Harvest
Harvest when the cotyledons (the first pair of seed leaves) are fully developed and vivid green. This is the standard harvest point for kale microgreens and the moment when both flavour and nutrition are at their best.
If you want slightly more volume, wait until the first true leaves are just emerging. The flavour becomes marginally stronger at this point, which suits cooking uses well.
Cut just above the growing medium with clean scissors. Rinse gently in cool water and pat dry. Use immediately, or store loosely in an airtight container in the refrigerator for 3 to 5 days.
Troubleshooting
Mould on the growing medium surface:
Almost always caused by overwatering from above or poor airflow. Switch to bottom watering only and move the tray to a spot with better air circulation. Do not mist the leaves after the cover comes off.
Leggy, pale stems:
Not enough light. Move to a brighter spot or lower your grow light to 10 cm above the tray. Pale yellow stems that do not green up after 2 days in good light suggest the light source is insufficient.
Slow or uneven germination:
Kale seeds are small and light. They can shift during watering or misting, leaving bare patches. Make sure seeds are pressed into even contact with the growing medium at planting. Mist gently rather than pouring.
Bitter flavour at harvest:
Usually means the microgreens were left too long and true leaves are well developed. Harvest at the cotyledon stage next time. Alternatively, if using Dwarf Blue Curled seeds, switch to Red Russian for a milder result.
How to eat kale microgreens
Kale microgreens are more versatile than the mature vegetable in terms of raw eating, because the bitterness that puts people off fully grown kale is largely absent at the microgreen stage.
Raw, where nutrition is highest:
- Stirred into salads alongside other greens for colour, texture, and a gentle green note
- Layered in sandwiches and wraps in place of lettuce or rocket
- Scattered over scrambled eggs or an omelette just before serving
- Added to grain bowls alongside quinoa, farro, or roasted vegetables
- Blended into smoothies, where their mild flavour disappears easily
- As a base for the peppery microgreen pesto variation (broccoli or kale microgreens make an excellent bold pesto)
Briefly cooked:
- Wilted into pasta or risotto at the very end of cooking, off the heat
- Stirred into soups and broths at the table rather than cooked through
- Added to stir-fries in the last 30 to 60 seconds
A note on vitamin K: kale microgreens are exceptionally high in vitamin K, which plays a role in blood clotting. If you are taking warfarin or other anticoagulant medication, vitamin K intake requires monitoring. Speak with your doctor before adding large amounts of kale microgreens to your daily diet. For everyone else, the vitamin K content is straightforwardly beneficial for bone health and wound healing.
Where kale fits in your home growing rotation
Kale microgreens take 10 to 14 days from planting to harvest, which places them in the same timeline as pea shoots. They fill a specific role in a balanced rotation: they are the broadest nutritional contributor, covering vitamin K, C, and A in a single tray, while other varieties specialise more narrowly.
A balanced rotation that works well:
- Radish or broccoli microgreens: 7 to 10 days, high glucosinolates, fast turnover
- Kale microgreens (Red Russian): 10 to 14 days, vitamin K standout, mild flavour for raw daily eating
- Pea shoots: 10 to 14 days, high vitamin C and protein, sweet and versatile
Stagger your planting by a few days and you will have something ready to harvest most weeks without a gap.
Start your first kale tray this week
The growing method is simpler than pea shoots (no soaking required) and the results are more impressive than the reputation of mature kale would suggest.
If you have grown radish or broccoli microgreens and want something slower-growing with outstanding nutritional breadth, kale is the natural next step. Red Russian Kale specifically is one of the most visually striking and mild-flavoured microgreens you can grow, and it converts more kale sceptics than any other variety.
New to microgreens? The step-by-step guide to growing microgreens at home covers all the fundamentals before your first tray.
Want to compare nutritional content across varieties? See microgreens vs. spinach and kale for how microgreens stack up against their mature counterparts.
Looking at growing without soil? The soilless microgreens guide covers coco coir and jute mat options. Kale microgreens grow well on coco coir mats.
Want to use your harvest in a recipe right away? The microgreen pesto guide includes a broccoli and kale version that works directly with what you have just grown.