How to Sprout Watercress
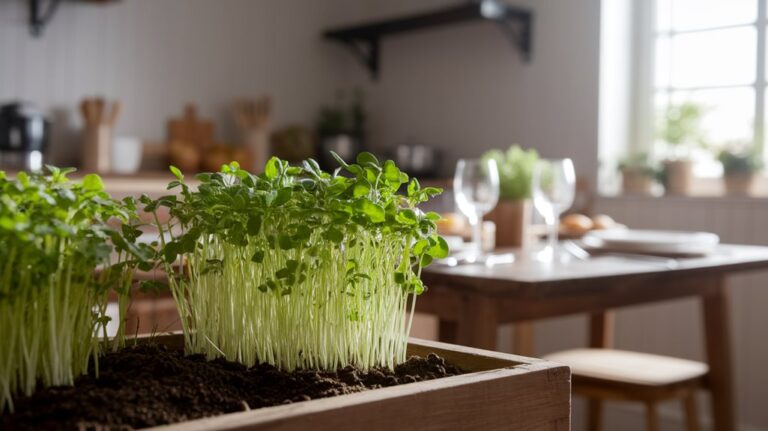
To sprout watercress, I start by using certified organic seeds and a shallow tray filled with nutrient-rich, well-draining soil. I scatter the seeds across the surface and lightly press them in, keeping the soil consistently moist. Cover the tray with a clear lid to maintain humidity and place it in a bright area with indirect sunlight. I check regularly for pests and make sure to thin out any crowded seedlings. You’ll find even more tips for growing and using this nutritious delight!
Key Takeaways
- Select certified organic watercress seeds or healthy cuttings for successful sprouting.
- Fill a shallow tray with nutrient-rich, loamy soil that retains moisture.
- Scatter seeds or place cuttings in the soil, ensuring they are spaced appropriately.
- Keep the soil consistently moist and cover with a plastic lid to maintain humidity.
- Place the tray in bright, indirect sunlight for optimal growth conditions.
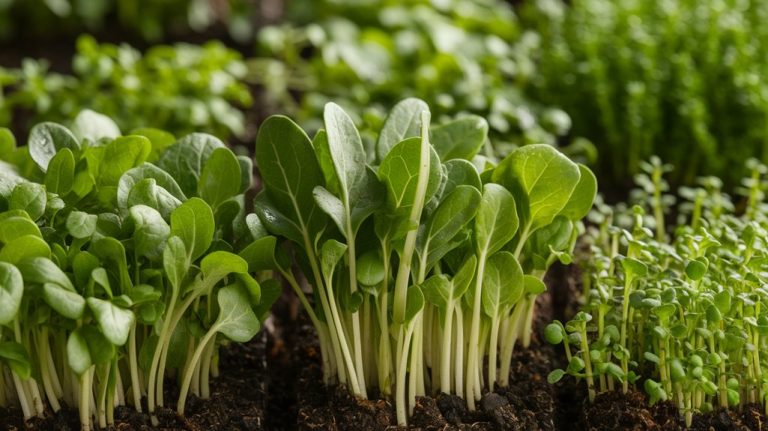
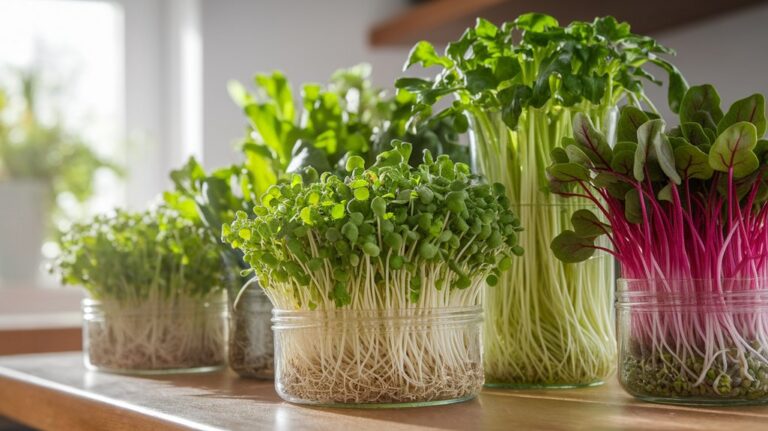
Understanding Watercress and Its Benefits
When I first discovered watercress, I was amazed by its unique peppery flavor and impressive nutritional profile. This leafy green is packed with vitamins A, C, and K, making it a powerhouse for boosting immunity and promoting healthy skin.
I found it fascinating that watercress is also rich in antioxidants, which help combat oxidative stress in our bodies. Incorporating watercress into my meals has been a game changer; it adds a zesty kick to salads and sandwiches.
Plus, it’s incredibly easy to grow at home, requiring minimal space and effort. I love knowing that I can enjoy fresh, nutrient-dense greens right from my kitchen.
If you’re looking for a nutritious addition to your diet, watercress is definitely worth exploring!
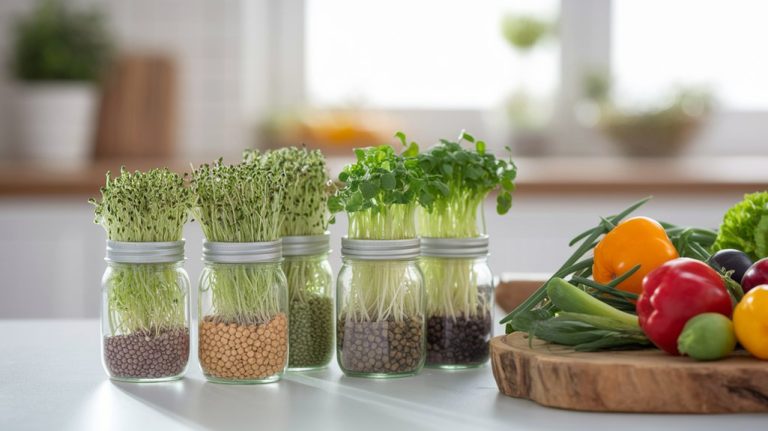
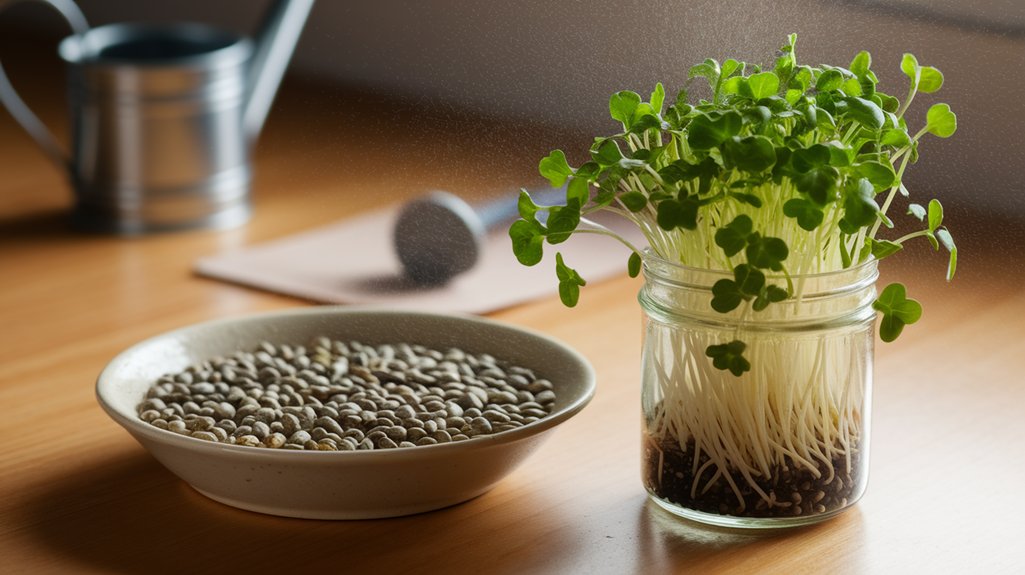
Choosing the Right Seeds or Cuttings
To get started with sprouting watercress, selecting the right seeds or cuttings is key.
I recommend looking for certified organic watercress seeds to ensure you’re getting a healthy and viable product. If you prefer cuttings, choose fresh, vibrant stems from a reputable source.
Look for cuttings that are at least a few inches long and have healthy leaves, as these will root more easily. Avoid any that show signs of wilting or discoloration.
You can also consider heirloom varieties for a unique flavor profile. Whichever option you choose, make sure they’re free from pests and disease.
This careful selection sets a solid foundation for successful sprouting, ensuring you get the most out of your watercress.
Preparing the Growing Environment
To successfully sprout watercress, I focus on creating the right growing environment.
This means ensuring optimal light conditions, choosing a suitable soil type, and using high-quality water.
Each of these factors plays a crucial role in promoting healthy growth and vibrant flavor.
Optimal Light Conditions
Although watercress can thrive in various conditions, providing optimal light is crucial for its healthy growth. I’ve found that placing my watercress in bright, indirect sunlight works best. Too much direct sunlight can scorch the leaves, while too little can stunt growth.
Here’s a simple way to visualize the light requirements:
| Light Type | Description | Effect on Growth |
|---|---|---|
| Bright Indirect | Filtered sunlight through curtains | Promotes healthy, vibrant growth |
| Direct Sunlight | Harsh, unfiltered sunlight | Can cause leaf burn |
| Low Light | Shade or dim areas | Slows down growth significantly |
Suitable Soil Type
After ensuring your watercress gets the right amount of light, the next step is choosing the right soil type to support its growth.
I’ve found that a loamy, well-draining soil works best. This type retains moisture without becoming waterlogged, which is crucial for watercress. You can mix equal parts of garden soil, peat moss, and perlite to create the ideal texture.
Make sure the soil is rich in organic matter, as this promotes healthy root development.
I also recommend checking the pH level; watercress thrives in slightly acidic to neutral soil, ideally between 6.0 and 7.0.
Once you’ve prepared the soil, it’s time to plant your seeds and watch them flourish!
Water Quality Importance
Water quality plays a crucial role in successfully sprouting watercress. I’ve learned that using clean, fresh water can make a noticeable difference in the growth and flavor of my watercress.
Here are some key points to consider:
- Use filtered or distilled water to avoid contaminants.
- Check the pH level; a pH of 6.0 to 7.0 is ideal for watercress.
- Change the water regularly to prevent stagnation and algae growth.
- Keep the water temperature moderate; aim for around 65°F to 75°F.
- Avoid chlorinated water, as it can hinder sprouting and growth.
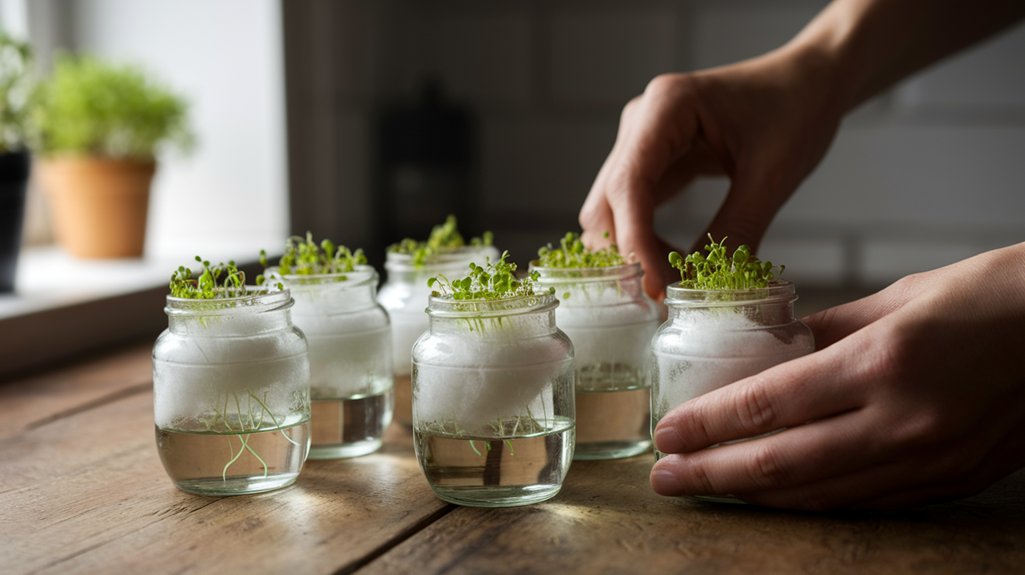
Planting Watercress Seeds

When I decided to grow watercress, I found that planting the seeds is a straightforward process that sets the stage for a successful harvest.
First, I filled a shallow tray with nutrient-rich soil, ensuring it’s evenly moist but not soggy. I scattered the tiny seeds across the surface, making sure they’re spaced out to allow for growth.
Then, I lightly pressed them into the soil, which helps with germination. I covered the tray with a clear plastic lid to retain humidity, placing it in a well-lit area but out of direct sunlight.
After about a week, I saw my seeds sprouting. Keeping the soil moist is crucial during this initial growth phase, so I checked it daily.
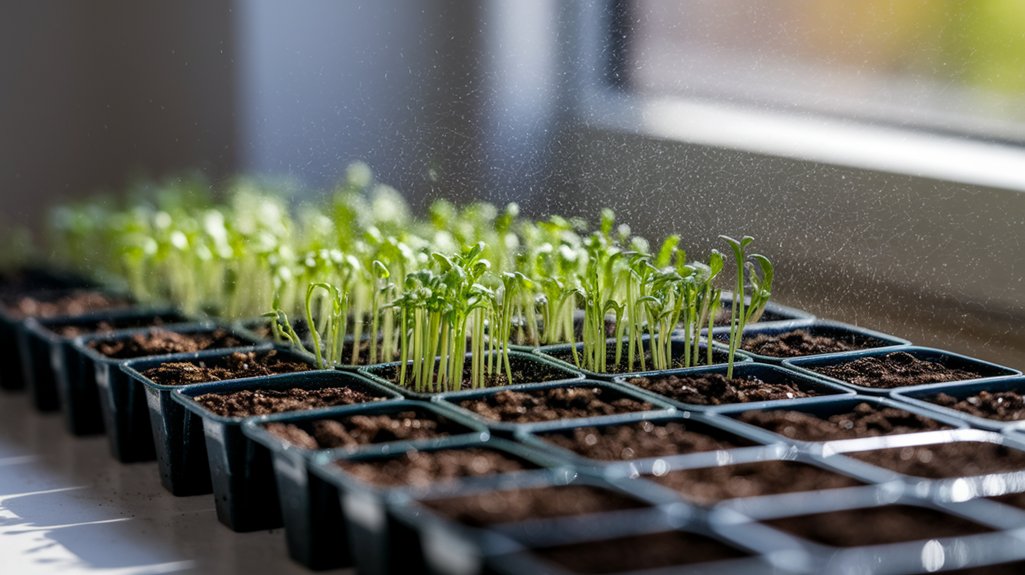
Caring for Your Watercress
Now that my watercress seeds have sprouted, it’s important to focus on caring for them to ensure healthy growth.
Here’s what I do to keep my watercress thriving:
- Keep the soil moist: I regularly check and water to maintain consistent moisture without over-saturating.
- Provide indirect sunlight: I place my watercress where it can get bright, indirect light for about 6 hours a day.
- Watch for pests: I inspect my plants often, looking for any signs of aphids or other pests, and take action immediately if I spot any.
- Thin out seedlings: I gently remove excess seedlings to give the remaining ones space to grow properly.
- Fertilize lightly: I use a diluted liquid fertilizer every few weeks to promote healthy growth.
These steps really help my watercress flourish!
Harvesting Watercress
As soon as my watercress reaches about 6 inches in height, I know it’s time to start harvesting. I grab a pair of clean scissors to avoid damaging the plants. I cut the stems just above the root, ensuring I leave enough of the plant so it can continue to grow.
I usually take no more than one-third of the crop at a time, which helps maintain a steady supply. It’s best to harvest in the morning when the leaves are crisp and full of moisture.
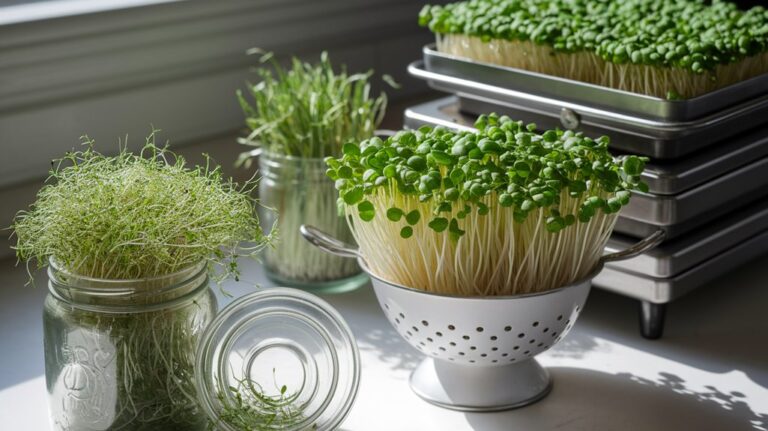
After cutting, I rinse the watercress gently under cool water to remove any dirt or debris. Finally, I dry it with a paper towel, ready to enjoy my fresh, nutrient-packed greens!
Delicious Ways to Use Fresh Watercress
I love adding fresh watercress to my salads for an extra peppery kick and a boost of nutrition.
It’s also a fantastic ingredient for soups, enhancing flavor and providing a delightful texture.
Let’s explore some easy ways to incorporate this vibrant green into your meals.
Salad Enhancements With Watercress
While incorporating fresh watercress into your salads can elevate their flavor and nutritional value, it also adds a delightful peppery crunch that pairs beautifully with various ingredients.
I’ve found several fantastic ways to enhance my salads with this vibrant green. Here are some ideas you might enjoy:
- Combine with citrus: The freshness of oranges or grapefruits complements the pepperiness.
- Add nuts: Toasted almonds or walnuts bring a lovely crunch alongside watercress.
- Mix with fruits: Sliced strawberries or apples add sweetness and contrast.
- Incorporate cheese: Feta or goat cheese creates a creamy balance.
- Dress it up: A light vinaigrette or lemon juice brightens the entire dish.
Try these combinations, and you’ll discover how versatile and delicious watercress can be in your salads!
Flavorful Soup Additions
When you want to elevate your soups, adding fresh watercress can transform the dish into something truly special.
I love tossing in a handful of watercress just before serving, as it adds a peppery bite and vibrant green color. It pairs wonderfully with creamy potato or mushroom soups, enhancing their richness.
For a lighter touch, I often blend watercress into vegetable broths, creating a refreshing finish.
Don’t forget about using it in pureed soups; the bright flavor cuts through the heaviness. If you’re making a chicken or seafood soup, watercress complements those proteins beautifully.
Just remember to add it at the end of cooking to preserve its delicate texture and nutrients. Your soups will never be the same again!
Frequently Asked Questions
Conclusion
Now that you know how to sprout watercress from seeds or cuttings, you can easily enjoy this nutritious green at home. With just a bit of care and the right environment, you’ll have a fresh supply of watercress to enhance your meals. Whether you toss it in salads, blend it into smoothies, or use it as a garnish, the possibilities are endless. So go ahead, give it a try, and savor the delicious flavors of your homegrown watercress!