Small Space Gardening: Microgreens for Apartment Dwellers
Microgreens are perfect for small space gardening, especially in apartments like mine. These tiny, nutrient-packed seedlings of vegetables and herbs grow quickly and need minimal care—just proper light, water, and soil. I’ve found that varieties like arugula thrive in low light, while sunflowers love full sun. With simple supplies, I can start my own indoor garden easily. If you’re curious about how to grow and use your microgreens effectively, there’s much more to explore.
Key Takeaways
- Microgreens are nutrient-dense seedlings, perfect for small spaces, and can be grown indoors in apartments.
- They require minimal care, needing only water, light, and suitable soil to thrive.
- Choose microgreens like arugula or radish based on your apartment’s light conditions for successful growth.
- Use shallow trays or recycled containers with drainage holes to cultivate microgreens effectively.
- Harvest microgreens 7-14 days after planting to enjoy fresh, flavorful additions to your meals.
What Are Microgreens and Why Grow Them?
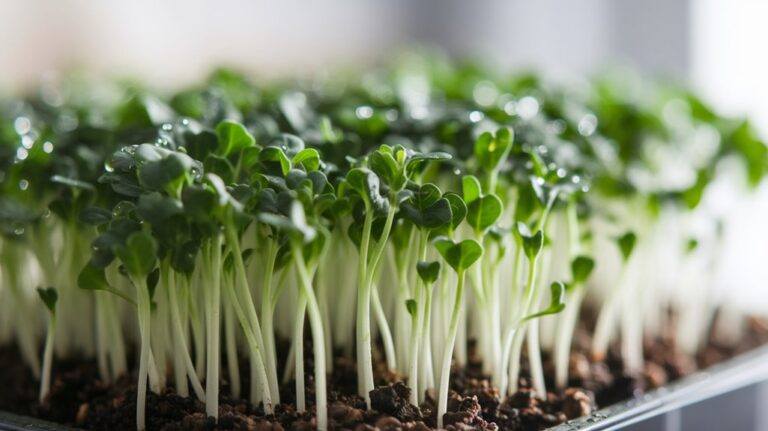
Microgreens are tiny, nutrient-packed seedlings of edible vegetables and herbs, typically harvested just after the first true leaves develop.
I’ve found they’re perfect for small space gardening, offering a wealth of flavors and nutrients in a compact form. Growing microgreens isn’t only simple but also incredibly rewarding. You can cultivate them in small containers on a windowsill or countertop, making them ideal for apartments.
They thrive with minimal care, requiring just water, light, and a suitable growing medium. Plus, they’re ready to harvest in as little as seven days!
Adding these vibrant greens to my meals has transformed my cooking, enhancing both flavor and nutrition. Trust me, once you try growing microgreens, you’ll wonder how you ever lived without them!
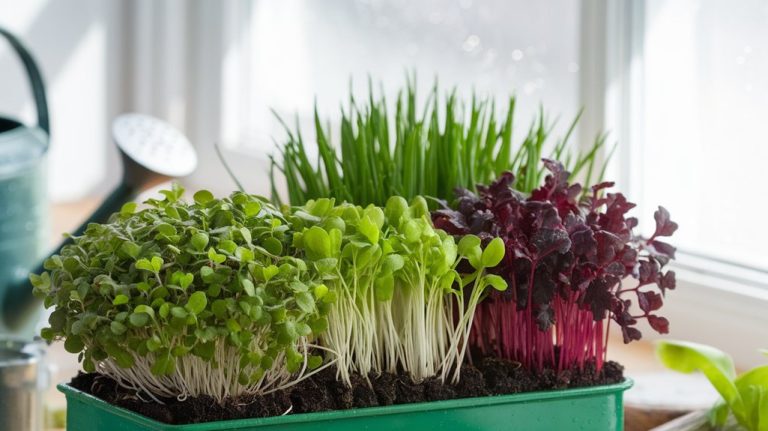
Choosing the Right Microgreens for Your Space
When selecting microgreens for your small space, consider the specific conditions you can provide, such as light levels and temperature. I’ve found that some microgreens thrive in low-light environments, while others need full sunlight. Here’s a quick reference to help you choose:
| Microgreen | Light Requirement |
|---|---|
| Arugula | Moderate to Bright |
| Radish | Moderate |
| Sunflower | Bright |
I recommend starting with arugula if you have limited light. Radish is a great choice for a bit more brightness, while sunflower microgreens need that full sun exposure. By selecting the right microgreens, you can ensure a thriving garden, even in the smallest of spaces.
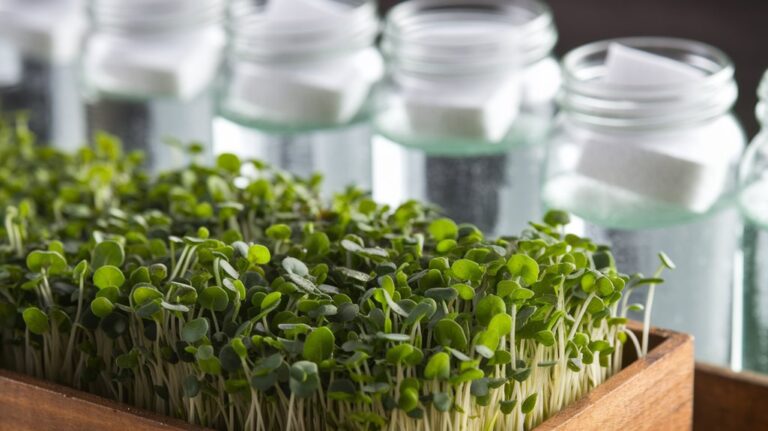
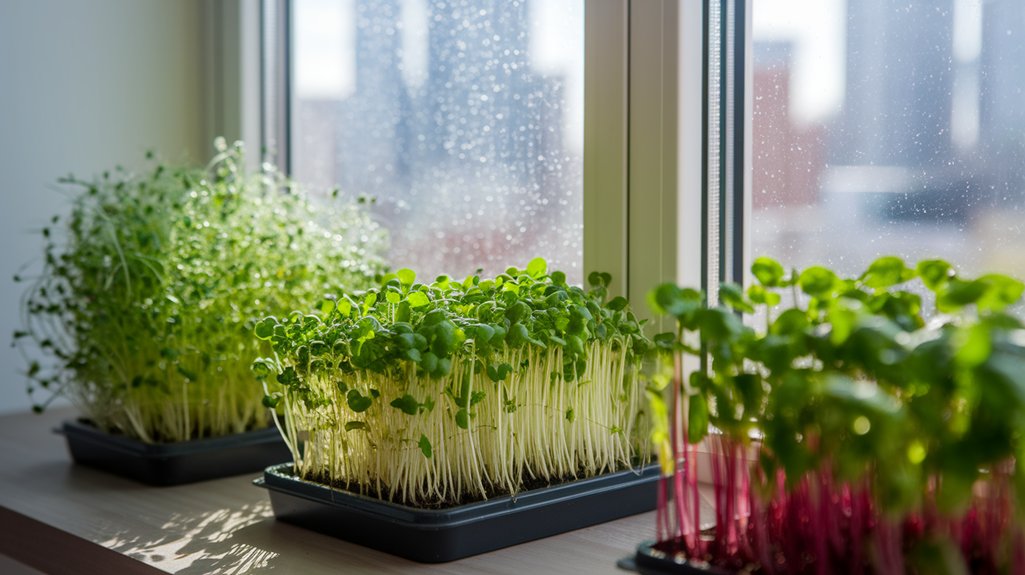
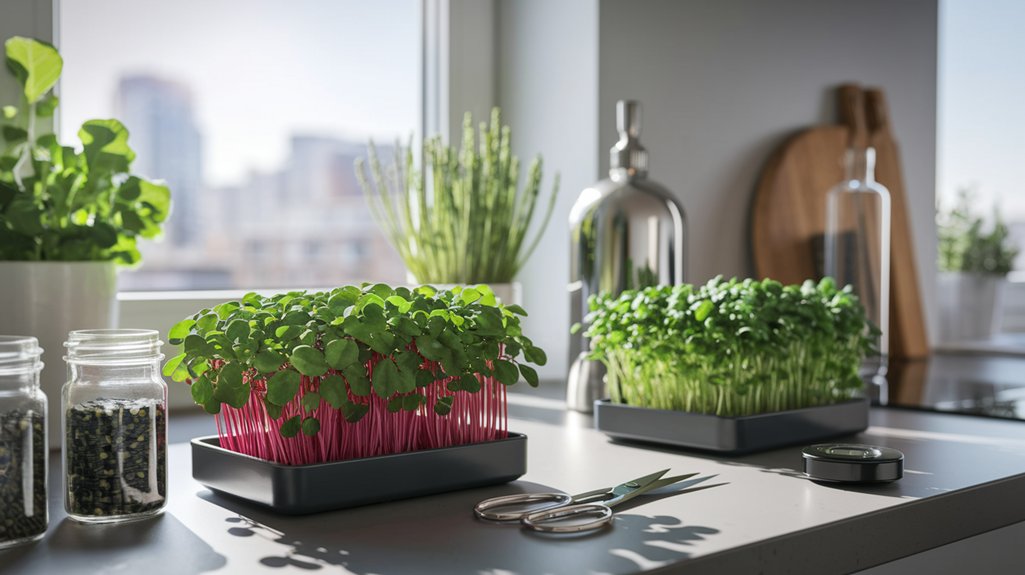
Essential Supplies for Starting Your Microgreens Garden
After you’ve selected the right microgreens for your small space, gathering the necessary supplies is the next step to ensure a successful garden.
Here’s what I recommend you have on hand:
- Containers: Choose shallow trays or recycled containers with drainage holes to facilitate airflow and prevent waterlogging.
- Growing Medium: Opt for a quality soil or seed-starting mix that retains moisture while providing essential nutrients for your microgreens.
- Light Source: If natural light is limited, consider using LED grow lights to provide the necessary spectrum for healthy growth.
With these essentials, you’ll be well-equipped to start your microgreens garden.
Each item plays a crucial role in creating an optimal environment for your plants, which can lead to a bountiful harvest in your apartment.
Step-by-Step Guide to Growing Microgreens Indoors
Starting your indoor microgreens garden involves a straightforward process that anyone can master in just a few simple steps.
First, choose your seeds—popular options include broccoli, radish, and basil.
Next, grab a shallow container and fill it with a quality potting mix, ensuring it’s moist but not soggy.
Scatter the seeds evenly across the surface, then lightly cover them with another thin layer of soil.
Water gently to avoid displacing the seeds.
Place your container in a bright location or under grow lights, maintaining a temperature of around 65-75°F.
Keep the soil consistently moist, and in about 7-14 days, you’ll see your microgreens sprouting.
Once they reach 2-3 inches tall, they’re ready for harvesting!
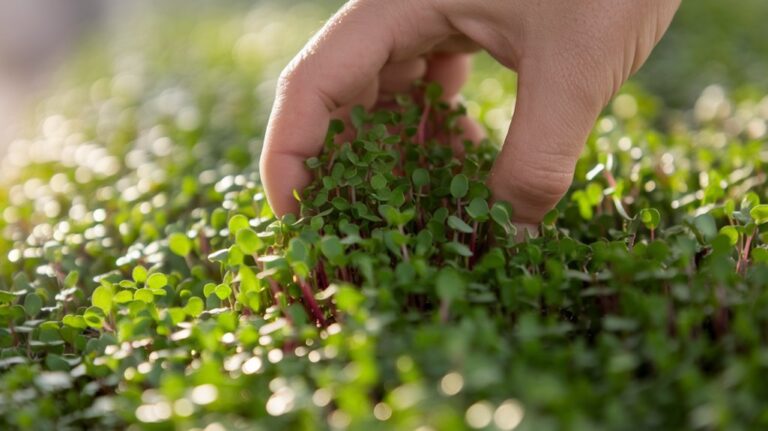
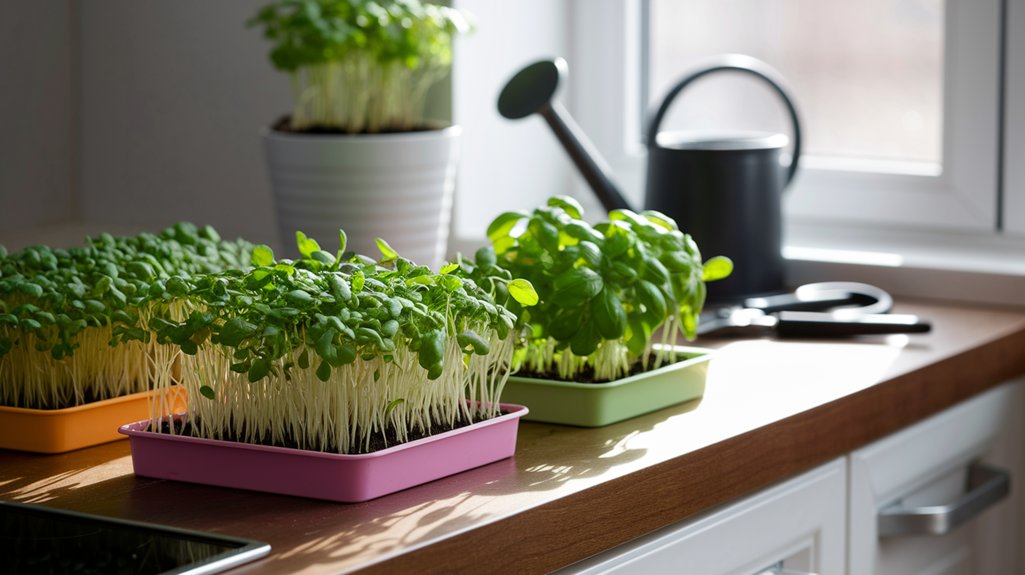
Tips for Harvesting and Using Your Microgreens
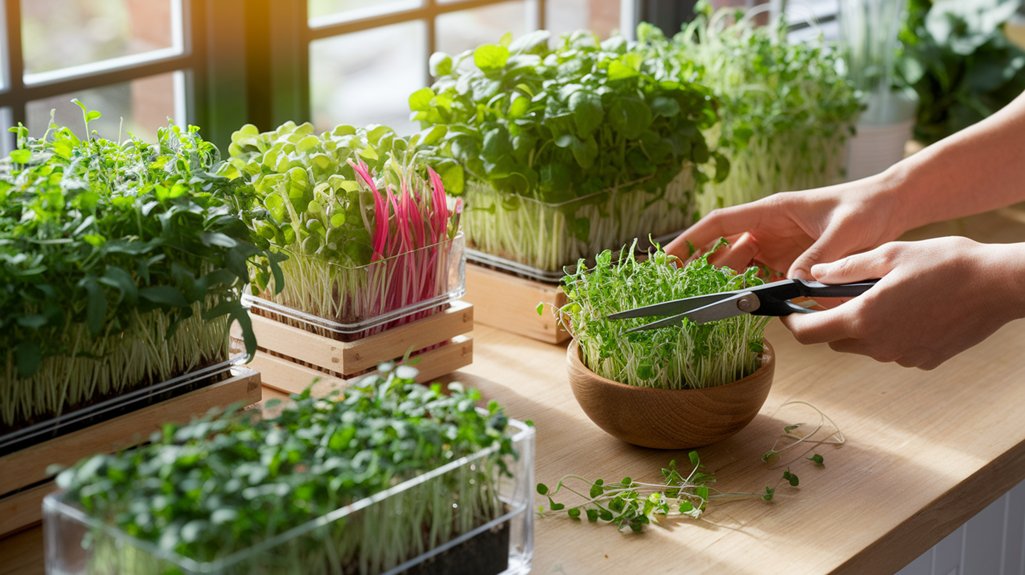
Although the excitement of growing microgreens is palpable, knowing how to properly harvest and use them is equally important. I’ve learned a few techniques that ensure you get the most out of your greens:
- Timing: Harvest when the cotyledons, or first leaves, are fully developed, usually 7-14 days after planting.
- Tools: Use clean, sharp scissors to cut just above the soil line, minimizing damage to roots for potential regrowth.
- Storage: Rinse your microgreens gently, spin dry, and store them in a breathable container in the fridge to maintain freshness.
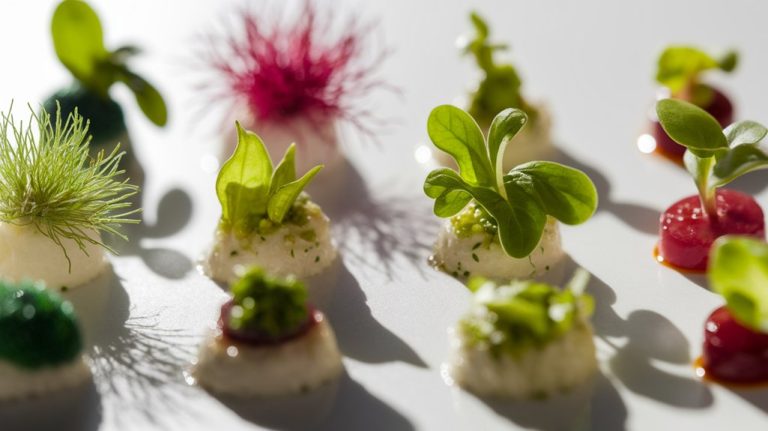
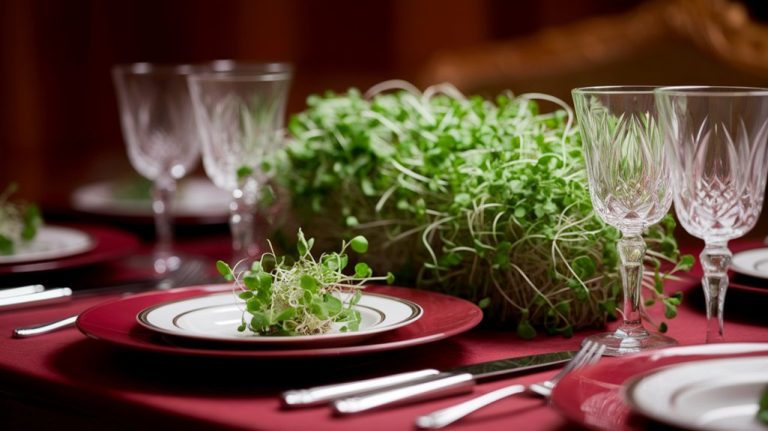
Using microgreens enhances dishes, adding flavor and nutrition. I love tossing them in salads or garnishing soups.
Enjoy the vibrant taste and health benefits!
Frequently Asked Questions
Can I Grow Microgreens Without Natural Sunlight?
Absolutely, you can grow microgreens without natural sunlight!
I’ve had great success using LED grow lights. They provide the right spectrum for photosynthesis, and I’ve found that my microgreens thrive under them.
Just ensure you give them around 12-16 hours of light each day for optimal growth. I keep the lights about 2-4 inches above the plants.
With the right setup, you can enjoy fresh microgreens even in the darkest corners of your home!
How Long Do Microgreens Typically Take to Grow?
Microgreens typically take about 7 to 21 days to grow, depending on the variety.
I find that quicker-growing types, like radish or mustard greens, can sprout in just a week, while others, like broccoli, may take a bit longer.
I love checking their progress daily; it’s fascinating to see how quickly they develop.
Just ensure you provide them with the right conditions, and you’ll be rewarded with vibrant greens in no time!
Are Microgreens Safe for Pets to Consume?
I’ve often wondered if microgreens are safe for pets.
Generally, most microgreens, like peas or sunflower, are non-toxic and can be safe for dogs and cats in moderation.
However, some varieties, like chives or onions, can be harmful.
I’ve made it a point to research each type before sharing my harvest with my furry friends.
Always consult with a vet if you’re uncertain, ensuring your pets stay healthy while enjoying your greens!
Can I Reuse Soil From Previous Microgreens?
I often wonder about reusing soil from previous microgreens. It’s possible, but I wouldn’t recommend it without precautions.
Microgreens can deplete nutrients and may harbor pathogens from past crops. If I decide to reuse soil, I always mix in fresh compost or organic matter to replenish nutrients.
Additionally, I make sure to sterilize the old soil to minimize disease risks. This way, I can ensure healthier growth for my next batch of microgreens.
What Pests Should I Watch for When Growing Microgreens Indoors?
When I grow microgreens indoors, I keep an eye out for a few pesky pests.
Aphids and fungus gnats are common culprits, often hiding in the soil or on the leaves. I’ve also encountered spider mites, which thrive in dry conditions.
To prevent infestations, I regularly inspect my plants and ensure proper air circulation. If I spot any pests, I act quickly with organic solutions to safeguard my greens.
Conclusion
Growing microgreens in your apartment is a rewarding and space-efficient way to enjoy fresh greens year-round. With just a few supplies and minimal effort, you can cultivate a variety of flavors and nutrients right in your kitchen. I’ve found that the satisfaction of harvesting my own greens not only enhances my meals but also brings a bit of nature indoors. So, why not give it a try? Your taste buds—and your home—will thank you!