The Ultimate Guide to Harvesting Microgreens for Maximum Freshness
Microgreens are packed with flavor and nutrients, but harvesting them at their peak freshness is key. I wait for the first true leaves to appear, usually within 7-14 days. Cut them just above the soil line using clean scissors. After harvesting, I rinse them gently and store them in airtight containers in the fridge. This way, they stay vibrant and tasty. Want to enhance your microgreen experience even more? There’s plenty more to explore!
Key Takeaways
- Harvest microgreens when they reach 2-3 inches in height and show vibrant green color for optimal flavor and nutrition.
- Use clean, sharp scissors to cut microgreens just above the soil line to avoid contamination.
- Rinse harvested microgreens gently to remove soil particles while preserving their delicate structure.
- Store microgreens in an airtight container at 32°F to 40°F, with a damp paper towel to maintain humidity.
- Label containers with the harvest date to track freshness and consume microgreens within a week for best quality.
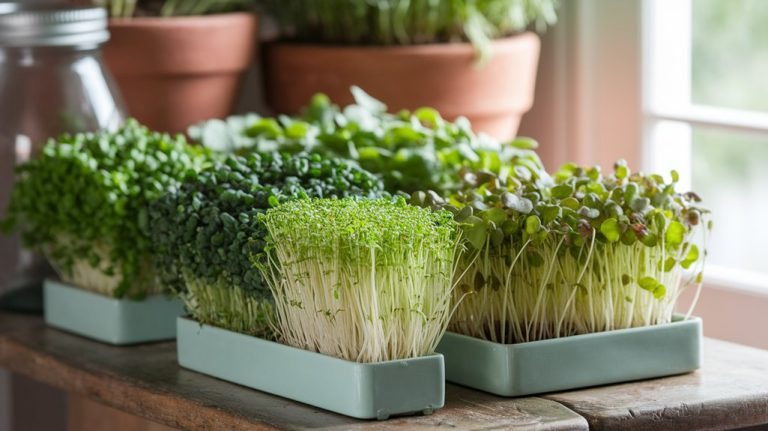
What Are Microgreens?
Microgreens are tiny, nutrient-packed greens that pack a punch in both flavor and health benefits. I’ve found these little powerhouses to be a game-changer in my meals.
They’re essentially young plants harvested just after the first true leaves appear, usually about 7 to 21 days after germination. What sets them apart is their vibrant colors and intense flavors, which can elevate any dish.
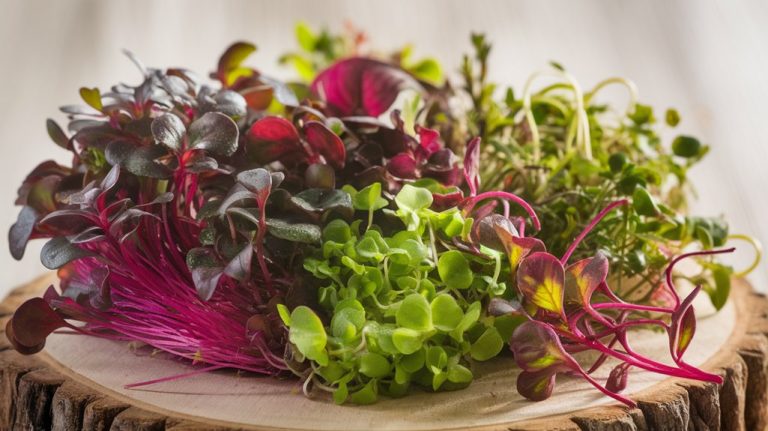
From arugula to radish, each type offers unique tastes and nutrients. Plus, they’re rich in vitamins, minerals, and antioxidants, making them a fantastic addition to a healthy diet.
Whether I toss them in salads, sprinkle them on sandwiches, or blend them into smoothies, microgreens never fail to impress. They’re truly a culinary delight!
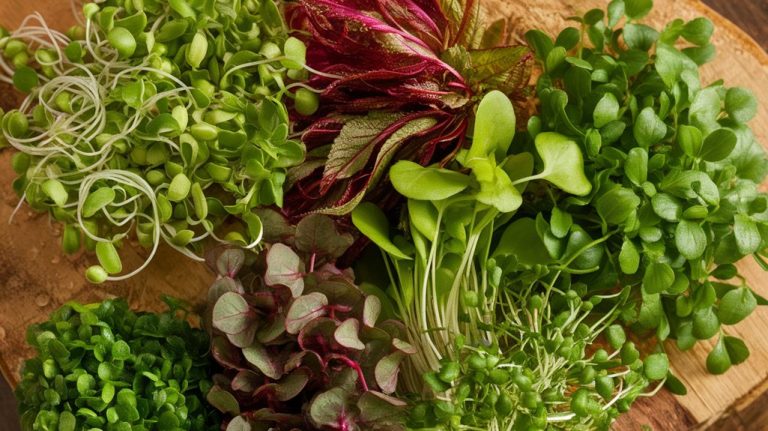
Choosing the Right Microgreens to Grow
When deciding which microgreens to grow, have you considered your personal taste preferences and culinary needs? Choosing the right varieties can enhance your meals, making them more vibrant and flavorful. Here’s a quick comparison to help you decide:
| Microgreen | Flavor Profile |
|---|---|
| Arugula | Spicy, peppery |
| Radish | Crisp, zesty |
| Basil | Sweet, aromatic |
I recommend starting with these options if you enjoy bold flavors. If you prefer milder tastes, consider pea shoots or sunflower microgreens. Think about how you’ll use them—whether in salads, sandwiches, or as garnishes. Choosing varieties that excite your palate ensures you’ll enjoy the harvest and maximize freshness in your dishes!
The Best Growing Conditions for Microgreens
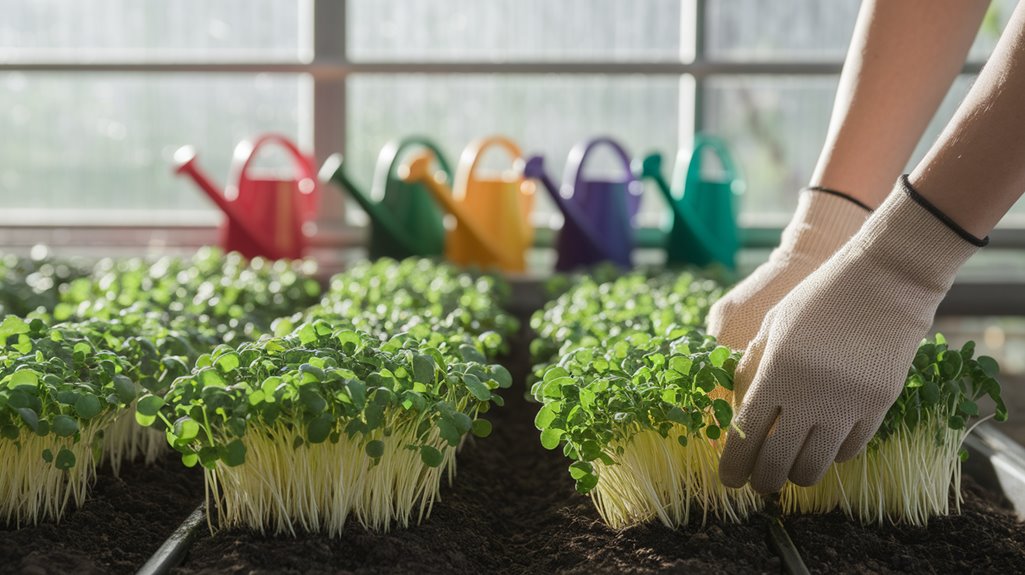
To successfully grow microgreens, I’ve found that three key factors play a crucial role: light, temperature, and moisture. Paying attention to these elements will significantly enhance your microgreens’ quality.
- Light: Microgreens thrive with 12-16 hours of bright, indirect sunlight daily. If natural light is limited, consider using grow lights to ensure they get enough exposure.
- Temperature: Aim for a consistent temperature between 65°F and 75°F (18°C to 24°C). This range promotes healthy growth and prevents damping-off disease.
- Moisture: Keep the soil consistently moist but not soggy. I water gently to avoid disrupting the delicate seeds and ensure proper drainage, which helps prevent root rot.
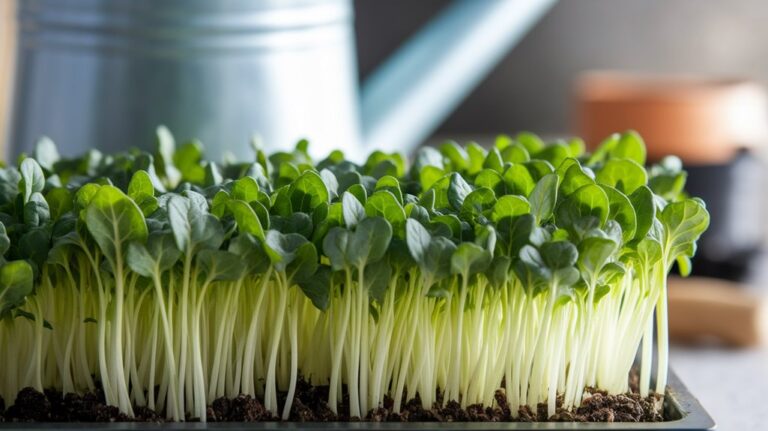
How to Grow Microgreens at Home
Growing microgreens at home is a rewarding and straightforward process that anyone can tackle.
First, I gather my supplies: a shallow tray, potting soil, and seeds of my choice. After filling the tray with soil, I sprinkle the seeds evenly, ensuring not to overcrowd them. I gently press the seeds into the soil, covering them lightly.
Next, I mist the soil with water, keeping it moist but not soggy. I place the tray in a well-lit area, or under grow lights, ensuring they get at least 12-16 hours of light daily.
In about 7-14 days, I’ll see my little greens sprouting. It’s thrilling to watch them flourish, and I can’t wait to enjoy their fresh flavors in my meals!
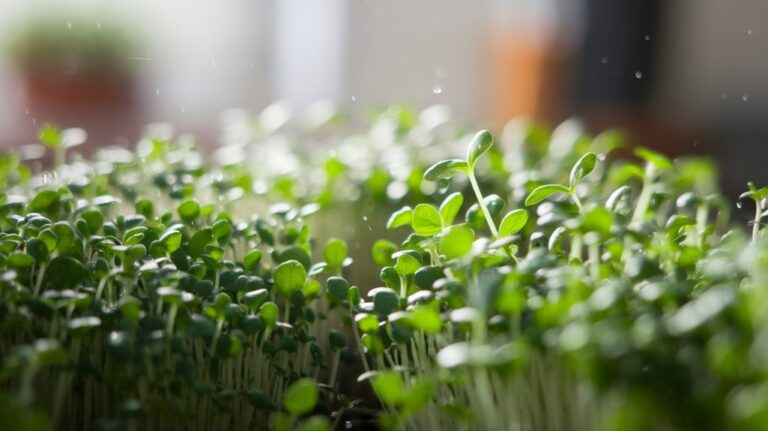
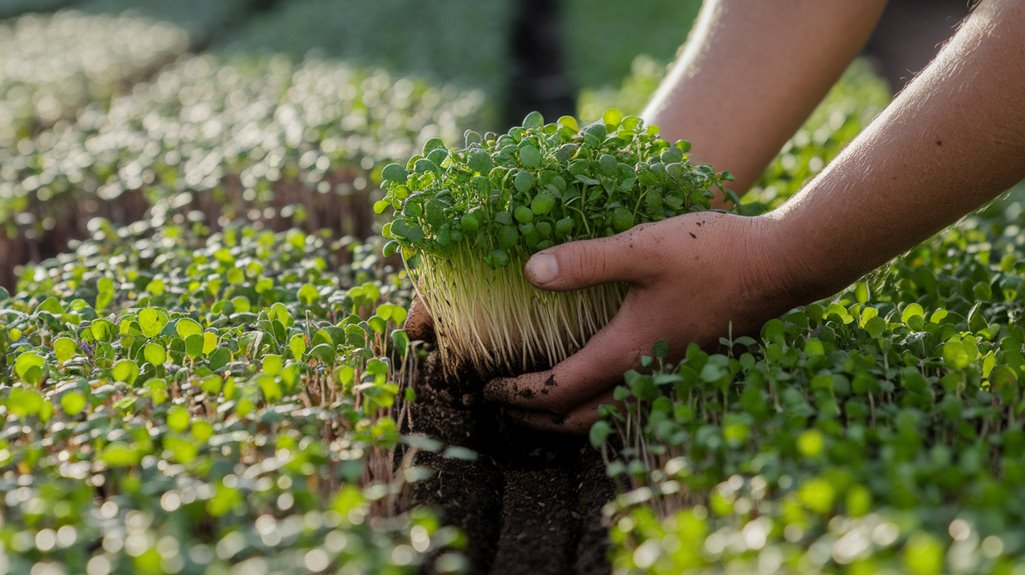
When to Harvest Your Microgreens
How can you tell the perfect moment to harvest your microgreens? Timing is everything, and I’ve learned a few key indicators that signal when it’s time to enjoy these nutrient-packed greens.
Here’s what I look for:
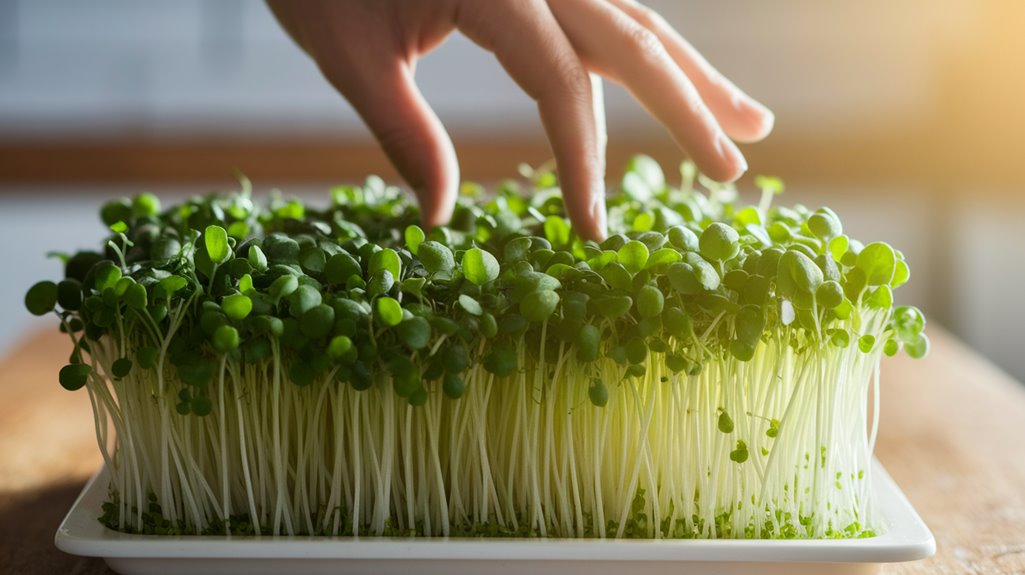
- True Leaves: Wait until your microgreens develop their first set of true leaves, which usually appears 7-14 days after germination.
- Height: Most microgreens are ready to harvest when they reach about 2-3 inches tall, providing a satisfying crunch.
- Color: Vibrant green color indicates healthy growth. If they start to yellow, it’s time to act fast!
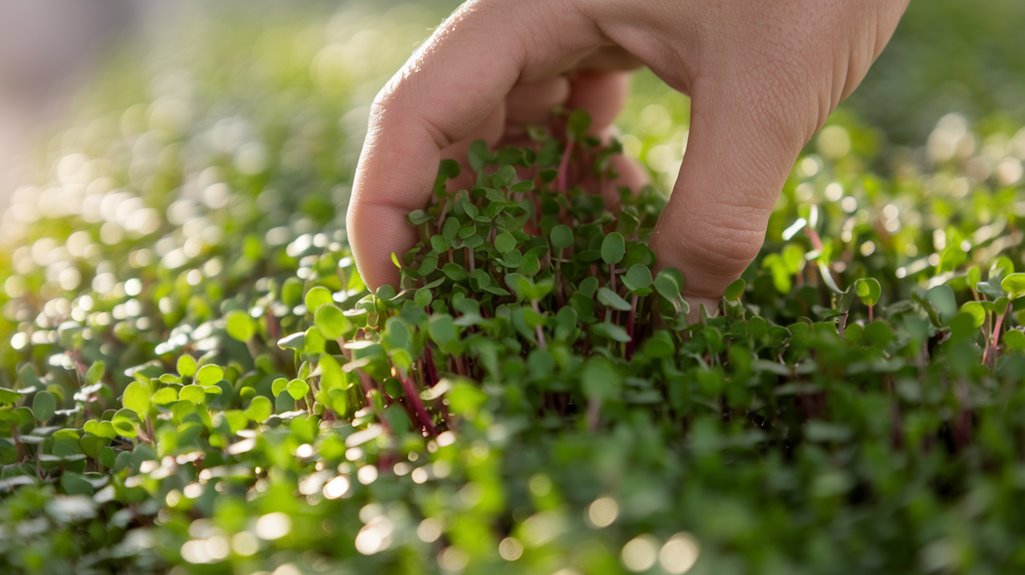
Techniques for Harvesting Microgreens
Harvesting microgreens can be a rewarding experience, and using the right techniques makes all the difference.
First, I like to use sharp scissors or garden shears for a clean cut, ensuring I avoid damaging the delicate plants. I always harvest in the morning when they’re hydrated and full of energy, which helps maintain freshness.
When cutting, I aim for just above the soil line, capturing the tender leaves while leaving the roots intact for potential regrowth. It’s important to work gently to prevent bruising, as these greens are fragile.
After cutting, I place them in a breathable container to keep air circulation optimal. With these techniques, I can enjoy vibrant, flavorful microgreens that enhance any dish!
Storing Your Harvested Microgreens
Once I’ve harvested my microgreens, I want to make sure they stay fresh and vibrant for as long as possible.
It’s crucial to store them in the right conditions and choose suitable containers to maintain their quality.
Let’s explore the best practices for keeping my microgreens at their peak.
Ideal Storage Conditions
When I think about storing my harvested microgreens, I know that the right conditions can make all the difference in maintaining their freshness and flavor.
To keep them in top shape, I focus on three key storage factors:
- Temperature: I keep my microgreens in the refrigerator at around 32°F to 40°F. This cool environment slows down deterioration.
- Humidity: I ensure they’re in a slightly humid environment to prevent wilting. A damp paper towel can help maintain moisture without causing rot.
- Light: I store them in a dark place, as exposure to light can degrade their nutrients and flavor.
Container Options Available
While I explore container options for storing my harvested microgreens, I find that choosing the right type can significantly impact their longevity and quality.
I prefer using airtight containers, as they keep moisture and airflow in check, preventing wilting. Glass jars are a great option; they’re non-reactive and allow me to see my vibrant greens.
Alternatively, I use plastic clamshells, which are lightweight and easy to stack in the fridge. When I want to extend freshness, I line the bottom with a damp paper towel to maintain humidity.
Whatever container I choose, I always label it with the harvest date, ensuring I enjoy my microgreens at their peak freshness!
Creative Ways to Use Microgreens in Your Cooking
I love finding creative ways to use microgreens in my cooking.
They’re not just for salads; I often sprinkle them on soups as a flavorful garnish or blend them into smoothies for an extra health boost.
Let’s explore how these tiny greens can elevate your dishes!
Salad Enhancements
Although salads often shine with a variety of ingredients, adding microgreens can elevate their flavor and nutrition significantly.
I love experimenting with these tiny greens, and here are three creative ways I incorporate them into my salads:
- Layering Textures: I mix crunchy microgreens like radish with softer greens for a delightful contrast.
- Flavor Boosting: Using zesty varieties like mustard or arugula microgreens adds a punch that complements other salad ingredients beautifully.
- Colorful Presentations: The vibrant hues of microgreens not only enhance visual appeal but also make the dish more inviting.
Flavorful Garnishes
Microgreens aren’t just for salads; they can transform a variety of dishes into culinary masterpieces. I love using them as vibrant garnishes that add both color and flavor.
For instance, a sprinkle of radish microgreens can elevate a simple avocado toast, providing a peppery kick. I also enjoy topping soups with basil or cilantro microgreens for a fresh, aromatic touch.
They’re perfect for enhancing pasta dishes too—just a handful of arugula microgreens brings a delightful crunch and a burst of taste.
Don’t forget about tacos or grain bowls; they’re excellent for adding texture and visual appeal.
Experimenting with different varieties lets you discover unique flavor combinations that truly impress. Microgreens offer endless possibilities in the kitchen!
Smoothie Boosters
Smoothies can be a vibrant canvas for creativity, and adding microgreens is a game-changer. They not only boost nutrition but also elevate flavor.
Here are three ways I love to incorporate microgreens into my smoothies:
- Peppery Kick: I mix arugula microgreens for a zesty twist that pairs beautifully with fruits like strawberries or mangoes.
- Nutty Notes: Adding sunflower microgreens gives a creamy texture and a subtle nutty flavor, perfect for a banana-based smoothie.
- Herbal Infusion: I toss in basil microgreens for an aromatic touch, enhancing the freshness of green smoothies with spinach or kale.
With these simple additions, my smoothies become nutrient-packed delights that I can’t get enough of!
Give them a try—you’ll be amazed!
Troubleshooting Common Microgreen Issues
When I first started growing microgreens, I quickly realized that not everything would go as planned. I encountered a few common issues, but I learned to tackle them effectively. Here’s a quick reference table to help you troubleshoot:
| Problem | Symptoms | Solution |
|---|---|---|
| Mold Growth | Fuzzy white spots | Improve air circulation |
| Leggy Growth | Tall, weak stems | Increase light intensity |
| Poor Germination | Seeds not sprouting | Check seed freshness & moisture |
Frequently Asked Questions
Conclusion
In conclusion, harvesting microgreens at their peak ensures you enjoy the freshest flavors and nutrients. With the right conditions and techniques, you can easily grow and gather these vibrant greens at home. Remember to store them properly for longevity and get creative with your cooking to make the most of your harvest. By following this guide, you’ll not only enhance your dishes but also embrace a rewarding gardening experience. Happy harvesting!