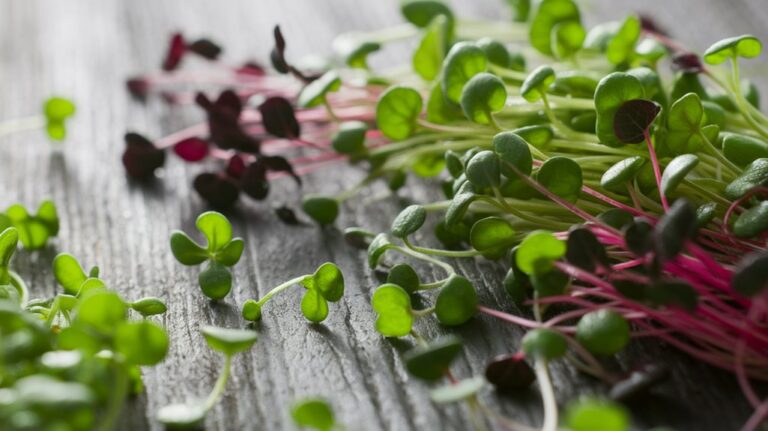
How to Sprout Wheatgrass Microgreen
To sprout wheatgrass microgreens, I start by choosing high-quality, organic seeds with a high germination rate. Then, I prepare a well-aerated, sterilized potting mix and soak the seeds for 8 to 12 hours. After draining, I place them in a sprouting tray in a dark, humid environment. I rinse them regularly while ensuring they get 12-16 hours of indirect light. Once they reach 6-8 inches, I harvest them for optimal flavor. There’s much more to it, though.
Key Takeaways
- Rinse wheatgrass seeds thoroughly to remove debris, then soak them for 8 to 12 hours to enhance germination.
- After soaking, drain seeds and place them in a sprouting tray or jar in a dark, humid environment.
- Rinse seeds every few hours during sprouting to maintain adequate moisture levels for optimal growth.
- Keep the sprouting seeds in a location with 12-16 hours of indirect light and maintain a temperature of 60-75°F (15-24°C).
- Once the grass reaches 6-8 inches tall, usually within 7-10 days, harvest using sharp scissors just above the soil line.
Choosing the Right Wheatgrass Seeds
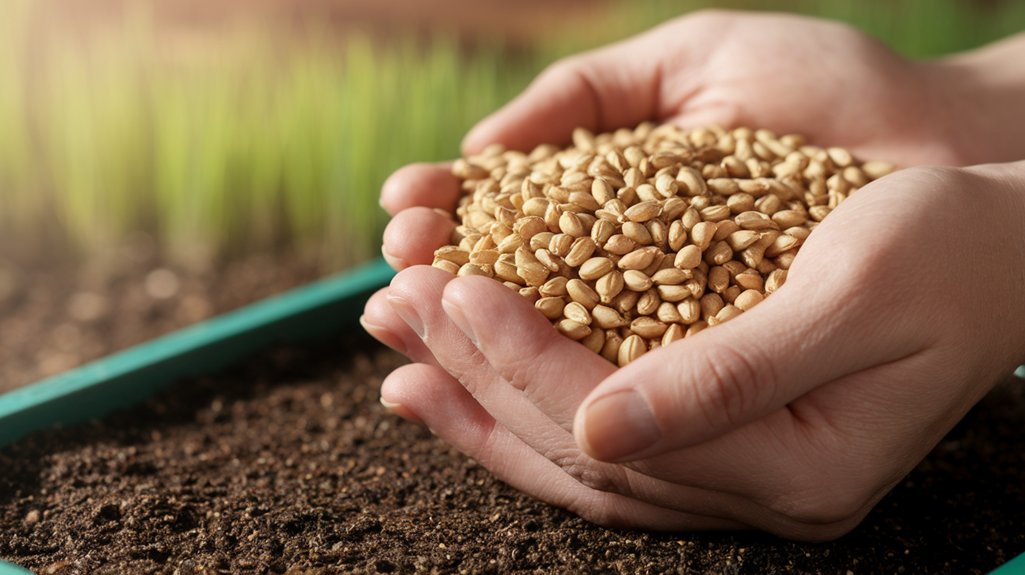
When it comes to sprouting wheatgrass microgreens, how do you know which seeds to choose?
First, I recommend looking for organic, non-GMO seeds to ensure purity and health benefits. The most common variety is hard red wheat, known for its robust growth and nutrient density.
I always check for seeds that have a high germination rate, ideally above 90%. This guarantees a successful sprouting process. Additionally, I prefer seeds that are specifically labeled for microgreen production, as these varieties are often optimized for flavor and growth speed.
Lastly, consider the source; purchasing from reputable suppliers ensures quality and freshness.
With these criteria in mind, you’ll set yourself up for a successful wheatgrass growing experience.
Preparing Your Growing Medium
When preparing your growing medium for wheatgrass, I focus on selecting the right soil that provides good drainage and holds moisture effectively.
It’s essential to sterilize the medium to eliminate any harmful pathogens that could hinder the growth of your microgreens.
Choosing the Right Soil
Selecting the right soil for sprouting wheatgrass microgreens is crucial for optimal growth and nutrient absorption.
I recommend using a high-quality, organic potting mix that’s well-aerated and free of synthetic fertilizers. Look for a blend that includes peat moss, vermiculite, or coconut coir, as these components provide excellent drainage while retaining moisture.
The ideal pH level for wheatgrass is between 6.0 and 7.0, so ensure your chosen soil falls within this range to promote healthy root development. Avoid heavy garden soil, as it can compact and inhibit growth.
Lastly, check for a soil mix that’s rich in organic matter, as this enhances nutrient availability, ensuring your microgreens thrive and deliver the best flavor and health benefits.
Sterilizing Your Medium
To ensure your wheatgrass microgreens grow in a healthy environment, I always recommend sterilizing your growing medium before use. This process eliminates harmful pathogens and pests that could hinder your plants’ growth.
I typically use one of two methods: heat or chemical sterilization. For heat sterilization, I spread the soil on a baking tray and bake it at 180°F for about 30 minutes. This kills off any unwanted organisms without damaging the nutrients.
Alternatively, if I opt for chemical sterilization, I mix a diluted hydrogen peroxide solution and thoroughly moisten the medium before letting it sit for 24 hours.
Whichever method I choose, I make sure to let the medium cool or dry completely before planting my wheatgrass seeds to promote optimal growth.
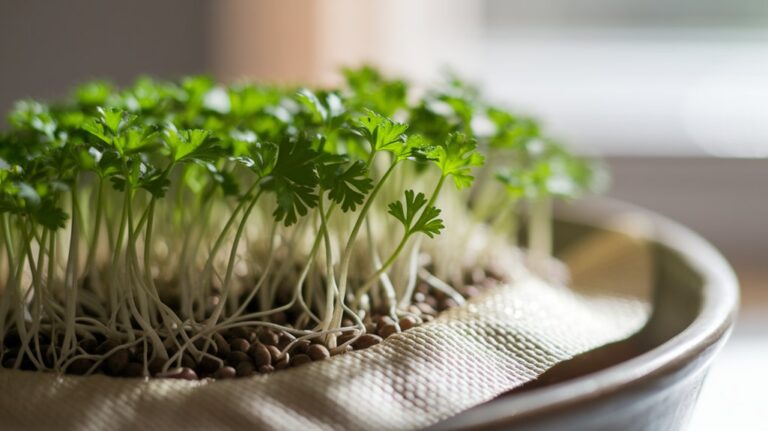
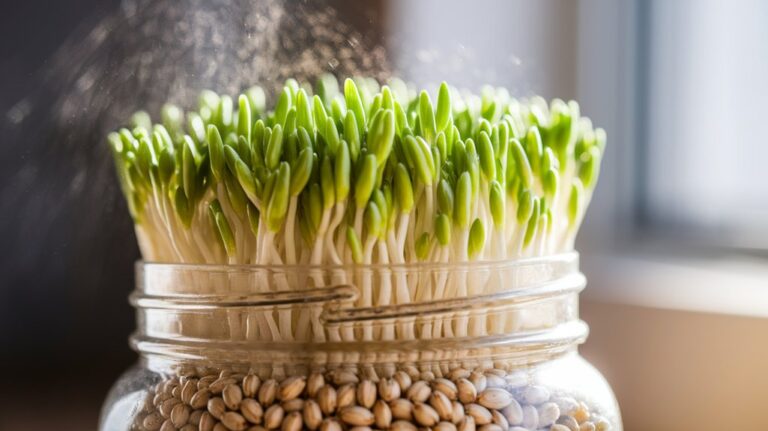
Soaking and Sprouting the Seeds
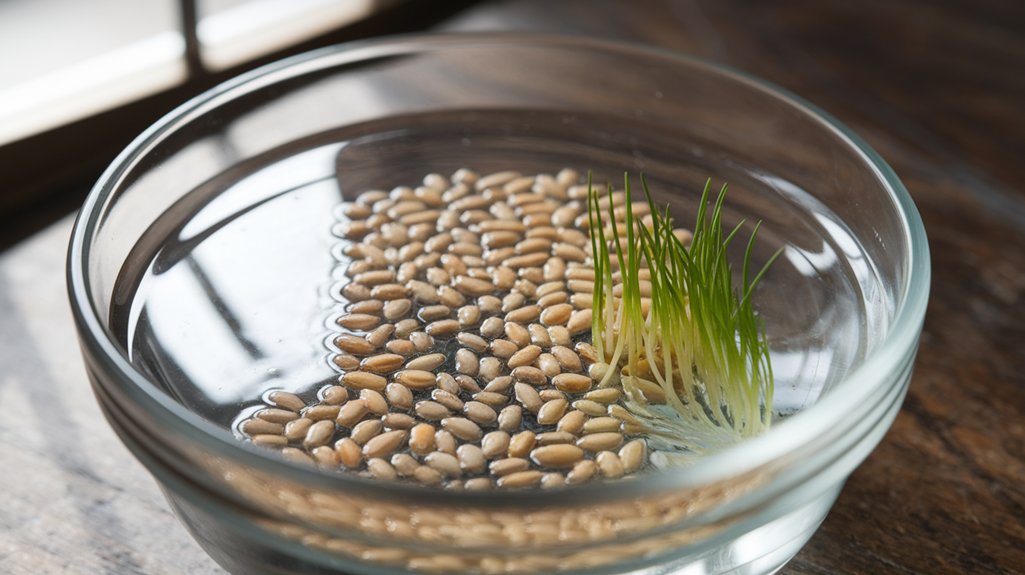
To kick off the soaking and sprouting process, I always start by rinsing the wheatgrass seeds thoroughly to remove any debris.
I find that soaking them for about 8 to 12 hours optimizes germination, ensuring the seeds absorb enough water to activate their growth potential.
After soaking, I drain the seeds and move on to the sprouting phase, where proper care will lead to vibrant microgreens.
Seed Preparation Process
Before I begin sprouting wheatgrass, it’s crucial to prepare the seeds properly through soaking and sprouting techniques.
First, I rinse the seeds thoroughly under cool water to remove any debris or impurities. This step ensures a clean start.
Next, I place the rinsed seeds in a bowl and cover them with fresh water, allowing them to soak for several hours. Soaking activates the seeds, initiating the germination process.
After the soaking period, I drain the water and transfer the seeds to a sprouting tray or jar. Here, I keep the seeds in a dark, humid environment for optimal sprouting conditions.
It’s essential to rinse them every few hours to keep them moist and promote healthy sprouting.
Optimal Soaking Duration
Finding the right soaking duration is key to successful wheatgrass sprouting. I’ve found that soaking the seeds for 8 to 12 hours yields the best results.
If you soak them for less than 8 hours, they may not absorb enough water, leading to uneven germination. Conversely, soaking for more than 12 hours can result in seed damage or mold growth.
It’s crucial to use clean, cool water and ensure that the seeds are fully submerged. I recommend checking the seeds halfway through the soaking period; a quick rinse can help prevent any potential issues.
After soaking, drain and rinse the seeds thoroughly before transferring them to your sprouting container. This optimal soaking duration sets the foundation for healthy, vibrant wheatgrass growth.
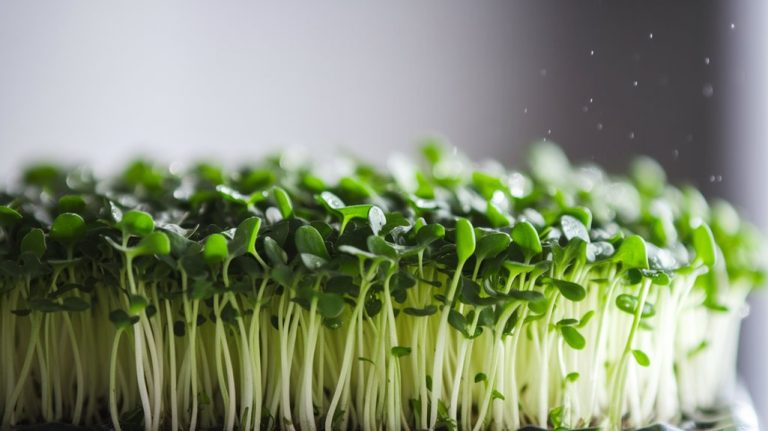
Caring for Your Wheatgrass
Caring for your wheatgrass is essential to ensure it thrives and provides the maximum nutritional benefits. I focus on three key aspects: light, water, and temperature.
| Aspect | Recommendation | Importance |
|---|---|---|
| Light | 12-16 hours of indirect light | Promotes healthy growth |
| Water | Keep soil moist, not soggy | Prevents mold and rot |
| Temperature | 60-75°F (15-24°C) | Optimal growth environment |
I check the soil daily and water as needed, ensuring no standing water. If your wheatgrass shows signs of yellowing, it might need more light. By following these guidelines, I keep my wheatgrass healthy and ready for harvest.
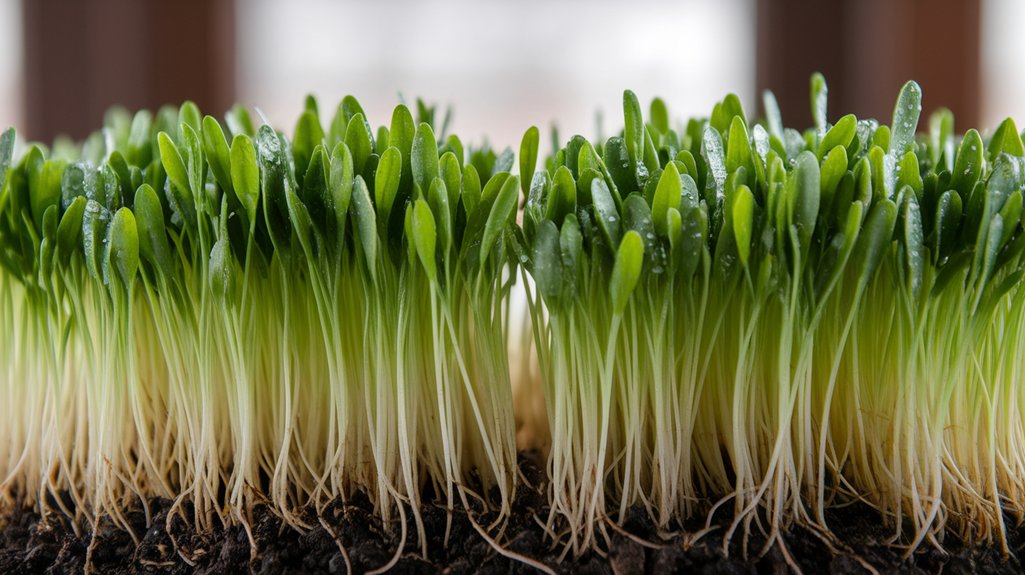
Harvesting Your Wheatgrass

Harvesting your wheatgrass is a crucial step that typically occurs when the grass reaches about 6-8 inches in height, usually around 7-10 days after germination.
To begin, I gather my sharp kitchen scissors or a knife, ensuring they’re clean to prevent contamination. I carefully cut the grass just above the soil line, taking care not to pull it out, which can disturb the roots.
I aim to harvest in the morning when the moisture content is highest, maximizing flavor and nutrient retention. After cutting, I rinse the wheatgrass gently in cool water to remove any debris.
I then place it in a breathable container, ready for storage or immediate use. This method ensures I get the freshest, most nutritious wheatgrass possible.
Enjoying Your Homegrown Wheatgrass
Once you’ve harvested your wheatgrass, you’ll discover a versatile ingredient that can enhance various aspects of your diet.
I often blend fresh wheatgrass into smoothies, providing a nutrient boost with its high chlorophyll content. It’s rich in vitamins A, C, and E, along with essential minerals.
I also enjoy juicing it, which offers a concentrated shot of nutrients that can energize my day. For a simple addition, I sprinkle chopped wheatgrass over salads or use it as a garnish for soups.
Its mild, earthy flavor complements a variety of dishes without overpowering them. By incorporating wheatgrass into my meals, I not only enjoy its health benefits but also embrace its vibrant color and freshness in my kitchen.
Frequently Asked Questions
Conclusion
In conclusion, growing your own wheatgrass microgreens is a rewarding and straightforward process. By selecting high-quality seeds, preparing the right medium, and following the soaking and sprouting techniques outlined, you can cultivate nutrient-rich wheatgrass in your home. With proper care, your harvest will thrive, providing you with fresh greens to enjoy in smoothies, salads, or as a health supplement. Embrace this simple journey and savor the benefits of your homegrown wheatgrass!