chickpeas ancient agricultural legacy

How to Sprout Chickpeas (And Why They’re Worth It)

Can you sprout chickpeas at home?

Yes – and it is simpler than most people expect. Soak dried chickpeas for 12 hours, drain, then rinse twice daily for 2 to 3 days in a jar or tray. By day two you will have small white root tails; by day three they are ready. Unlike most sprouts, sprouted chickpeas are equally good raw (in small amounts) and briefly cooked – which makes them one of the most versatile varieties you can grow at home.

Chickpeas are already a kitchen staple. You probably have a can or a bag of dried ones in the cupboard right now.

But most people have never considered sprouting them. It takes two to three days. It requires nothing beyond the chickpeas, a jar, and water. And what comes out the other end is meaningfully different from both the canned and the dried version – more digestible, more nutritious in specific ways, and ready to eat or cook in a fraction of the time.

This guide explains what sprouting does to a chickpea, how to do it, and – because sprouted chickpeas are the one sprout variety where cooking is often the better choice – exactly what to do with them once they are ready.

What sprouting actually does to a chickpea

Dried chickpeas, like all legumes, contain phytic acid – a natural compound that binds to minerals like iron, zinc, and calcium and reduces how much your body can absorb. They also contain oligosaccharides (specifically raffinose and stachyose) – the compounds responsible for the digestive discomfort many people associate with eating beans.

Germination addresses both of these at once.

Phytic acid drops significantly.
Research published in Food Chemistry found that germination of chickpeas reduced phytic acid content substantially, with 48 hours of germination producing the most significant reductions. The practical result: the iron, zinc, and calcium you eat from a sprouted chickpea are more available to your body than from the same chickpea un-sprouted.

Digestive oligosaccharides are reduced.
The same germination process that reduces phytic acid also breaks down the raffinose and stachyose that cause bloating and gas. People who find cooked dried chickpeas hard on their digestion often find sprouted chickpeas significantly easier to handle.

Protein digestibility improves.
Sprouting begins to break down complex proteins into simpler forms, making amino acids more accessible. Research indicates sprouted chickpeas provide around 7g of protein per 100g with improved bioavailability compared to the dry bean. The protein content stays broadly similar, but the body can use more of what it gets.

Vitamin C appears.
Like mung beans, dried chickpeas contain very little vitamin C. During germination, the plant begins synthesising ascorbic acid as part of its growth process. By day 2 to 3, sprouted chickpeas contain meaningful levels of vitamin C that simply do not exist in the dry form.

Cooking time drops dramatically.
This is the most immediately practical benefit. Dry chickpeas require soaking overnight plus 1 to 1.5 hours of simmering. Sprouted chickpeas – because much of the structural breakdown has already begun — cook in 15 to 20 minutes. That difference makes them viable on a weeknight in a way dry chickpeas rarely are.

What you need

  • Dried chickpeas: Whole, raw, dried – not canned, not roasted, not split. Standard supermarket dried chickpeas work perfectly. Organic chickpeas are widely available and often marginally better for sprouting due to their seeds being less likely to have been treated.
  • A large jar: Chickpeas expand substantially during soaking and sprouting. A 1-litre jar filled no more than one-third full with dry chickpeas is about right – they will roughly double in size by the end.
  • A mesh lid or cheesecloth: For draining while keeping the beans in the jar. A sprouting lid or a piece of fine mesh secured with a rubber band works well.
  • Water: Room temperature tap water. Chickpeas are not sensitive to water quality in the way that some smaller seeds are.

Step-by-step: how to sprout chickpeas

Day 0 – The soak

Measure out your chickpeas – roughly one-third of your jar volume in dry seeds. Rinse them, then cover with plenty of cool water (at least three times the volume of the chickpeas – they will absorb a surprising amount).

Soak for 12 hours. Chickpeas have a thicker seed coat than smaller sprouts and need a full 12-hour soak to absorb enough water for germination to begin reliably. Overnight works well. Do not soak beyond 16 hours, as extended soaking in still water can cause fermentation.

After soaking, drain and rinse thoroughly. The chickpeas will have swelled noticeably – often to nearly double their dry size.

Days 1 to 3 – The rinse routine

Rinse and drain twice daily, morning and evening. Each rinse: run cool water in through the mesh lid, swirl gently, drain completely, then tilt the jar upside down at a 45-degree angle over a bowl or dish rack so air can circulate.

Keep the jar in a warm spot (18 to 24°C / 65 to 75°F) out of direct sunlight. A kitchen cupboard or countertop away from the window works well.

Day-by-day reference:

DayWhat you will see
Day 0 (after soak)Chickpeas swelled to nearly double, skins slightly wrinkled
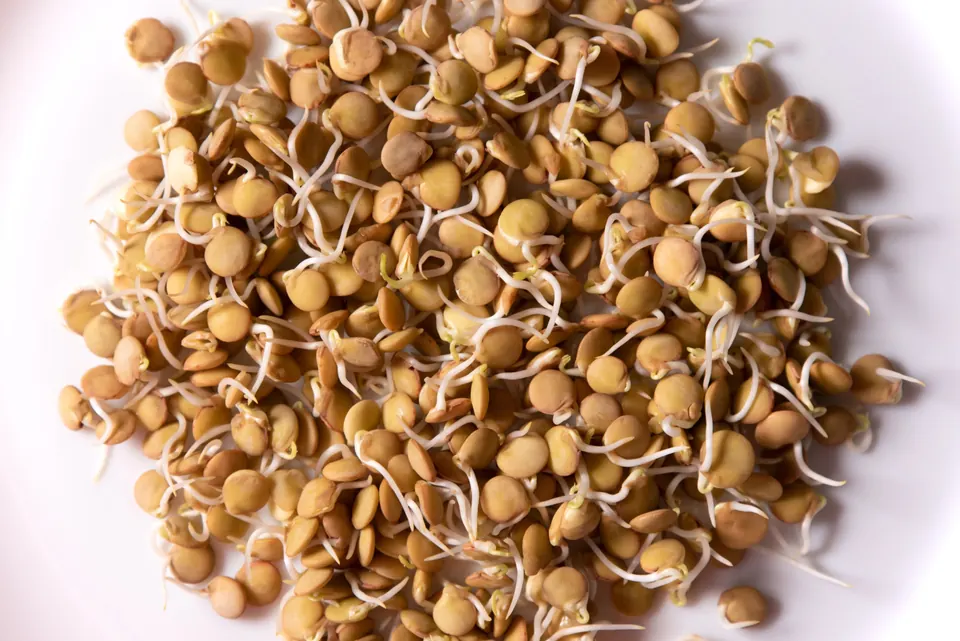
Day 1Small white root nubs just appearing at the tip of each chickpea
Day 2Root tails 0.5–1 cm long; the characteristic sprout shape emerging
Day 3Root tails 1–2 cm; ready to eat raw or cook
Day 4 (optional)Tails 2–3 cm; still good, very slightly more bitter raw

When are they ready?

Harvest at day 2 to 3, when the root tail is 1 to 2 cm long. At this point the phytic acid reduction and digestibility improvements are well established, and the flavour is at its best – slightly nutty with a fresh edge.

If you leave them to day 4 or 5, they are still usable but can develop a slightly more bitter flavour when eaten raw. For cooking, slightly longer sprouting is fine.

Rinse the finished sprouts well and store in an airtight container in the refrigerator. Use within 3 to 4 days.

Raw or cooked? The honest guide

Sprouted chickpeas sit in a different category from most sprouts — this is worth understanding before you start.

Other sprouts (alfalfa, mung bean, broccoli, lentil): typically eaten raw, which preserves heat-sensitive vitamins and beneficial enzymes.

Sprouted chickpeas: best lightly cooked. Here is why.

Raw sprouted chickpeas are safe to eat in small amounts and some people do eat them raw as a crunchy snack – particularly at the day 2 stage when the root tail is short and the texture is firm. However, chickpeas (even sprouted) contain lectins — proteins that can cause digestive upset in larger quantities when eaten raw. Brief cooking deactivates lectins and makes the sprouted chickpea fully comfortable to eat in normal meal-sized portions.

The good news: “brief cooking” means 15 to 20 minutes of simmering, or 5 to 8 minutes in a pressure cooker, or 10 minutes in a pan for a light sauté. Compared to 1.5 hours for dry chickpeas, this is a genuinely different proposition.

If you want to eat them raw: keep portions small (a handful as a snack or scattered over a salad), choose day 2 sprouts over day 3 or 4, and see how your digestion responds. Many people find sprouted chickpeas perfectly comfortable raw in small amounts.

What to make with sprouted chickpeas

The cooking time advantage makes recipes that would be impractical with dry chickpeas suddenly viable on a weeknight.

Quick pan-roasted sprouted chickpeas:
Drain well and pat dry. Toss with olive oil, salt, smoked paprika, and cumin. Sauté in a hot pan for 8 to 10 minutes until golden and slightly crisp at the edges. Eat as a snack or scatter over salads, soups, or grain bowls. The texture is firmer and nuttier than canned chickpeas — more satisfying.

15-minute sprouted chickpea curry:
Sauté onion, garlic, and ginger in oil for 3 minutes. Add curry powder or paste, cook 1 minute. Add sprouted chickpeas and a can of chopped tomatoes. Simmer for 15 minutes. Done. The chickpeas hold their shape but are fully tender — no soaking or long cooking required.

Sprouted chickpea salad (raw):
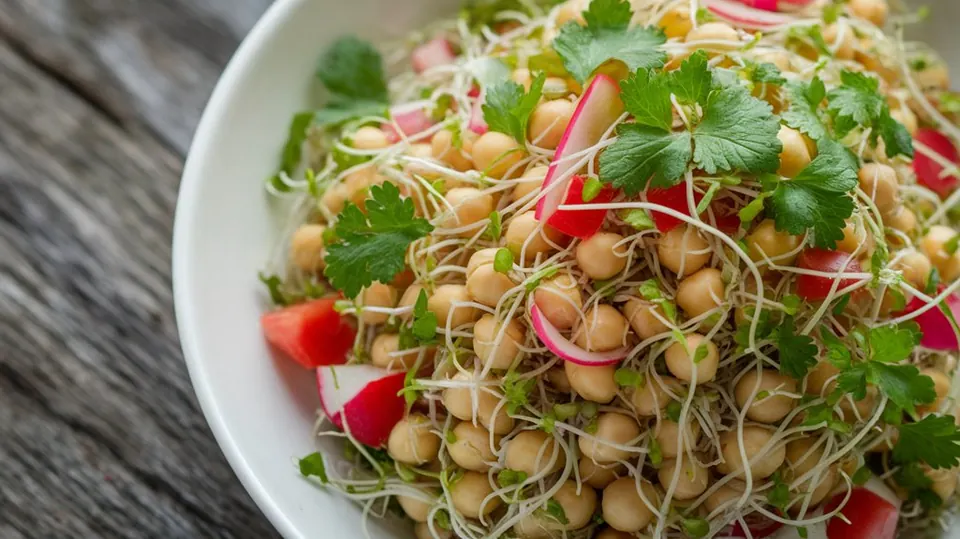
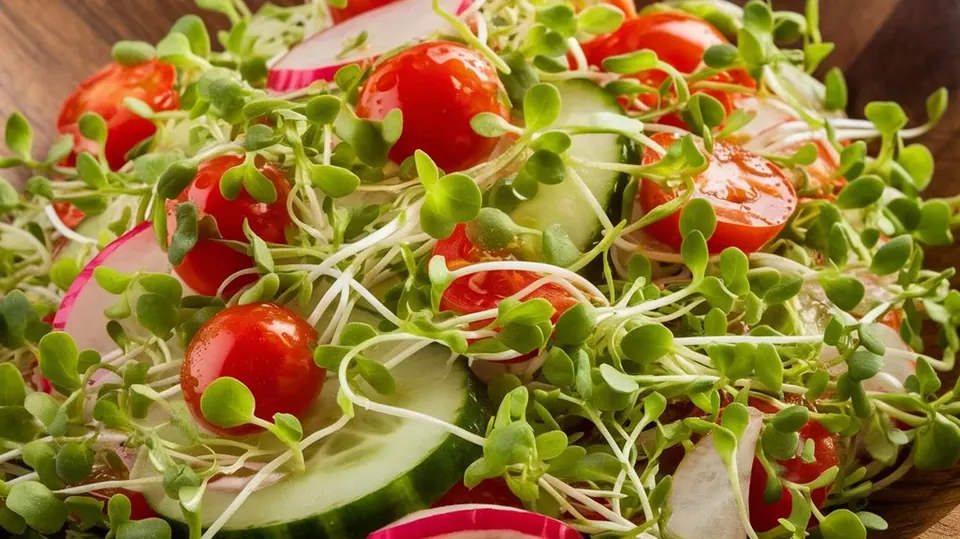
Toss day-2 sprouted chickpeas with diced cucumber, cherry tomatoes, red onion, fresh parsley, olive oil, lemon juice, salt, and pepper. A handful of pea shoots or microgreens finishes it. Eat immediately. The chickpeas add a firm, nutty crunch nothing else replicates.

Added to soups and stews:
Add sprouted chickpeas to any broth-based soup in the last 20 minutes of cooking. They absorb the flavour of the broth and finish tender without going mushy – unlike canned chickpeas, which can turn soft quickly.

Hummus from sprouted chickpeas:
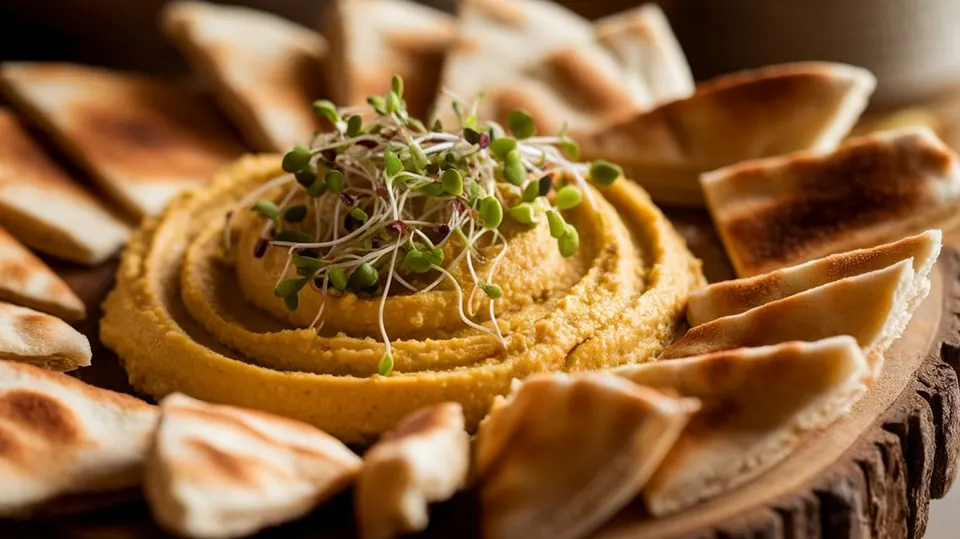
Cook sprouted chickpeas until fully tender (15 to 20 minutes), then blend with tahini, lemon, garlic, and salt. The flavour is slightly earthier and fresher than hummus made from dried or canned chickpeas, and the texture is typically silkier because the sprouted beans blend more smoothly.

How sprouted chickpeas fit your sprouting routine

Most sprouting jars hold one variety at a time, and most growers run two or three jars in rotation. Sprouted chickpeas have a slightly different role from other sprouts.

Where mung bean sprouts and alfalfa are raw daily additions – a handful here and there over salads and into sandwiches – sprouted chickpeas are more of a cooking ingredient. Grow a batch when you are planning a curry, a roasted snack, or a chickpea salad later in the week. The 2 to 3 day growing window fits neatly into meal-planning: start the soak on Monday, harvest on Wednesday, cook with them Wednesday or Thursday.

A rotation that works:

  • Mung beans or alfalfa – ongoing, ready in 4 to 5 days, daily raw use
  • Broccoli sprouts – a small jar, harvested early for sulforaphane
  • Sprouted chickpeas – as needed when you are cooking, rather than as a daily raw sprout

Each fills a different role. Together they give you fresh, nutritious additions to both raw and cooked meals with minimal daily effort.

Start your first batch this week

Sprouted chickpeas are the entry point into sprouts-as-cooking-ingredients – and once you have grown one batch, the impulse to keep a jar going permanently is hard to resist. The combination of better nutrition, faster cooking, and improved digestibility over standard dried chickpeas is difficult to argue with.

⟶ New to sprouting? The step-by-step guide to growing sprouts at home covers the full method – equipment, water, rinsing frequency – before your first batch.

⟶ Looking for more sprouting varieties? The best seeds for sprouting at home covers which varieties are easiest to start with and what each one offers.

⟶ Curious how sprouted chickpeas compare to other legume sprouts? The seed library has notes on chickpeas and every other variety the site recommends.

Similar Posts

Leave a Reply

Your email address will not be published. Required fields are marked *