In this lesson:
- Where to go from here
- A 30-day plan
- Four printable reference cards
You've covered the basics
You know how sprouting works, how to buy and store seed, how to reduce food safety risk, how to grow beans and small seeds, how to store sprouts, how to fix common problems and how to cook them. That's a complete beginner foundation.
Your 30-day plan
| Week | Goal |
|---|---|
| 1 | Grow and cook two lentil batches. Practice the smell test. |
| 2 | Try mung beans or chickpeas. Cook a stir-fry or roasted chickpea sprouts. |
| 3 | Grow one broccoli or radish batch. Practice hull removal and greening. |
| 4 | Run a germination test on a new seed. Fill in your batch log. Choose your favourites. |
Where to go next
- Browse the Seed Library. It has growing data on 67 seeds.
- Try a tray or bag sprouter. Useful when you want larger batches.
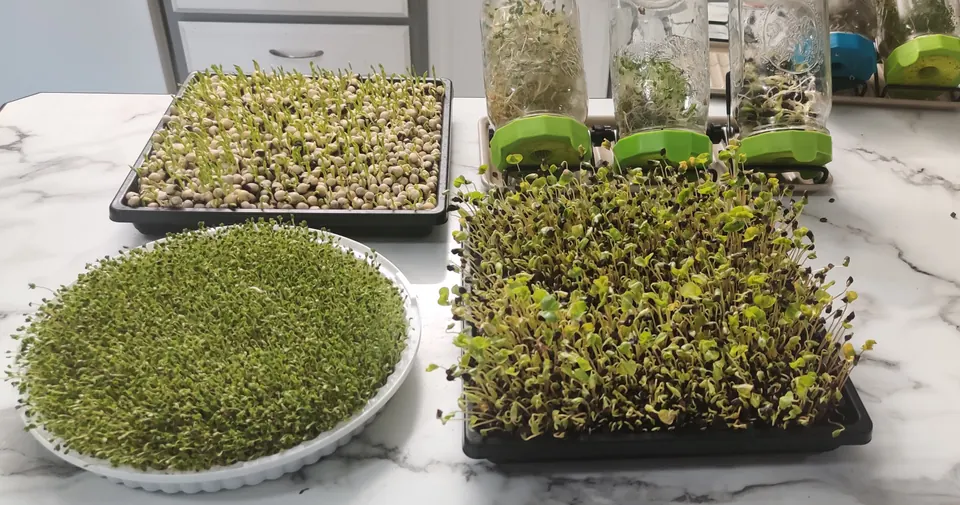
- Try seeds that don't suit jars. Chia, flax, basil, cress and arugula release a gel when wet and are better sprouted on a damp plate or tray. They are a different skill.
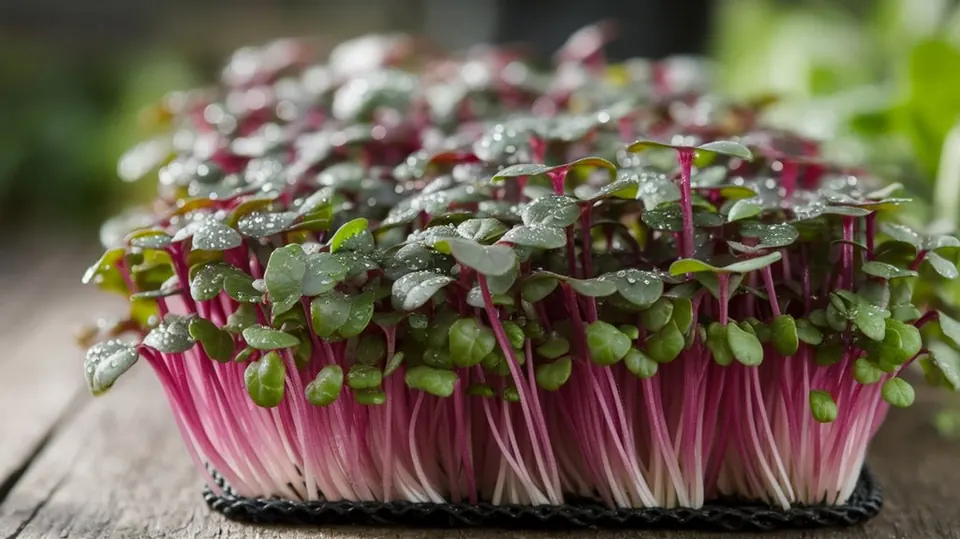
- Learn microgreens. Microgreens are grown on soil or pads and cut above the roots. Start with our microgreens guide.
Reference card 1: soak and grow chart
| Seed | Seed per quart jar | Soak | Rinses per day | Ready in | Light |
|---|---|---|---|---|---|
| Green lentils | ½ cup | 6–12 h | 2 | 2–3 days | Dark |
| Mung beans | ¼ cup | 6–12 h | 2–3 | 2–4 days | Dark |
| Chickpeas | ½ cup | 8–12 h | 2 | 2–3 days | Dark |
| Broccoli | 2 Tbsp | 1–4 h | 2 | 4–5 days | Indirect light on last day |
| Radish | 2 Tbsp | 4–12 h | 2 | 4–5 days | Indirect light on last day |
| Alfalfa | 1 Tbsp | 4–12 h | 2 | 4–5 days | Indirect light on last day |
| Clover | 1–2 Tbsp | 4–12 h | 2 | 4–5 days | Indirect light on last day |
Add a third rinse above 80°F (27°C). Ideal temperature: 65–75°F (18–24°C).
Reference card 2: safety checklist
- Seed sold for sprouting, with lot number.
- Wash hands.
- Wash jar and lid in hot soapy water.
- Cool, clean water. Throw out soak water.
- Fresh batch every time.
- Drain fully.
- Dry, chill (40°F / 4°C or colder) and label.
- Use in 3–5 days (beans) or about a week (small seeds).
- Cook until steaming hot all the way through.
- Sour, musty, rotten or slimy? Throw it out.
Reference card 3: troubleshooting at a glance
| Symptom | Likely cause | Action |
|---|---|---|
| Sour or rotten smell | Warm, poor draining, too much seed | Toss, restart |
| Musty smell | Mold or stale seed | Check for mold, toss |
| Slimy | Standing water, bacteria | Toss |
| Patchy fuzz | Mold | Toss |
| Fuzz on root tips only, no smell | Root hairs | Fine |
| Few sprouts | Old or dead seed | Test, replace seed |
| Bitter | Too long, too warm, light | Harvest earlier, keep dark |
| Wilting | Too few rinses | Rinse more |
| Matted | Too much seed | Use less |
Reference card 4: batch log
| Date | Seed | Lot # | Amount | Temp | Days | Result | Notes |
|---|---|---|---|---|---|---|---|
Official sources worth bookmarking
- Health Canada: Food safety tips for sprouts
- FDA: Selecting and Serving Produce Safely
- FDA: People at Risk of Foodborne Illness
Two requests
- Tell me how it went. Use the contact page, or reply to any email from the 5-day course. I read everything, and your feedback shapes updates to this course.
- Would you share a short testimonial? One or two sentences about what you learned helps other beginners decide.
Thank you for learning with me.
Michael Microgreens & Sprouts
This course is for education only. It is not medical advice. Always follow the guidance of your local health authority.

Written by Michael
A passionate sprouting professional sharing practical tips for growing sprouts and microgreens at home. More about Michael