In this lesson:
- The short list of gear you actually need
- What to skip
- How much seed goes in a jar
- How to clean everything between batches
The starter kit
You can sprout with items you may already own.
1. A wide-mouth glass jar (1 quart or 1 litre)
A standard wide-mouth mason jar is perfect. Wide mouths let water drain faster and are easier to scrub clean.
Choose glass over plastic. Glass is easy to wash hot, it doesn't scratch, and it lets you see what is going on.
2. A mesh lid
You have three options.
- Plastic or stainless mesh sprouting lid. The easiest option. It fits the jar ring and lets you rinse without taking it off.
- Mesh screen disc and the jar band. Cheap and sturdy.
- Cheesecloth or fine mesh and a rubber band. Works fine, but it's harder to keep clean. Use a fresh piece each batch.
3. A way to prop the jar upside down at an angle
A bowl, a dish rack or a small stand. The angle matters. It lets water drain out and air flow in.
4. Measuring spoons and a cup
Too much seed in the jar is the number one beginner mistake. Measure it.
5. A clean towel or salad spinner
For drying sprouts at harvest. Wet sprouts spoil fast.
6. A storage container with a lid
Any clean container with a lid will do. Line the bottom with a paper towel.
Typical cost
| Item | Rough cost |
|---|---|
| Wide-mouth quart jar | $2–$5 |
| Mesh lid | $3–$8 |
| Bowl or dish rack | Already own |
| Seed (½ cup lentils) | $1–$2 |
| Storage container | Already own |
| Total | About $6–$15 |
Prices vary by store and country. A ready-made kit is fine too, but you don't need one.
What you can skip
- Grow lights. Sprouts don't need them.
- Soil. Not for jar sprouting.
- Special water. Cool, clean drinking water is fine.
- A sprouting tower or tray system. Nice later. Start with a jar.
- Bleach, hydrogen peroxide or other "sanitizers" for seeds. Not for home use. More on this in Lesson 4.
How much seed goes in a jar?
Seeds swell a lot. Too much seed crowds the jar, holds water, and encourages sour batches.
| Seed (1-quart jar) | Dry seed | Ready in |
|---|---|---|
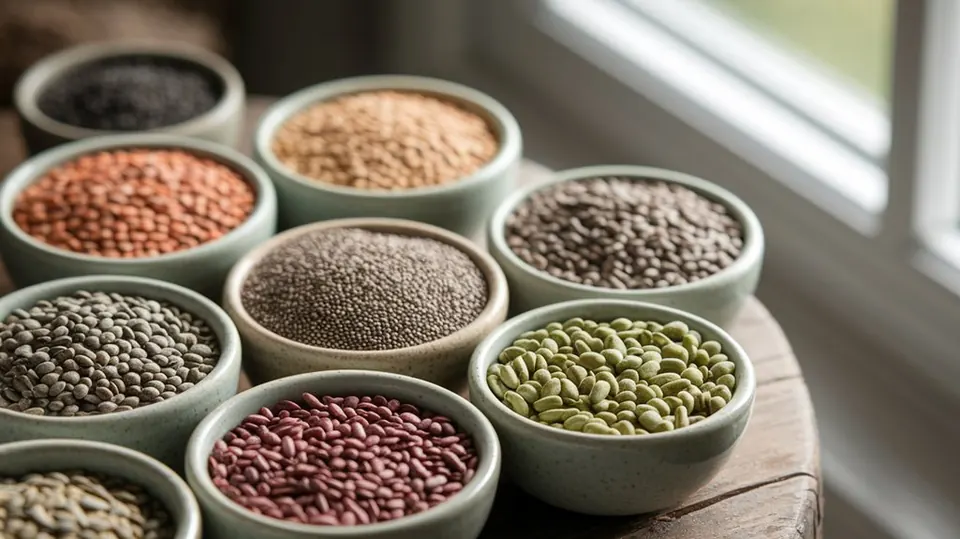
| Green lentils | ½ cup | 2–3 days |
| Mung beans | ¼ cup | 2–4 days |
| Chickpeas | ½ cup | 2–3 days |
| Broccoli | 2 tablespoons | 4–5 days |
| Radish | 2 tablespoons | 4–5 days |
| Alfalfa | 1 tablespoon | 4–5 days |
| Clover | 1–2 tablespoons | 4–5 days |
When you're unsure, use less seed. A loose, airy jar always does better than a packed one.
Where to put your jar
- On a kitchen counter or shelf
- Out of direct sunlight
- At 65–75°F (18–24°C) if you can
- Away from raw meat, the trash and the stove
Cleaning your gear between batches
Do this every time.
- Wash your hands.
- Take the jar and lid apart.
- Scrub them in hot, soapy water. Use a bottle brush for the jar.
- Rinse well in hot water.
- Let them air dry, or run them through a hot dishwasher cycle.
- Replace cheesecloth every time. Replace plastic mesh if it gets stained or smelly.
Do this now
- Make your shopping list from the table above.
- Clear a spot on the counter and set up your bowl.
- Take a photo of your setup. It helps you spot changes later.
Key takeaways
- A jar, a mesh lid, a bowl and a few measuring spoons are enough.
- Measure your seed. Less is better than more.
- Wash jar and lid in hot soapy water before every batch.
- Skip grow lights, soil and home "sanitizing" tricks.

Written by Michael
A passionate sprouting professional sharing practical tips for growing sprouts and microgreens at home. More about Michael