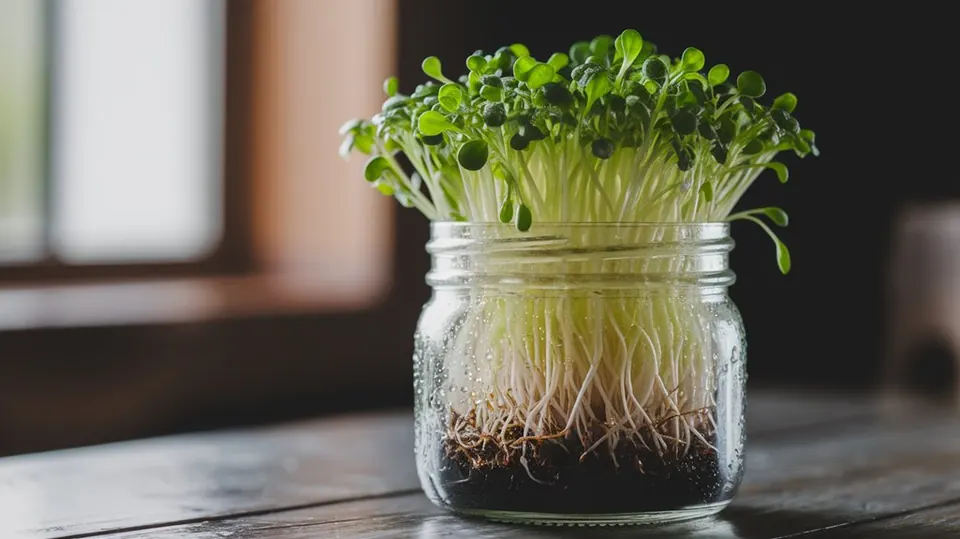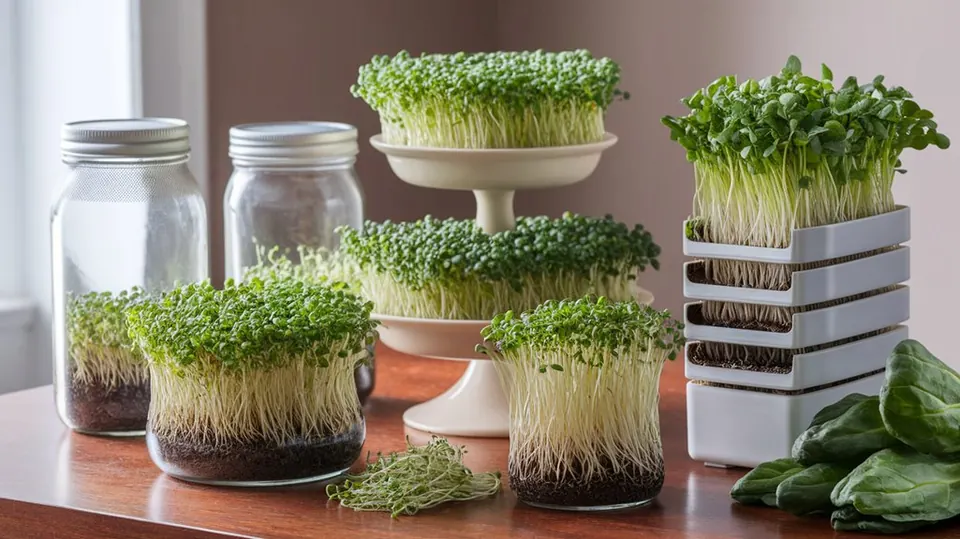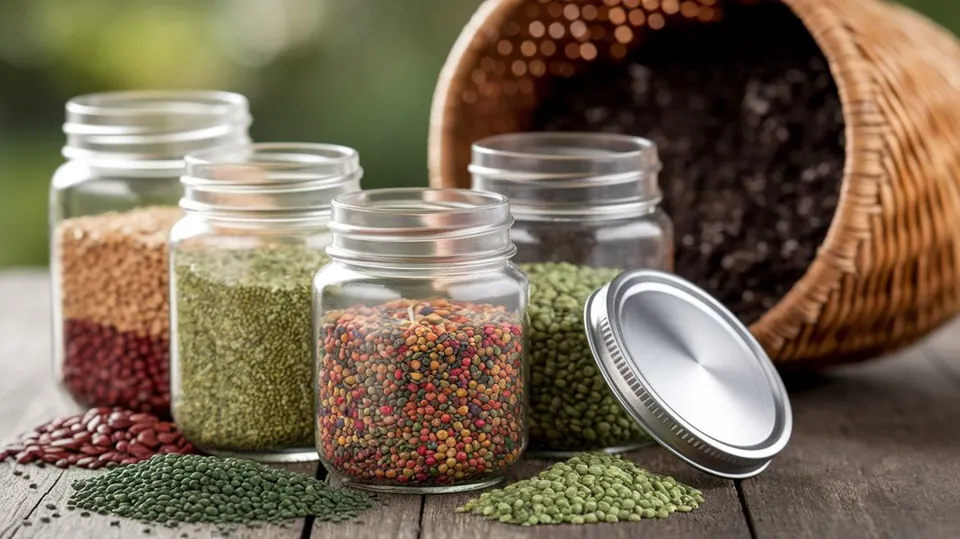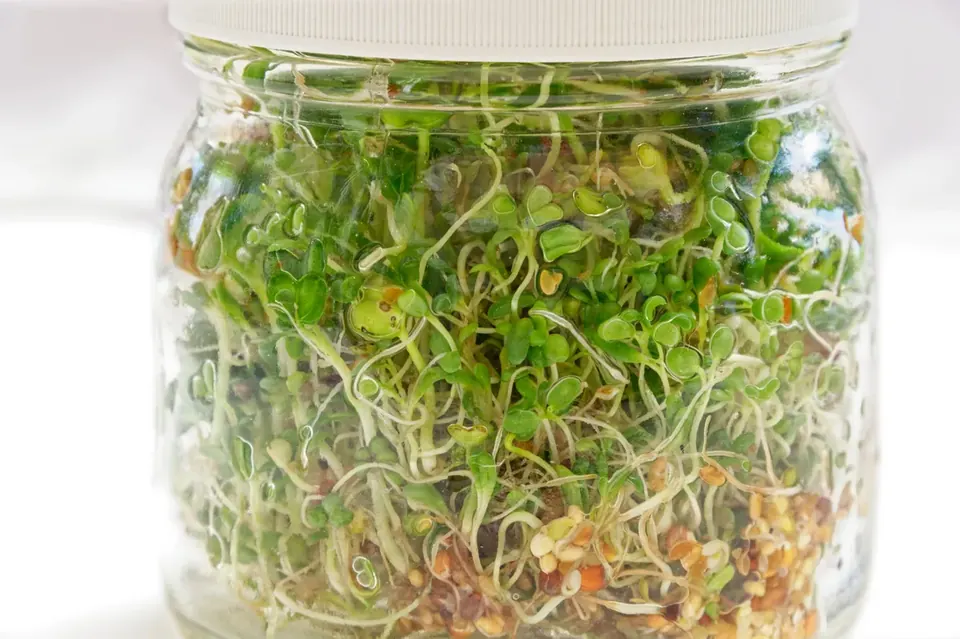
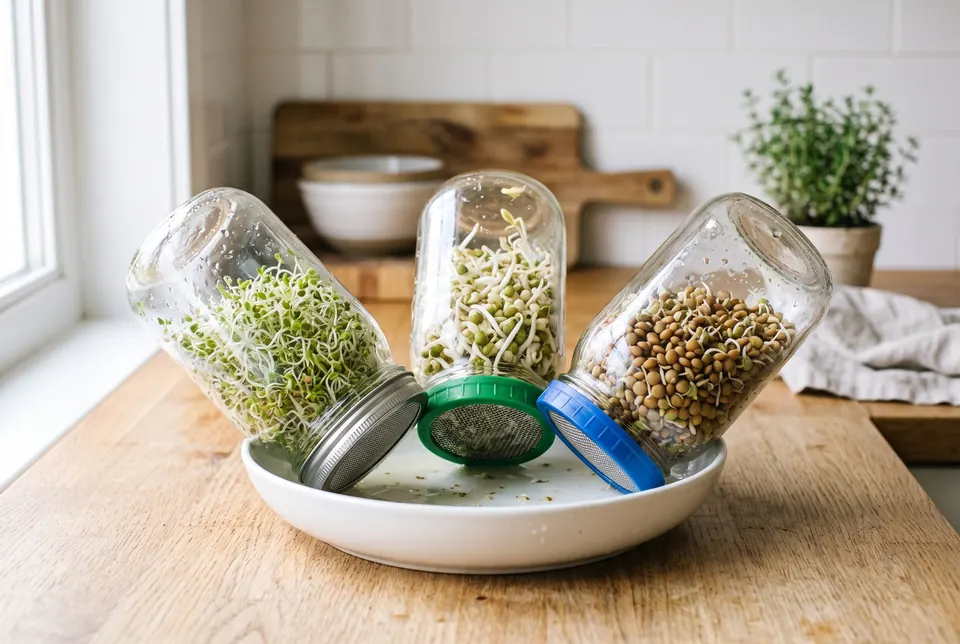
Short answer: the best sprouting jar for most people is a wide-mouth quart (1 litre) glass mason jar with a mesh sprouting lid. Wide mouths drain faster and are easier to clean. Glass is easier to keep clean than plastic. Get two or three jars so you can stagger batches, and prop each one upside down at an angle so it drains.
What makes a good sprouting jar?
A sprouting jar has three jobs: hold the seed, let water drain out fast, and let air in. Any jar that does those three things will grow good sprouts. Here's what to look for:
- Size: big enough that seed fills no more than about a quarter of the jar. Sprouts grow several times larger than the seed.
- A wide mouth: faster draining, better airflow, and easy to get the sprouts out.
- A lid that drains: mesh or holes fine enough to keep your seed in.
- A way to tilt it: the jar needs to rest upside down at an angle, so water runs out and air gets in.
- Easy to clean: smooth glass and a lid that comes apart.
Sprouting jar size: pint, quart or half-gallon?
| Jar size | Holds | Good for |
|---|---|---|
| Pint (500 ml) | ½ to 1 tbsp small seed | Trying one new seed, or one person |
| Quart (1 litre) | 1–2 tbsp small seed or ½ cup beans | Most homes. The standard size. |
| Half-gallon (2 litres) | 2–4 tbsp small seed or 1 cup beans | Families and big salad eaters |
The quart (1 litre, about 32 oz) jar is the one to start with. It's the size most instructions use, and our jar cheat sheet gives seed amounts for it.
Bigger isn't always better. A thick layer of seed stays wet in the middle and can spoil. If you want more sprouts, use two quart jars rather than one huge one.
Wide mouth or regular mouth?
Choose a wide-mouth jar. Regular-mouth jars work, but they're harder to use:
- Faster draining. A wider opening lets water out quickly, which is the key to fresh sprouts.
- More air. Sprouts need oxygen. A small mouth plus a fine mesh can trap stale, damp air.
- Easier to empty. Fully grown sprouts tangle into a mat. They slide out of a wide mouth but jam in a narrow one.
- Easier to clean. You can get a brush, or your hand, right inside.
Most sprouting lids are made for wide-mouth jars. Sprouting.com's stainless sprouting lid fits openings of about 84 mm (3.3 inches), the standard wide-mouth size.1
Sprouting jar lids: which kind?
The lid matters more than the jar. It's how you rinse and drain twice a day.
| Lid type | Pros | Cons |
|---|---|---|
| Stainless steel mesh with a metal ring | Cheap, tough, fine mesh suits tiny seeds | Best washed by hand; seed colour can stain it |
| Plastic screen lid with feet | Stands upside down on its own, dishwasher safe, coarser holes drain fast | Takes more space; plastic can stain over time |
| Cheesecloth and a rubber band | Costs almost nothing | Hard to keep clean; replace it every batch |
Stainless mesh lids have a fine screen, which is good for tiny seeds like alfalfa and broccoli. Sprouting.com suggests soaking small seeds before you put the lid on, so they swell and don't slip through. It also notes that natural seed pigments can leave rust-coloured marks on the mesh. That isn't rust, and a small brush removes it.1
Plastic screen lids like the Masontops Bean Screen have built-in feet, so the jar stands upside down on the counter without a bowl and won't roll away. They're BPA-free and dishwasher safe, and fit standard wide-mouth canning jars.2 Their bigger holes drain fast, which suits mung beans, lentils and other big seeds.
Cheesecloth works in a pinch, but it holds moisture and is hard to clean, so use a fresh piece each time.
Glass or plastic jars?
Glass is the better choice for most kitchens:
- It handles hot, soapy water and the dishwasher.
- It doesn't scratch, so there's nowhere for bacteria to hide.
- It doesn't hold onto smells.
- You can see when the sprouts are ready.
Plastic jars and sprouters are lighter and won't break. That makes them handy for kids, camping or travel. Replace them once they're scratched or cloudy.
How to use a sprouting jar
Once you have a jar and lid, the routine is simple:
- Day0
Soak
Put the seed in the jar, cover it with plenty of cool water and screw on the lid. Soak for the time on the seed packet, usually 4 to 12 hours.
- Day1
Drain
Pour the water out through the lid. Shake the jar gently, then prop it upside down at about 45° in a bowl or dish rack, out of direct sun.
- Day1–5
Rinse twice a day
Morning and evening, fill the jar with cool water, swirl, drain well and tilt it back. Good draining matters more than anything else.
- Day3–6
Harvest
When the sprouts are ready, rinse them, drain them very well and dry them on a towel. Store them in a covered container in the fridge.
For seed amounts, soak times and tips for each seed, see our mason jar sprouting guide.
Sprouting jar tips
- Don't overfill. Too much seed is the most common reason jar sprouts smell or go slimy. Measure it.
- Tilt it, don't stand it. A jar standing straight upside down can trap water against the lid. An angle lets water out and air in.
- Keep it out of the sun. Bright sun can overheat the jar. A spot on the counter at room temperature is ideal.
- Use two or three jars. Start a new jar every 2 to 3 days for a steady supply.
- Know when to switch. Gel-forming seeds like chia don't work in a jar, and leafy sprouts green up better on a tray sprouter. See jars vs trays vs towers.
If something goes wrong, see sprouting problems and fixes.
How to clean a sprouting jar
Clean your jar and lid after every batch:
- Take the jar and lid apart.
- Scrub both in hot, soapy water. Use a bottle brush inside the jar and a small brush on the mesh.
- Rinse well in hot water.
- Let them air-dry completely before the next batch.
Glass jars can go in the dishwasher. Plastic screen lids like the Masontops are dishwasher safe, while Sprouting.com recommends hand-washing its stainless lid.1 Replace cheesecloth every batch, and replace plastic parts once they stay stained or smelly.
Fresh sprouts are grown warm and damp, so always follow basic sprout food safety.
Where to buy a sprouting jar and lid
You probably don't need to buy a special jar. Any wide-mouth quart mason jar from a hardware or grocery store works. Then add a lid:
- Sprouting Lid: a stainless steel screen with a metal ring that fits most wide-mouth jars. Cheap and tough.
- Masontops Bean Screen, 2-pack: plastic screen lids with feet, in blue and green, so you can tell two batches apart.
You'll also need seed sold for sprouting. The easiest first seeds for a jar are mung beans, lentils and broccoli. Browse all sprouting seeds, or let our free course walk you through your first jar.
Seeds in this article
Free 5-day email course
Grow your first sprouts in 5 days
One short email a day: what to buy, how to rinse, how to eat sprouts safely and how to fix problems. Free.
Frequently asked questions
What is the best sprouting jar?
For most people, a wide-mouth quart (1 litre) glass mason jar with a mesh sprouting lid. It's cheap, easy to clean and drains well. Add a second jar so you can start a new batch every few days.
What size jar is best for sprouting?
A quart (1 litre) jar suits most home batches: 1 to 2 tablespoons of small seed or about ½ cup of lentils or mung beans. Use a half-gallon (2 litre) jar for bigger batches, and don't fill any jar more than about a quarter with seed.
Can I use any mason jar for sprouting?
Yes. Any clean glass jar works if you can fit a mesh lid or cloth over it. Wide-mouth jars are easier, because they drain faster, let more air in and are easier to empty and scrub.
Do I need a special lid for sprouting?
You need something that lets water out and keeps seed in: a stainless or plastic mesh sprouting lid, a screen disc under the jar ring, or cheesecloth and a rubber band. A proper lid is the easiest to rinse and clean.
How do you clean a sprouting jar?
After every batch, take the jar and lid apart, scrub them in hot, soapy water with a bottle brush, rinse well and let them dry completely. Glass jars can go in the dishwasher. Check your lid's instructions, as some metal mesh lids last longer washed by hand.
Is a glass or plastic sprouting jar better?
Glass is better for most people. It's easy to wash hot, doesn't scratch or hold smells, and you can see your sprouts. Plastic is lighter and won't break, which helps with kids or travel. Replace plastic once it's scratched or cloudy.
How many sprouting jars do I need?
Two or three. Start a new jar every 2 to 3 days, and you'll always have one batch soaking, one growing and one ready to eat.

Written by Michael
A passionate sprouting professional sharing practical tips for growing sprouts and microgreens at home. More about Michael